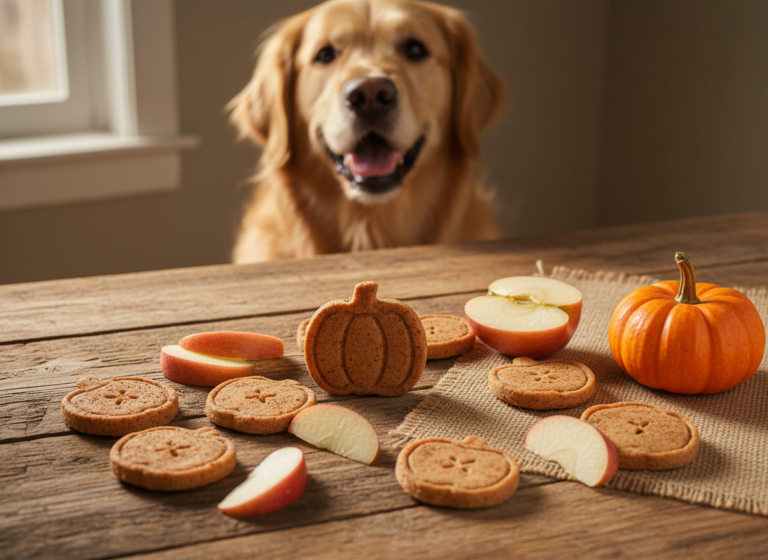
21 Cheesy Basil And Mozzarella Dog Biscuits
Hey there, fellow dog lovers! Have you ever caught that look from your furry companion while you’re snacking? That soulful stare that says, ‘Is any of that for me?’ Well, get ready to turn the tables and make something special just for them! Nothing says ‘I love you’ quite like a homemade treat, baked with care and packed with flavors they’ll go wild for. Forget the mystery ingredients in store-bought snacks. Today, we’re diving into a recipe that will fill your kitchen with an amazing aroma and make your dog’s tail wag like a helicopter: Cheesy Basil and Mozzarella Dog Biscuits.
This recipe is a fantastic way to treat your pup to something wholesome and delicious. It combines the savory goodness of cheese with the fresh, aromatic punch of basil, creating a biscuit that’s simply irresistible. Before we roll up our sleeves and get our paws dirty, here’s a quick peek at what you’re in for.
Recipe at a Glance
| Metric | Details |
|---|---|
| Difficulty | Easy |
| Prep Time | 15 minutes |
| Cook Time | 20-25 minutes |
| Yield | Approx. 24-30 biscuits |
| Pup Approval Rating | Two Paws Way Up! |
Why Bake at Home? The Paw-sitive Perks!

Choosing to bake for your dog is more than just a fun weekend project; it’s a gesture of love and a commitment to their well-being. When you walk down the pet food aisle, you’re faced with countless options, many with ingredient lists a mile long and full of words you can’t pronounce. By becoming your dog’s personal baker, you take back control. You know exactly what’s going into their treats—no scary preservatives, artificial colors, or questionable fillers. This is especially crucial if your pup has allergies, a sensitive stomach, or specific dietary needs. You can tailor every single ingredient to suit them perfectly.
Plus, let’s be honest, the bonding experience is priceless. The sight of you in the kitchen, the delicious smells wafting from the oven, and the final reward of a warm, tasty biscuit create positive associations and strengthen your connection. Your dog will quickly learn that the apron and rolling pin mean good things are coming! Let’s break down the benefits.
Homemade vs. Store-Bought Dog Treats
| Feature | Homemade Treats | Store-Bought Treats |
|---|---|---|
| Ingredient Control | You choose everything! Perfect for allergies and sensitivities. | Often contain preservatives, fillers, and artificial additives. |
| Freshness | Baked fresh with no need for long-term preservatives. | Can sit on shelves for months or even years. |
| Cost | Generally more cost-effective, especially when buying ingredients in bulk. | Premium/natural brands can be very expensive. |
| Customization | Endless possibilities to suit your dog’s taste and nutritional needs. | Limited to what’s available on the market. |
| Bonding | A fun and rewarding activity to share with your pet (from a safe distance!). | Convenient, but lacks the personal touch. |
Gathering Your Drool-Worthy Ingredients
The beauty of this recipe lies in its simplicity and the quality of its ingredients. You probably have most of these items in your kitchen already! Here’s what you’ll need to assemble your pup’s new favorite snack.
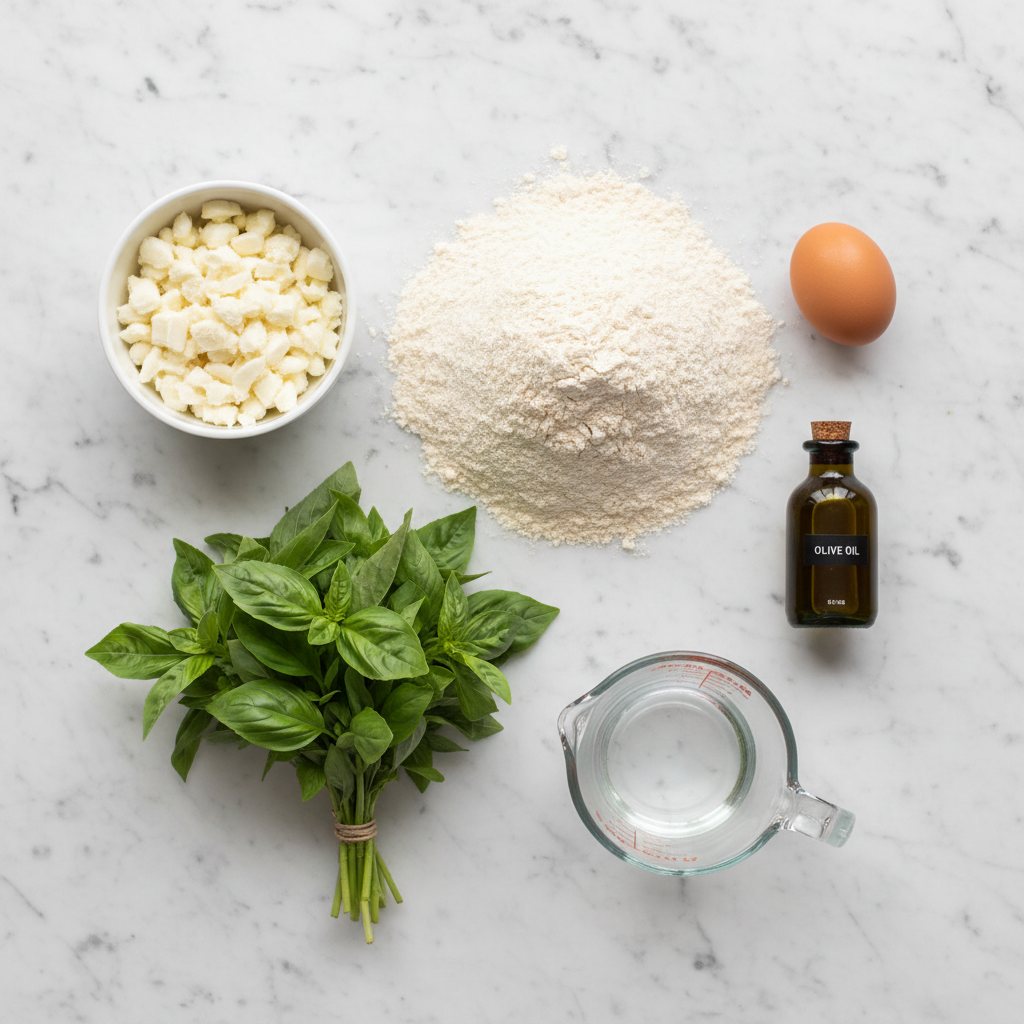
- 2 cups Whole Wheat Flour: We opt for whole wheat because it contains more fiber and nutrients than all-purpose white flour. It’s a great base for a hearty, healthy biscuit. If your dog is sensitive to wheat, you can substitute it with oat flour or a gluten-free all-purpose blend.
- 1/2 cup Shredded Mozzarella Cheese: The star of the show! Mozzarella is a good choice as it’s lower in fat and sodium than many other cheeses. Always use real cheese, not processed cheese products. Low-moisture, part-skim mozzarella works best.
- 1/4 cup Fresh Basil, finely chopped: Basil isn’t just for pesto! It’s perfectly safe for dogs and adds an incredible aroma and flavor. It also contains antioxidants. Fresh is best, but you can use 1 tablespoon of dried basil in a pinch.
- 1 Large Egg: The egg acts as a binder, holding all our lovely ingredients together to form a perfect dough.
- 1/4 cup Olive Oil: A healthy fat that helps make the biscuits tender and contributes to a shiny coat. You can also use coconut oil if you prefer.
- 1/3 to 1/2 cup Water: You’ll add this gradually to bring the dough together. The exact amount will depend on the humidity and the type of flour you use.
A Quick Note on Safety: Always ensure your ingredients are dog-safe. This recipe is, but when you start experimenting, remember to avoid toxic foods like onions, garlic, xylitol, grapes, and chocolate. When in doubt, a quick search or a call to your vet is always a good idea!
The Ultimate Cheesy Basil Biscuit Recipe (Step-by-Step)
Alright, aprons on! It’s time to get baking. This process is super simple and forgiving, so don’t be afraid to get your hands a little messy. Just follow these steps, and you’ll have perfect biscuits in no time.
- Preheat Your Oven: First things first, get your oven preheating to 375°F (190°C). Line a large baking sheet with parchment paper to prevent sticking and make cleanup a breeze.
- Combine Dry Ingredients: In a large mixing bowl, whisk together the 2 cups of whole wheat flour, the 1/2 cup of shredded mozzarella, and the 1/4 cup of finely chopped fresh basil. Give it a good mix to make sure the cheese and basil are evenly distributed throughout the flour.
- Combine Wet Ingredients: In a separate, smaller bowl, whisk the egg and the 1/4 cup of olive oil together until they are well combined.
- Mix It All Together: Pour the wet ingredients into the bowl with the dry ingredients. Start mixing with a spatula or wooden spoon. The mixture will be crumbly at first, and that’s completely normal.
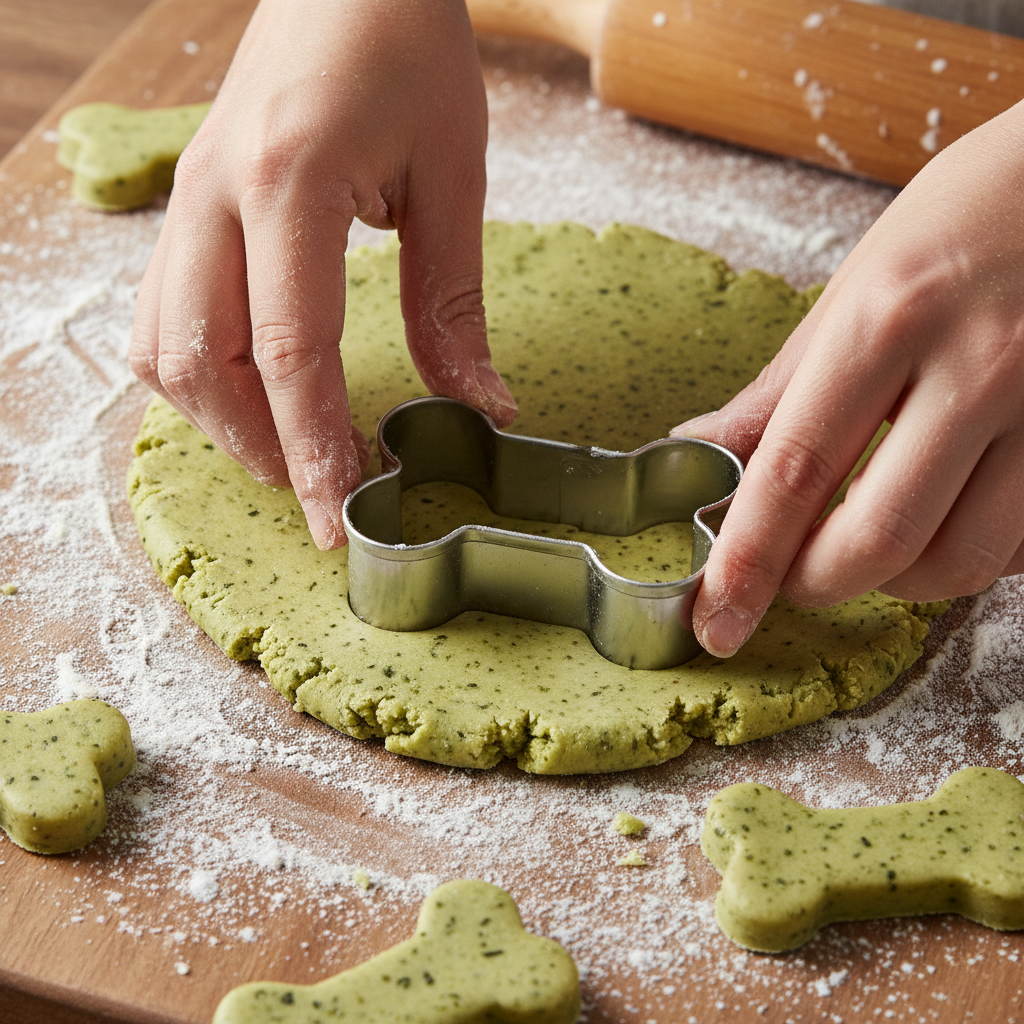
- Form the Dough: Now, start adding the water, one tablespoon at a time, and mixing with your hands. Keep adding water and kneading gently until the mixture comes together to form a firm, cohesive dough. You might not need all the water, or you might need a little extra. You’re looking for a texture similar to play-doh—not too sticky and not too dry.
- Roll It Out: Lightly flour a clean work surface and turn your dough out onto it. Using a rolling pin, roll the dough out to about 1/4-inch thickness. If it’s too thick, the biscuits will be soft; if it’s too thin, they might burn.
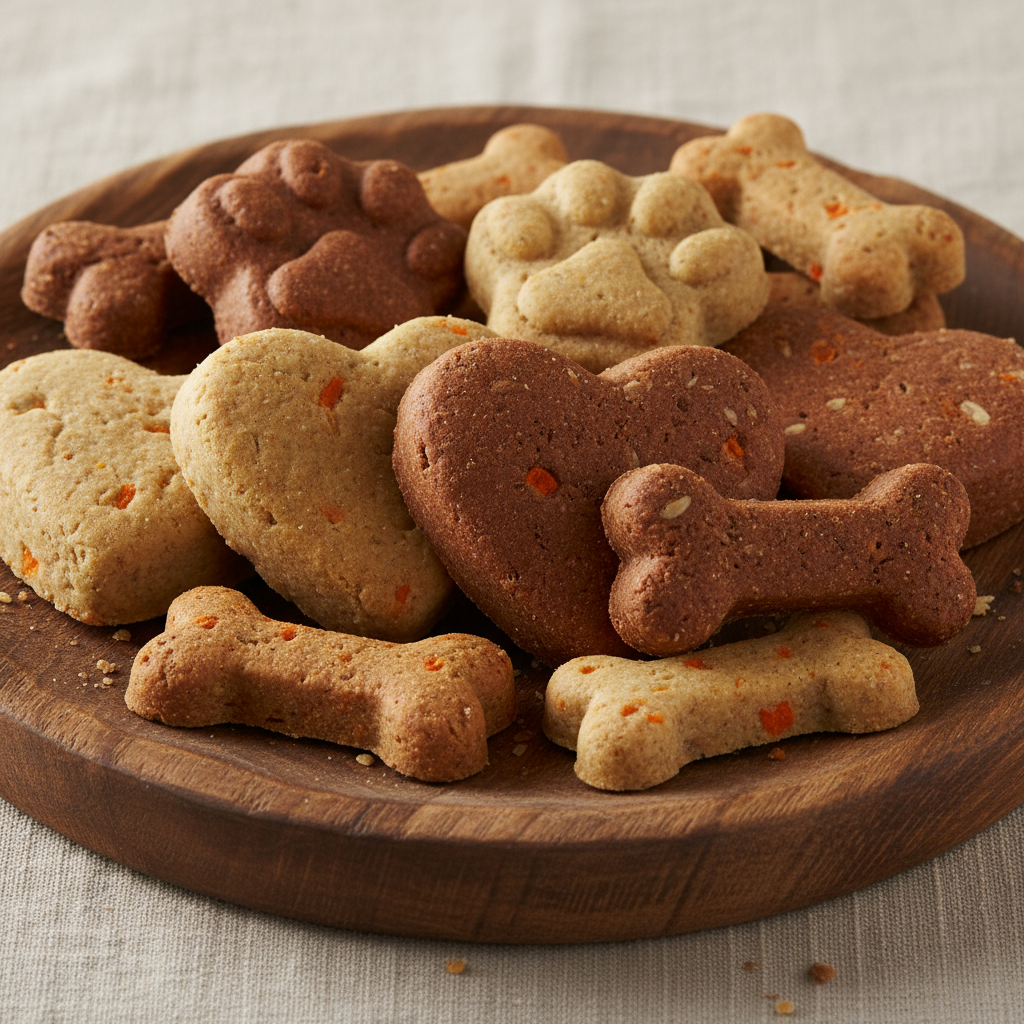
- Cut Out Your Shapes: This is the fun part! Use your favorite cookie cutters to cut out shapes. Bone shapes are classic, but paws, hearts, or simple circles work just as well. You can re-roll the scraps to use up all the dough.
- Arrange on Baking Sheet: Carefully place the cut-out biscuits onto your prepared baking sheet. You can place them fairly close together, as they won’t spread much during baking.
Baking to Golden-Brown Paw-fection
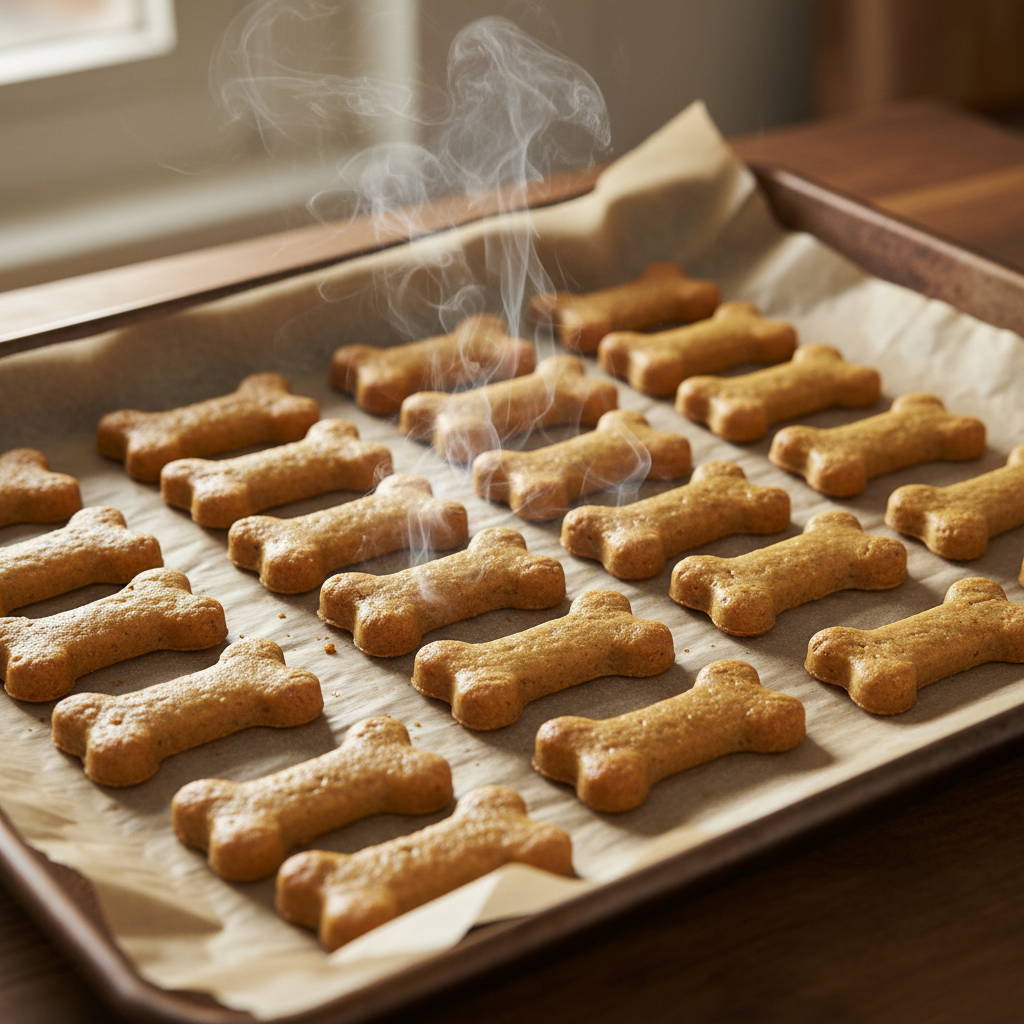
You’re on the home stretch! The hard work is done, and now it’s time for the oven to work its magic. Getting the bake just right is key to achieving the perfect texture that your dog will love.
Place the baking sheet in your preheated 375°F (190°C) oven. Bake for 20 to 25 minutes. The exact time will depend on your oven and the thickness of your biscuits. You’re looking for the biscuits to be firm and a beautiful golden-brown on the bottom edges. They should feel dry to the touch.
Tips for the Perfect Crunch:
- Even Thickness: Try to roll your dough as evenly as possible. This ensures all the biscuits bake at the same rate and you don’t end up with some that are soft and others that are burnt.
- Give Them Space: While they don’t spread much, giving each biscuit a little breathing room on the baking sheet helps the hot air circulate, leading to a more even bake.
- The ‘Second Bake’ Trick: For an extra-crunchy biscuit that will last longer, here’s a pro tip. After the 20-25 minutes are up, turn off the oven, crack the door open slightly, and leave the biscuits inside as the oven cools down. This process helps to dehydrate them further, resulting in a satisfying snap! This is especially great if you plan on storing them for a while.
- Cool Completely: Once you remove the biscuits from the oven, transfer them to a wire cooling rack. Let them cool completely before treating your pup or storing them. This is a crucial step—if you store them while they’re still warm, the condensation will make them soggy.
The aroma filling your kitchen right now is probably driving your dog crazy with anticipation. Don’t worry, the wait is almost over!
Fun Variations & Customizations (Dog-Safe, Of Course!)
One of the best parts about this recipe is how easily you can adapt it. You can tweak it based on your dog’s preferences or what you have available in your pantry. Here are a few fun, dog-safe ideas to get your creative juices flowing:
- Cheese Swap: Not a mozzarella fan? You can substitute it with other low-lactose, low-sodium cheeses like cheddar, Swiss, or Colby. Just be sure to use it in moderation.
- Herbalicious Herbs: Basil is fantastic, but other herbs are great for dogs too! Try adding a bit of finely chopped parsley (great for breath!), oregano, or rosemary. A little goes a long way with dried herbs.
- Fruity & Veggie Boost: Want to sneak in some extra nutrients? Add 1/4 cup of pumpkin puree, mashed sweet potato, or finely shredded carrots to the dough. You may need to reduce the amount of water slightly to get the right consistency.
- Add a Protein Punch: For an extra-special treat, you can mix in a tablespoon of nutritional yeast for a cheesy, nutty flavor boost that’s packed with B vitamins, or even a little bit of finely crumbled, cooked bacon (ensure it’s low-sodium and free of harmful nitrates).
- Flour Alternatives: If your dog has a grain sensitivity, you can experiment with other flours. Oat flour (you can make your own by blending rolled oats), brown rice flour, or chickpea flour are all excellent alternatives. Just be aware that different flours absorb liquid differently, so you’ll need to adjust your water content accordingly.
Remember, when introducing any new food into your dog’s diet, it’s best to start with a small amount to see how they tolerate it. Happy experimenting!
Storage Tips: Keeping Your Treats Fresh
You’ve baked a beautiful batch of cheesy, basil-infused biscuits, and your pup is in heaven. But how do you keep the remaining treats fresh and tasty? Proper storage is key to making your efforts last.
The shelf life of your homemade biscuits depends entirely on how much moisture is left in them. The crunchier and drier they are, the longer they will last.
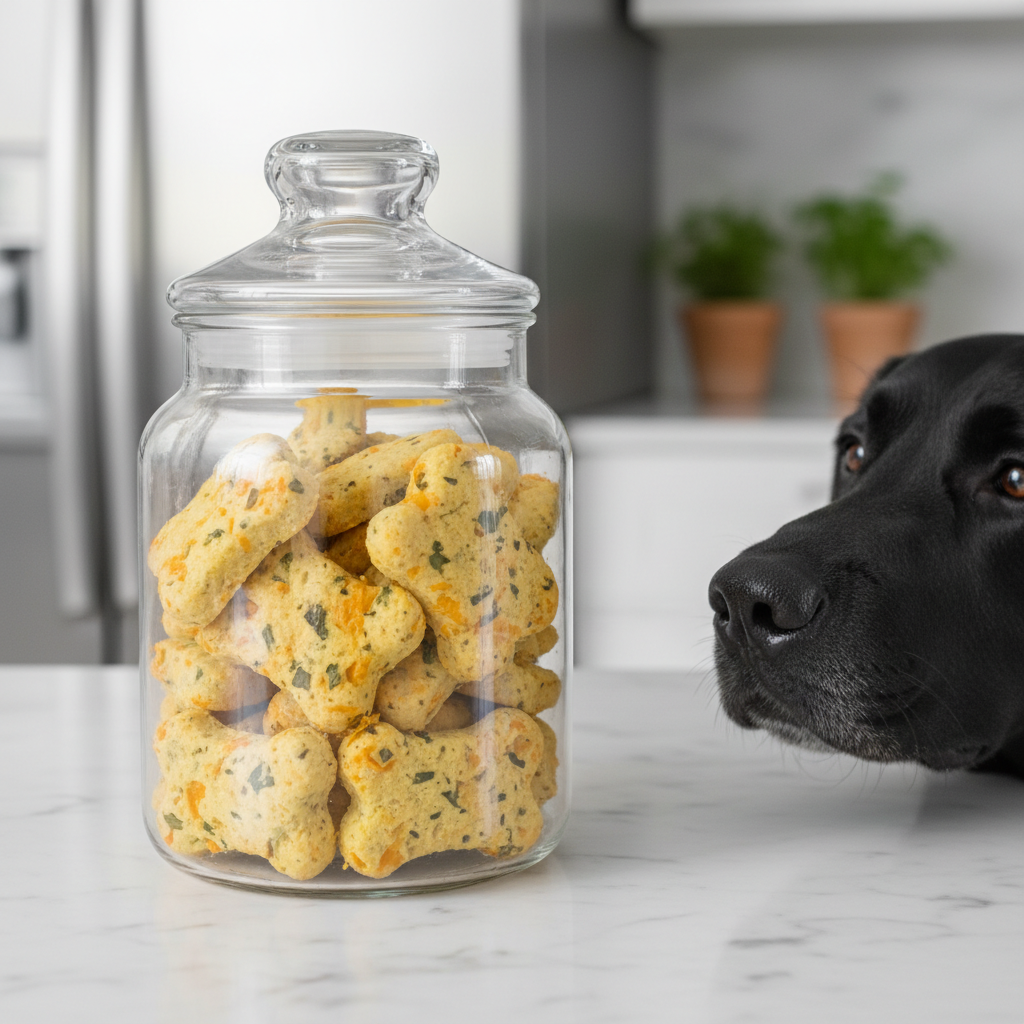
Short-Term Storage (Up to 1 Week):
Once the biscuits are 100% cool (and we mean completely cool!), you can store them in an airtight container at room temperature. A cookie jar with a good seal or a zip-top bag works perfectly. They should stay fresh and crunchy for up to a week. If your biscuits are on the softer side, it’s best to store them in the refrigerator to prevent mold.
Medium-Term Storage (Up to 3 Weeks):
For longer storage, the refrigerator is your best friend. Place the cooled biscuits in an airtight container or bag and pop them in the fridge. They will stay fresh for up to three weeks this way. They might lose a little of their crunch, but your dog certainly won’t complain.
Long-Term Storage (Up to 3 Months):
Made a huge batch? No problem! These biscuits freeze wonderfully. Arrange the cooled biscuits in a single layer on a baking sheet and place them in the freezer for about an hour, or until they are frozen solid. This is called ‘flash freezing’ and it prevents them from sticking together. Once frozen, transfer them to a freezer-safe bag or container. They can be stored in the freezer for up to three months. You can thaw them at room temperature for a few minutes or give them to your pup as a cool, crunchy treat on a hot day.
Buyer’s Guide: Choosing the Best Ingredients for Your Pup
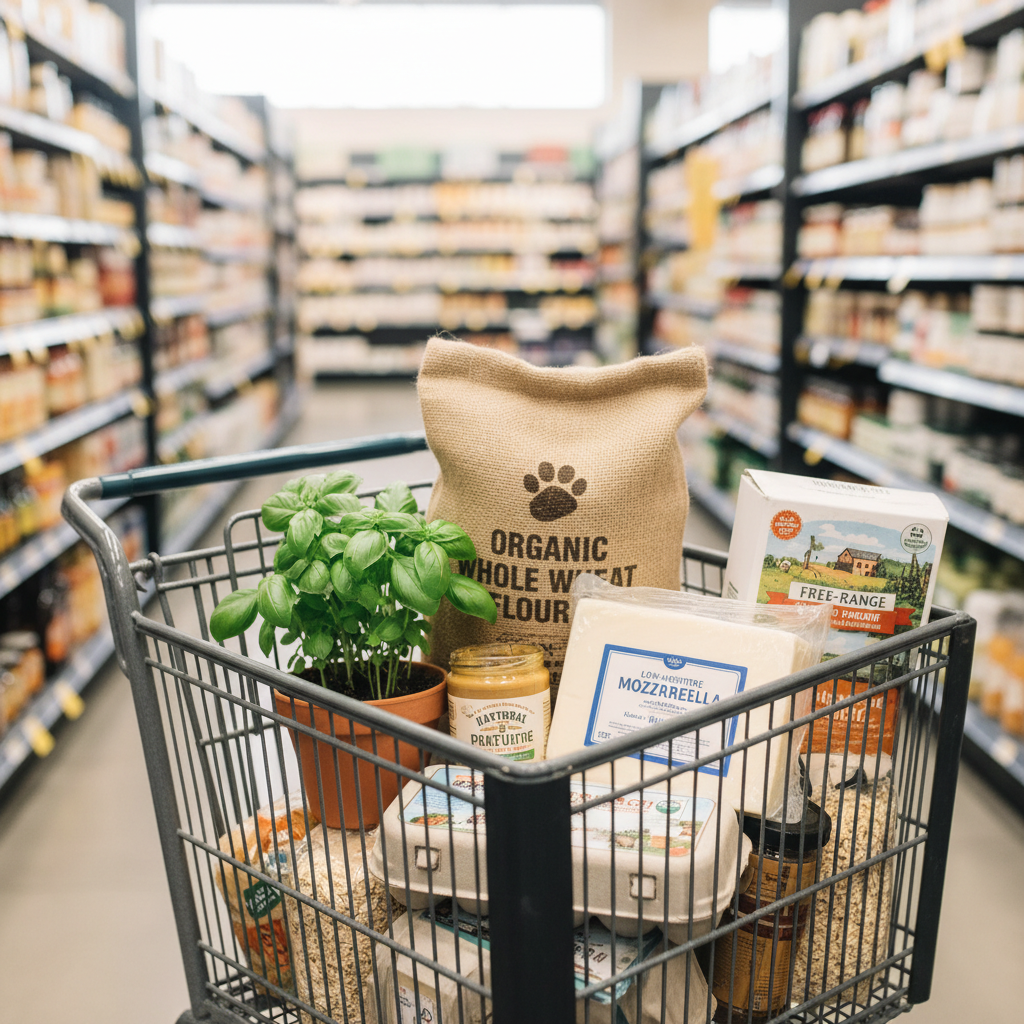
When you’re the chef, you’re also the head of procurement! Choosing high-quality, dog-safe ingredients is the most important step in homemade treat-making. Here’s a quick guide on what to look for when you’re at the grocery store.
Flour Power:
- Whole Wheat: Look for 100% whole wheat flour. It provides more fiber, protein, and nutrients than its processed white counterpart.
- Grain-Free Options: If your dog is sensitive to gluten or grains, consider alternatives like oat flour, chickpea flour, or coconut flour. Each has a unique texture and nutritional profile. For example, coconut flour is very absorbent, so you’ll need more liquid. Always choose unbleached and unenriched flours when possible.
The Big Cheese:
- Low Lactose is Key: Many dogs are lactose intolerant to some degree. Cheeses like mozzarella, cheddar, and Swiss are naturally lower in lactose and are generally well-tolerated in small amounts.
- Read the Label: Opt for low-sodium and low-fat versions whenever possible. Look for simple ingredients—cheese should be made from milk, salt, and enzymes, not a long list of additives. Avoid processed cheese slices or spreads.
Oils and Fats:
- Healthy Choices: Olive oil is a great source of healthy monounsaturated fats. Cold-pressed, extra virgin olive oil is the highest quality. Coconut oil is another popular choice, known for its medium-chain triglycerides which can be beneficial for a dog’s skin and coat.
- What to Avoid: Steer clear of vegetable oils like corn or soy oil, which can be inflammatory. And never use rancid oil—if it smells off, toss it.
Herbs and Add-ins:
- Fresh is Best: Fresh herbs will always provide the best flavor and nutritional benefit. Look for vibrant, green basil leaves with no wilting or brown spots.
- Check for Safety: When considering other add-ins like fruits or vegetables, always double-check that they are safe for canine consumption. A quick online search from a reputable veterinary source can provide peace of mind.
By being a savvy shopper, you ensure that every biscuit you bake is not only delicious but also as healthy as it can be for your beloved pet.
Conclusion
And there you have it! A simple, wholesome, and ridiculously tasty recipe for Cheesy Basil and Mozzarella Dog Biscuits that will earn you the ‘Best Pet Parent of the Year’ award in your dog’s eyes. Baking for your furry friend is such a rewarding experience. It’s a chance to slow down, create something with love, and provide your companion with a treat that you can feel genuinely good about.
Watching them crunch down on a biscuit you made from scratch is one of the simple joys of being a pet owner. So go ahead, give this recipe a try! We promise your kitchen will smell amazing, and your dog’s happy dance will be well worth the effort. Happy baking!
Frequently Asked Questions
- 1. Can I use all-purpose flour instead of whole wheat?
- Yes, you can. The biscuits will turn out just fine, but they will have less fiber and nutritional value compared to those made with whole wheat flour. If it’s all you have on hand, it’s a perfectly safe substitute.
- 2. How do I know if my dog is sensitive to cheese?
- Like humans, some dogs are lactose intolerant. If you’re giving your dog cheese for the first time, start with a very small piece and monitor them for any signs of gastrointestinal upset, like gas, bloating, or diarrhea. The amount of cheese per biscuit in this recipe is quite small, but it’s always best to be cautious.
- 3. My dough is really sticky or really dry. What did I do wrong?
- Nothing! Dough consistency can vary based on factors like humidity or the brand of flour. If your dough is too sticky, add a little more flour, one tablespoon at a time, until it’s easy to handle. If it’s too dry and crumbly, add more water, one teaspoon at a time, until it comes together.
- 4. Are there any other herbs I should avoid?
- While many herbs are safe, some can be problematic in large quantities. Avoid things like pennyroyal and comfrey. Herbs like parsley, basil, oregano, and rosemary are generally considered safe and beneficial in moderation. When in doubt, always consult your veterinarian.