7 Crunchy Dried Capelin for Dogs Recipes (Whole Fish Treat)
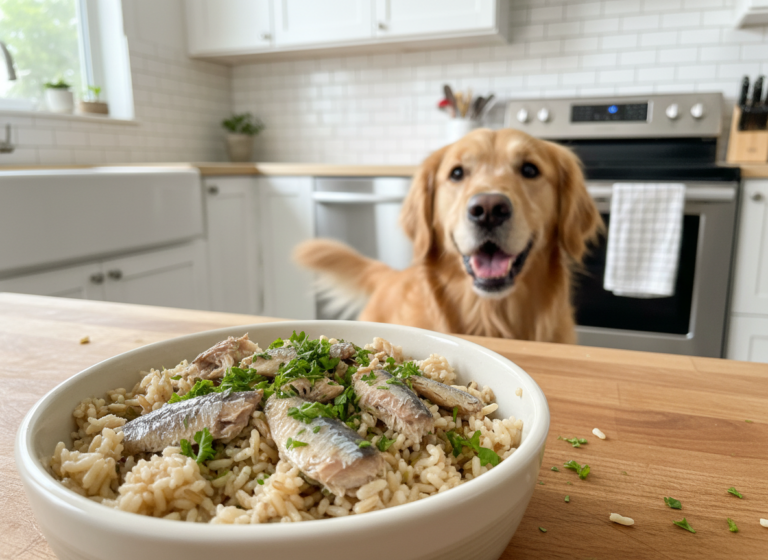
Hey there, fellow dog lover! If you’re anything like me, you’re constantly on the lookout for treats that are not only tail-waggingly delicious but also genuinely good for your furry best friend. It can be a jungle out there with ingredient lists a mile long! That’s why I’ve fallen in love with single-ingredient treats, and my absolute favorite right now is dried capelin.
These tiny, nutrient-packed fish are like a superfood for dogs. They’re bursting with Omega-3 fatty acids for a shiny coat and healthy joints, loaded with protein for strong muscles, and their crunchy texture is fantastic for dental health. Plus, making them at home is surprisingly easy, way more affordable, and lets you control exactly what your pup is eating. No additives, no preservatives, just pure fishy goodness!
Ready to turn your kitchen into your dog’s favorite five-star bistro? Let’s dive into seven different ways to prepare this amazing whole fish treat.
Recipe Quick Guide
| Recipe Name | Method | Best For |
|---|---|---|
| The Classic Crunch | Dehydrator | Purists & Beginners |
| Oven-Baked Goodness | Oven | No Special Equipment |
| Golden Goodness | Dehydrator/Oven | Joint Support & Seniors |
| Parsley Power Pups | Dehydrator/Oven | Freshening Doggy Breath |
| Capelin Crumbles | Food Processor | Picky Eaters & Meal Topping |
| Air Fryer Express | Air Fryer | Quick & Crispy Batches |
| Frozen ‘Pupsicles’ | Freezer | Hot Days & a No-Cook Option |
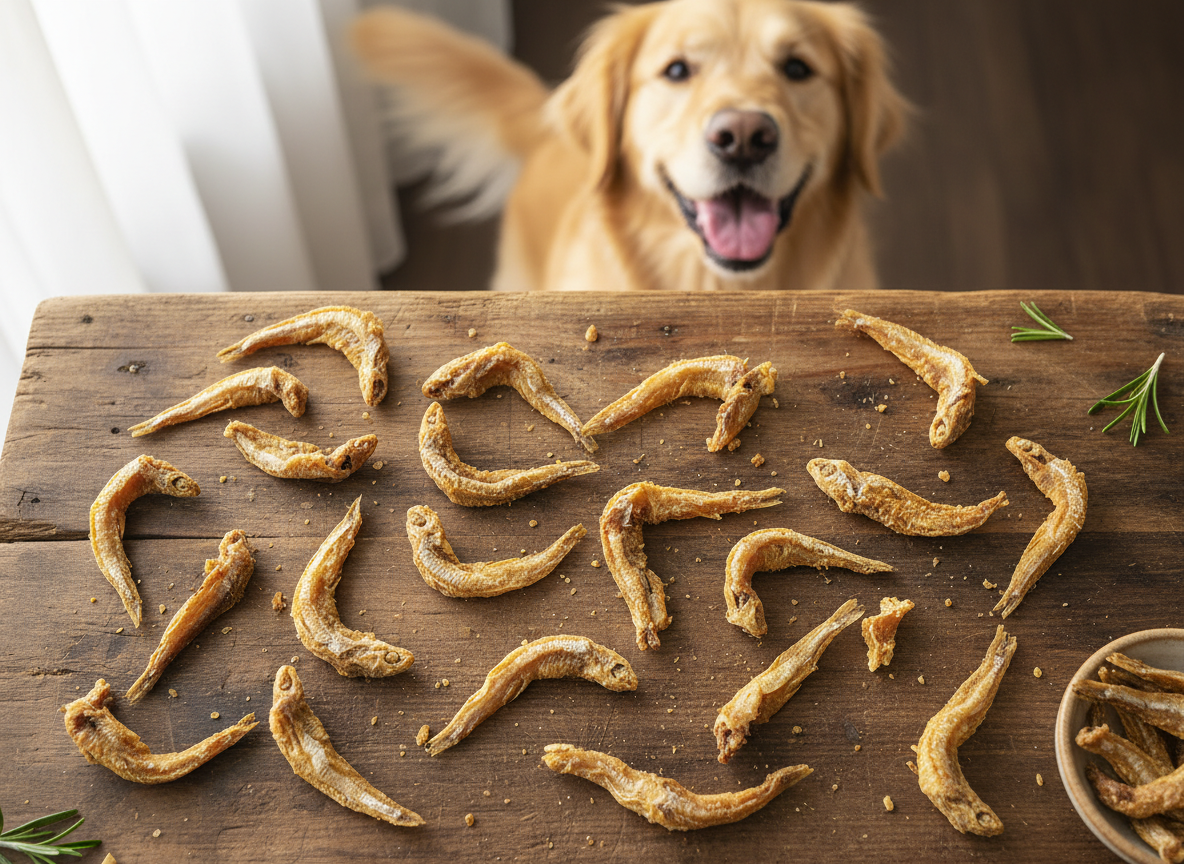
1. The Classic Crunch: Simple Dehydrator Dried Capelin
This is the foundational recipe, the gold standard for perfectly crunchy, nutrient-preserved fishy treats. If you have a food dehydrator, this method is practically foolproof and yields fantastic results every time. It’s a set-it-and-forget-it approach that your dog will thank you for.
Ingredients & Equipment:
- 1 lb frozen whole capelin
- Food Dehydrator
Instructions:
- Thaw: Start by thawing your frozen capelin. The easiest way is to place the bag in the refrigerator overnight. For a quicker thaw, you can place the sealed bag in a bowl of cold water for about an hour.
- Rinse & Pat Dry: Once thawed, give the capelin a gentle rinse under cool water. Then, lay them out on a paper towel and pat them as dry as you can. The drier they are to start, the more efficiently they’ll dehydrate.
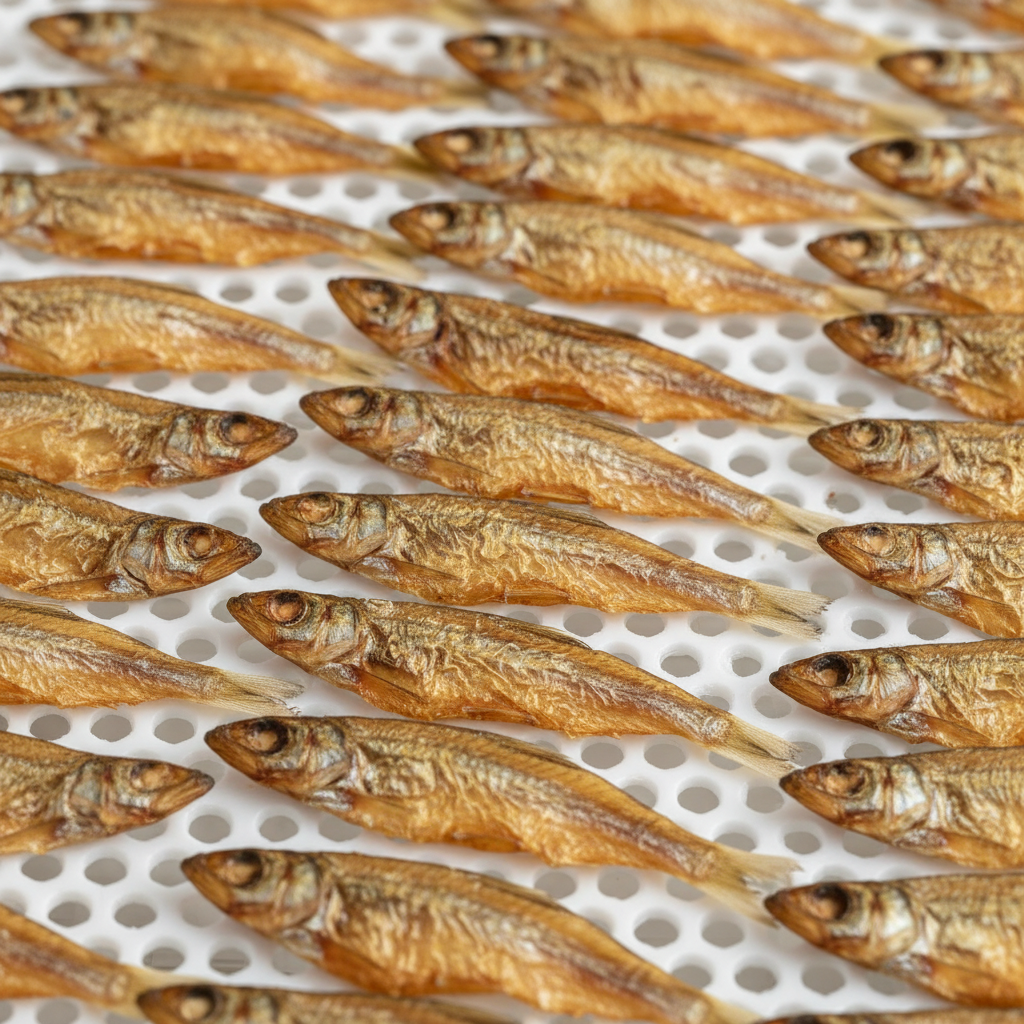
- Arrange on Trays: Place the capelin in a single layer on your dehydrator trays. Make sure to leave a little space between each fish for optimal air circulation. Don’t let them overlap!
- Dehydrate: Set your dehydrator to a fish/meat setting, typically around 160°F (71°C). If your dehydrator only has one setting, that’s fine too. Let them dehydrate for 6 to 10 hours.
- Check for Doneness: The exact time will depend on the size of your fish and your specific dehydrator. You’ll know they’re done when they are completely dry and snap easily in half. They should be brittle, not bendy.
- Cool & Store: Let the dried capelin cool completely on the trays before storing. This prevents condensation from forming in your storage container.
Pros & Cons
| Pros | Cons |
|---|---|
| Preserves the most nutrients due to low, consistent heat. | Requires a specific appliance (a food dehydrator). |
| Very easy and hands-off once you set it up. | The process takes a long time (6+ hours). |
| Produces a perfectly dry, shelf-stable treat. | Can create a fishy smell in the house (pro tip: run it in the garage!). |
Verdict:
This is the best method for pet parents who plan on making dehydrated treats regularly. The initial investment in a dehydrator pays off with perfectly consistent, healthy, and safe treats every single time.
2. Oven-Baked Goodness: No Dehydrator Needed!
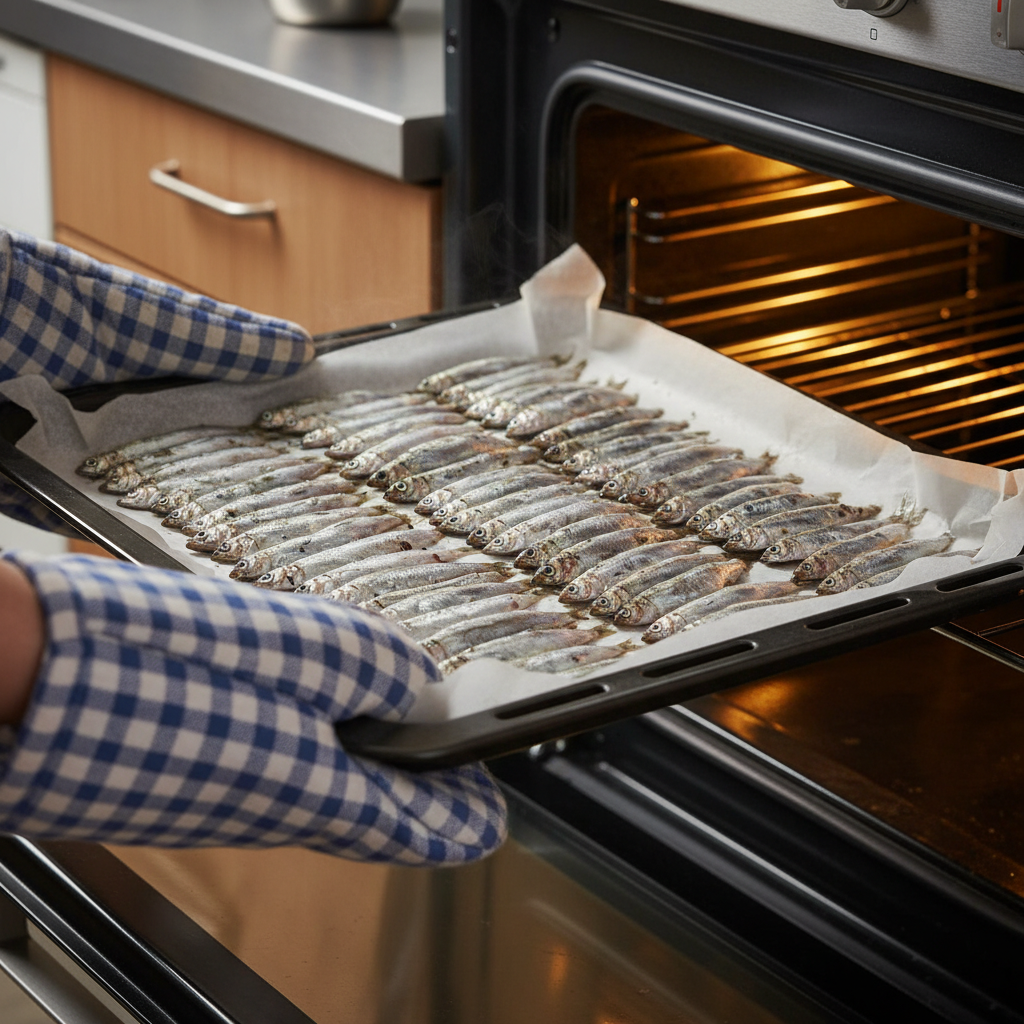
Don’t have a dehydrator? No problem at all! Your oven can do the job just as well with a ‘low and slow’ approach. This method is accessible to everyone and a great way to test the waters of homemade treat-making before committing to new gadgets.
Ingredients & Equipment:
- 1 lb frozen whole capelin
- Baking sheets
- Parchment paper or a wire rack
Instructions:
- Preheat & Prep: Preheat your oven to its lowest possible temperature, usually between 170-200°F (75-95°C). Line one or two large baking sheets with parchment paper. For extra crispiness and air flow, place a wire cooling rack on top of the baking sheet.
- Thaw & Dry: Just like the dehydrator method, thaw your capelin, rinse them, and pat them very dry with paper towels.
- Arrange on Sheets: Place the capelin in a single layer on the prepared baking sheets, ensuring none of the fish are touching.
- Bake Low & Slow: Place the baking sheets in the oven. To help moisture escape and mimic a dehydrator, prop the oven door open just a crack with the handle of a wooden spoon. This is a crucial step!
- Check & Flip: Bake for 3 to 6 hours. Halfway through the baking time, flip the fish over to ensure they dry evenly.
- Test for Crispiness: They’re ready when they are hard, brittle, and snap cleanly. If there’s any chewiness, they need more time.
- Cool Completely: Turn off the oven and let the capelin cool completely inside the oven or on the counter before storing.
Pros & Cons
| Pros | Cons |
|---|---|
| Uses standard kitchen equipment everyone has. | Requires you to occupy your oven for several hours. |
| Great for making your first batch of dried fish. | Need to monitor more closely to prevent burning. |
| Can make large batches if you have multiple racks. | Can heat up the kitchen, especially in the summer. |
Verdict:
Perfect for the occasional treat-maker! The oven method is a fantastic, accessible way to produce high-quality dried capelin without buying any new equipment. Just be prepared for a fishy-smelling kitchen for a few hours!
3. Golden Goodness: Turmeric & Ginger Infused Capelin
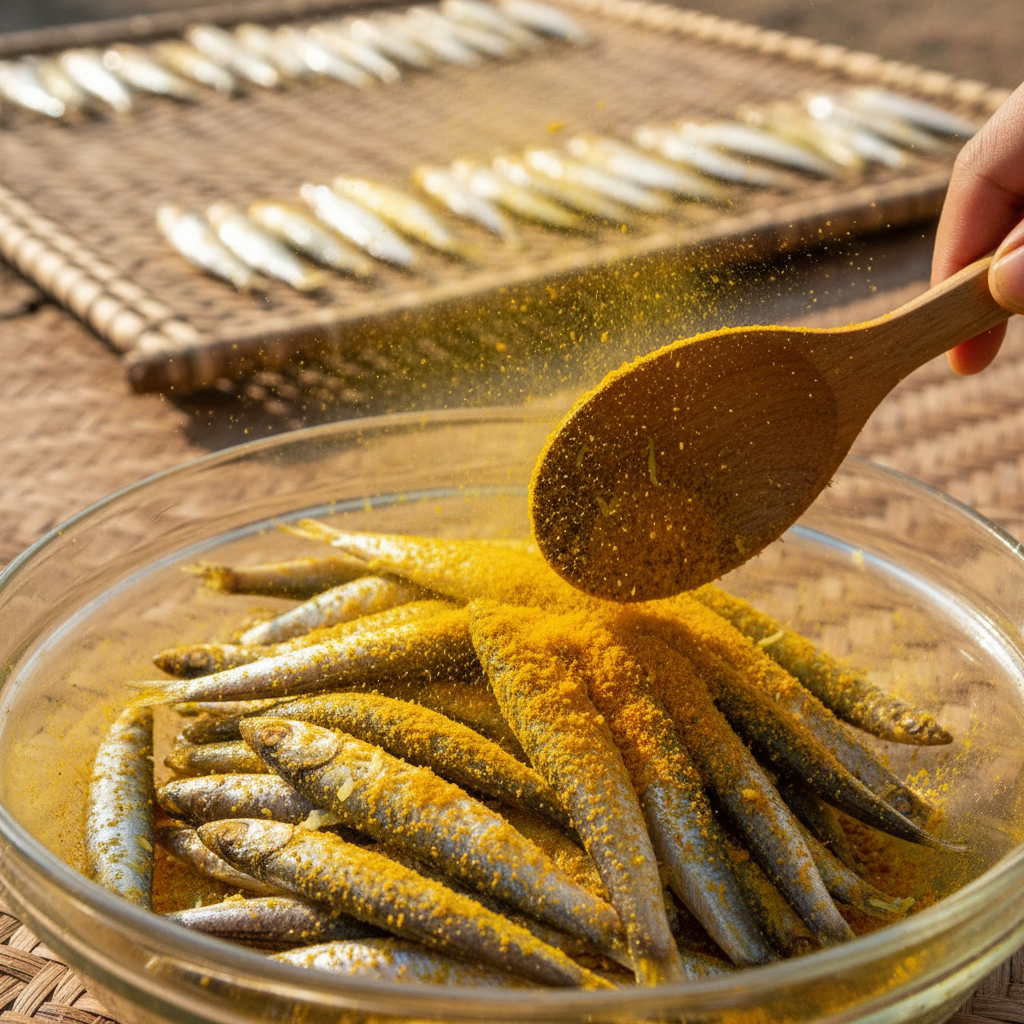
Let’s level up our treat game by adding some powerful, natural anti-inflammatories! Turmeric (with its active compound, curcumin) and ginger are celebrated for their ability to support joint health, aid digestion, and provide antioxidant benefits. This recipe is especially wonderful for senior dogs or active pups who could use a little extra joint support.
Ingredients & Equipment:
- 1 lb frozen whole capelin, thawed and patted dry
- 1 teaspoon coconut oil, melted
- 1/2 teaspoon ground turmeric
- 1/4 teaspoon ground ginger
- A small pinch of black pepper (helps with turmeric absorption)
- A large bowl
- Dehydrator or Oven
Instructions:
- Create the Coating: In a large bowl, whisk together the melted coconut oil, turmeric, ginger, and black pepper until you have a smooth, golden paste.
- Toss the Fish: Add the thawed and dried capelin to the bowl. Use your hands or a soft spatula to gently toss the fish until they are all lightly and evenly coated in the turmeric mixture.
- Arrange for Drying: Carefully place the coated capelin in a single layer on your dehydrator trays or a prepared baking sheet for the oven.
- Dry Using Your Preferred Method: Follow the instructions for either the ‘Classic Crunch’ dehydrator method (6-10 hours at 160°F) or the ‘Oven-Baked Goodness’ method (3-6 hours at the lowest temp).
- Check and Cool: The fish are done when they snap cleanly. The turmeric will give them a beautiful deep golden-orange hue. Let them cool completely before storing.
Pros & Cons
| Pros | Cons |
|---|---|
| Adds powerful anti-inflammatory and digestive benefits. | Turmeric can stain hands, counters, and some plastics. Wear gloves! |
| Great for senior dogs, athletic dogs, or breeds prone to joint issues. | Some dogs may be hesitant about the new smell/taste. |
| The coconut oil adds extra healthy fats for skin and coat. | Adds an extra step and can be a bit messy. |
Verdict:
This is the go-to recipe for dog parents looking to turn a delicious treat into a functional, health-boosting snack. It’s an easy way to incorporate beneficial spices into your dog’s diet, especially for older pups needing some TLC.
4. Parsley Power Pups: Capelin for Fresher Breath
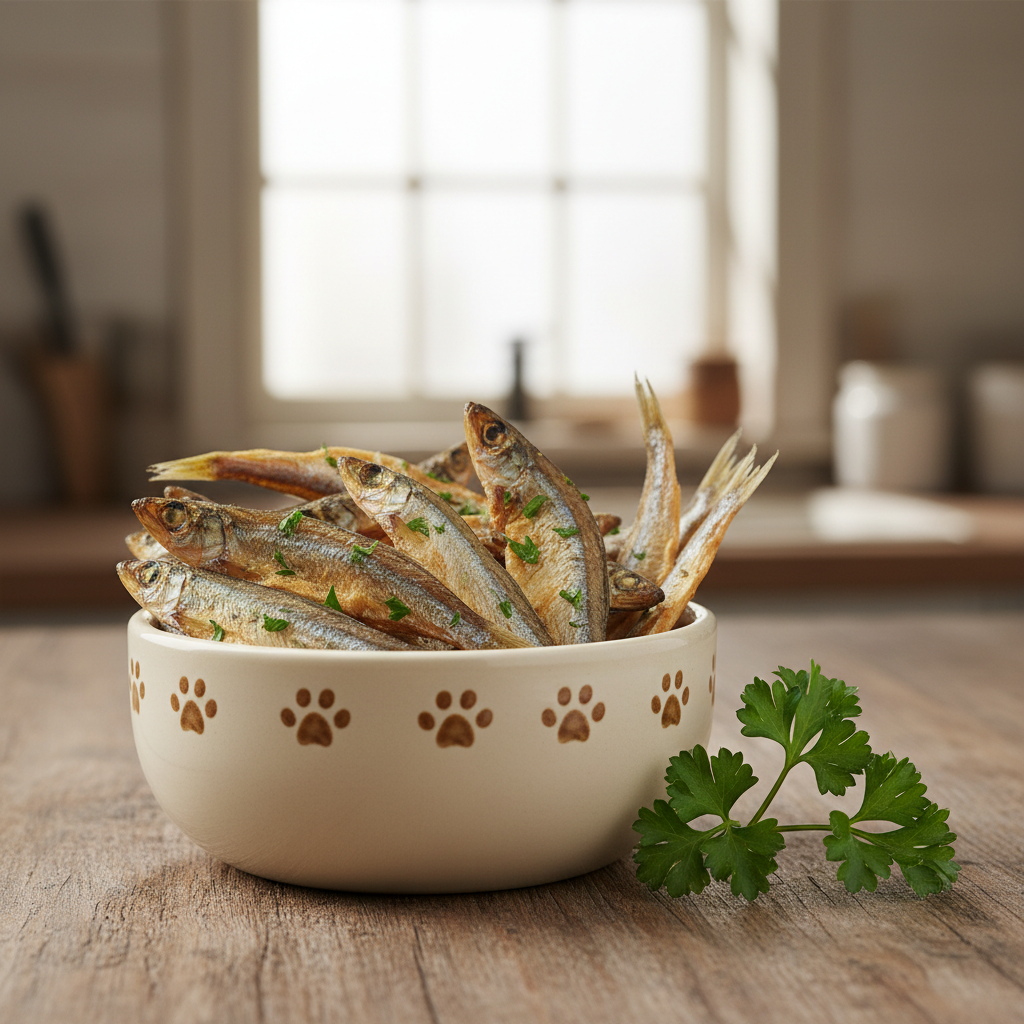
Ah, the dreaded doggy breath. While fishy treats might seem counterintuitive, adding a dash of parsley can work wonders! Parsley contains chlorophyll, which is known for its ability to help neutralize odors from the inside out. This recipe combines a high-value treat with a breath-freshening bonus.
Ingredients & Equipment:
- 1 lb frozen whole capelin, thawed and patted dry
- 2 tablespoons of finely chopped fresh parsley (curly or flat-leaf) OR 1 tablespoon dried parsley
- A bowl
- Dehydrator or Oven
Instructions:
- Prep the Parsley: If using fresh parsley, wash and dry it thoroughly, then chop it as finely as possible. You want tiny green flecks, not big leaves.
- Coat the Capelin: Place your thawed and dried capelin in a bowl. Sprinkle the chopped fresh or dried parsley over the fish. Gently toss them until the parsley sticks to the slightly tacky surface of the fish.
- Arrange for Drying: Place the parsley-dusted capelin in a single layer on your dehydrator trays or prepared baking sheets.
- Dry as Desired: Use either the dehydrator method (6-10 hours at 160°F) or the oven method (3-6 hours at the lowest temp). The parsley will toast and dry right along with the fish.
- Check for Brittleness: Once the capelin are fully dried and snap easily, they’re ready. The green flecks of parsley will be visible on the finished treats.
- Cool and Store: Let them cool down completely before packing them away in an airtight container.
Pros & Cons
| Pros | Cons |
|---|---|
| Dual-action treat: a tasty reward that also helps combat bad breath. | Chopping fresh parsley adds a small amount of prep time. |
| Super simple ingredient addition with real benefits. | The effect on breath is helpful but not a magic cure for underlying dental issues. |
| Adds a nice color and a subtle fresh scent to the treats. | Some of the parsley may fall off during the drying process. |
Verdict:
A fantastic choice for any dog owner who leans in for a cuddle and gets a whiff of something less-than-pleasant. It’s a simple, natural way to add a little breath-freshening power to a treat your dog already loves.
5. Capelin Crumbles: The Ultimate Meal Topper
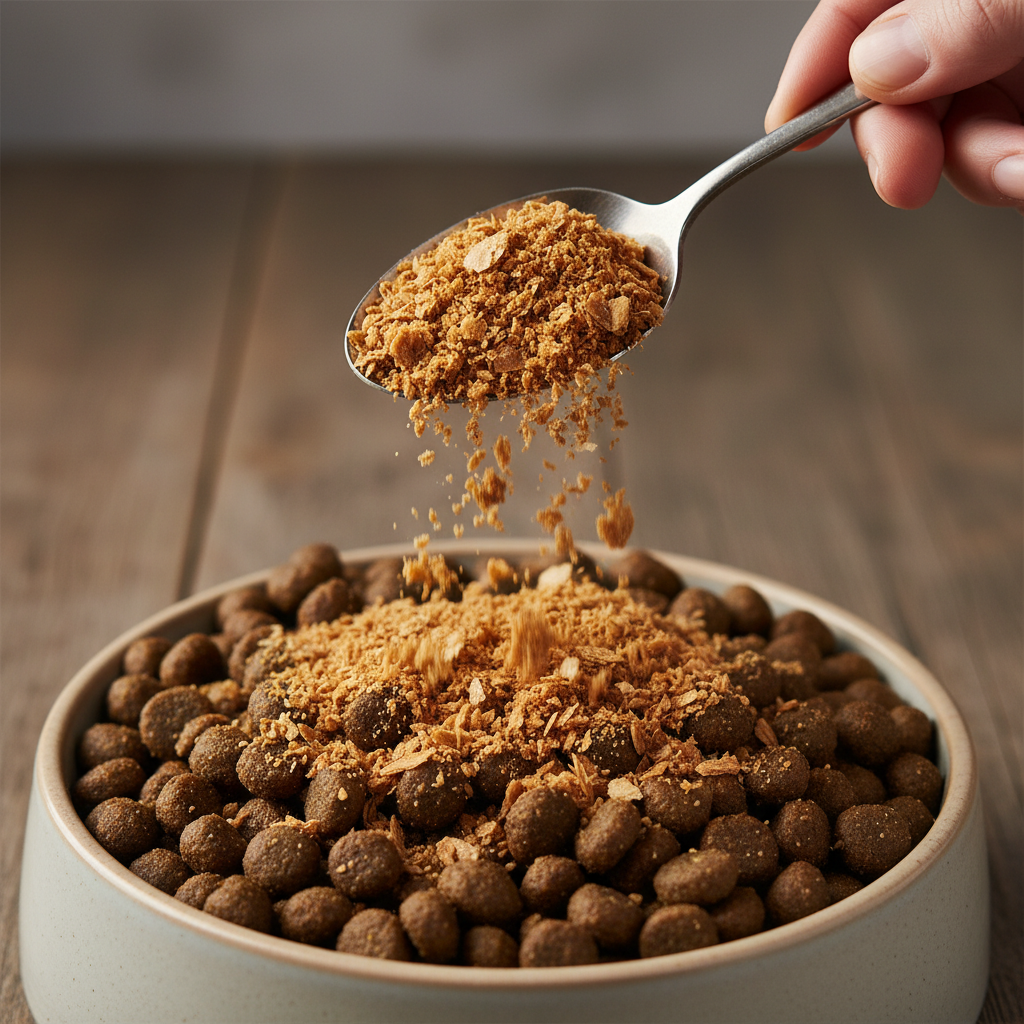
Have a picky eater on your hands? Or maybe you just want an easy way to sprinkle some Omega-3 magic onto your dog’s daily meals. This recipe isn’t about changing the drying process, but what you do *after* they’re dried. These crumbles are a potent and enticing food topper that can transform a boring bowl of kibble into a seafood feast.
Ingredients & Equipment:
- 1 batch of ‘Classic Crunch’ or ‘Oven-Baked’ Dried Capelin
- A food processor or a high-powered blender
- An airtight jar for storage
Instructions:
- Start with Dried Fish: Prepare a batch of plain dried capelin using either the dehydrator or oven method. Ensure they are completely dry and brittle. This is key for getting a fine crumble.
- Break Them Up: Break the larger dried fish into smaller pieces with your hands so they fit easily into your food processor.
- Pulse to Perfection: Place the pieces into the food processor. Use the ‘pulse’ function in short bursts. Pulse a few times for a coarse, crunchy texture, or continue pulsing for a finer, sand-like powder. Don’t just turn it on and walk away, as you might end up with fish paste!
- Store Securely: Transfer the finished Capelin Crumbles into a clean, dry, airtight container, like a glass jar. Because you’ve increased the surface area, it’s extra important to keep it sealed to maintain freshness.
- Serve It Up: Sprinkle 1/2 to 1 teaspoon (depending on your dog’s size) over their regular food to entice them to eat and add a powerful nutritional boost.
Pros & Cons
| Pros | Cons |
|---|---|
| Incredibly effective for enticing picky eaters. | Requires a food processor or blender. |
| An easy way to add Omega-3s and flavor to every meal. | The fine powder can be dusty, so open the processor carefully. |
| A little goes a long way, so one batch lasts a while. | Your food processor will definitely smell like fish afterwards (but it’s easy to clean!). |
Verdict:
This is a game-changer for owners of fussy dogs. If your pup turns their nose up at their kibble, a sprinkle of these Capelin Crumbles is almost guaranteed to get them interested. It’s also perfect for senior dogs who may have trouble with harder, whole treats.
6. Air Fryer Express: Quick & Crispy Capelin
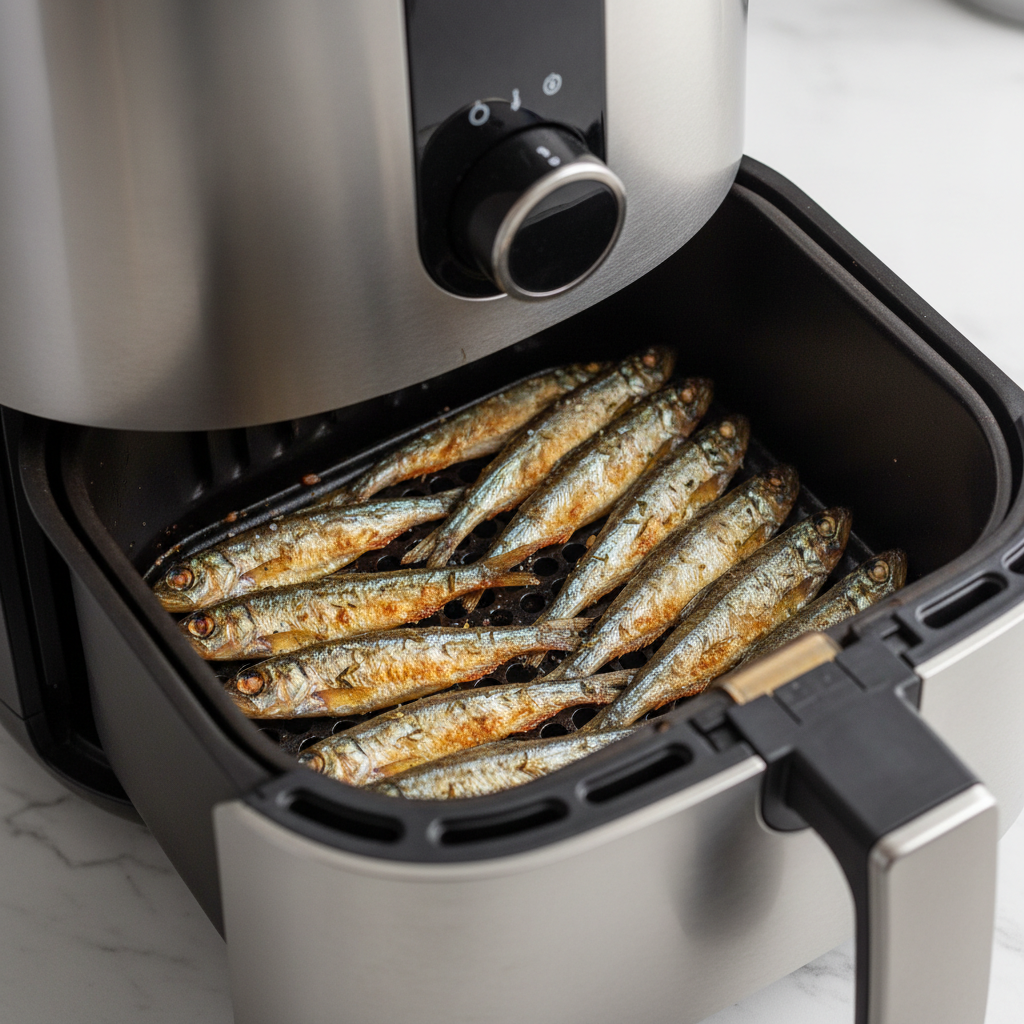
In a hurry? The air fryer is your best friend for getting crispy results in a fraction of the time. While you can’t make huge batches like you can in a dehydrator or oven, it’s perfect when your pup is giving you ‘the eyes’ and you want to whip up a small batch of their favorite fishy snack, fast.
Ingredients & Equipment:
- Frozen whole capelin (enough for a single layer in your air fryer)
- Air Fryer
Instructions:
- Thaw & Dry: As always, thaw the capelin completely and pat them thoroughly dry with paper towels. Don’t skip this step—excess moisture will steam the fish instead of crisping them.
- Arrange in Basket: Place the capelin in a single layer in your air fryer basket. A little space between them is ideal. Overcrowding is the enemy of crispiness!
- Cook Low & Quick: Set your air fryer to a low temperature, around 180-200°F (82-93°C). This is much lower than you’d typically use for cooking. Air fry for 30-45 minutes.
- Shake It Up: About halfway through the cooking time, pull out the basket and give it a good shake to toss the fish and ensure they cook evenly on all sides.
- Check for Doneness: They are ready when they feel dry to the touch and are stiff and lightly golden. You can test one by letting it cool for a minute—it should snap. If it’s still pliable, give it another 5-10 minutes.
- Cool Before Serving: Let them cool completely on a wire rack. They will continue to crisp up as they cool.
Pros & Cons
| Pros | Cons |
|---|---|
| Significantly faster than the oven or dehydrator. | Can only make very small batches at a time. |
| Creates an extra-crispy texture that dogs love. | Higher risk of overcooking or burning due to the fast, high heat. |
| Energy efficient for making small amounts. | The fishy smell can be more intense due to the fan circulation. |
Verdict:
This is the perfect method for the impatient pet parent! When you need a high-value treat for a training session *today* and don’t have 6 hours to spare, the air fryer is your secret weapon for quick, crunchy capelin.
7. Frozen Capelin ‘Pupsicles’: A Cool No-Cook Treat
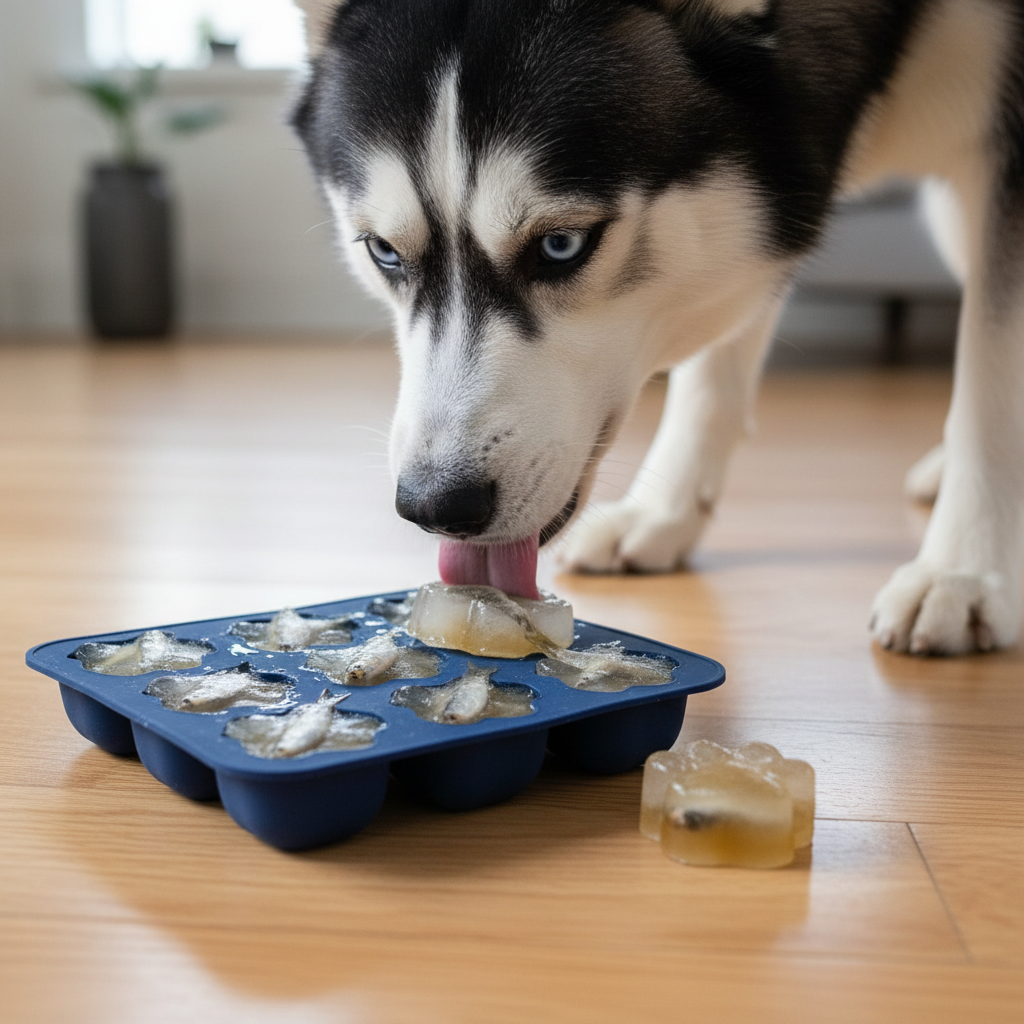
Who said all treats have to be crunchy? On a hot summer day, nothing beats a cool, refreshing snack. This ‘recipe’ is the simplest of all and provides a fantastic source of hydration along with all the usual benefits of capelin. It’s a no-cook, no-fuss option that’s perfect for a cooling treat after a long walk or a romp in the yard.
Ingredients & Equipment:
- Whole capelin (thawed or frozen)
- Silicone ice cube trays or molds
- Water or unsalted bone broth
Instructions:
- Place Fish in Molds: Take one or two capelin and place them into each compartment of your ice cube tray or silicone mold. Fun-shaped molds like paws or bones make it extra special!
- Add Liquid: Pour water or, for a more flavorful and nutrient-rich option, unsalted bone broth over the fish until each compartment is full.
- Freeze Solid: Carefully place the tray in the freezer and let it freeze completely, which usually takes 3-4 hours.
- Serve & Store: Pop out a frozen ‘pupsicle’ and serve it to your dog outside or on an easy-to-clean surface (as it will melt!). You can store the frozen treats by transferring them from the tray to a freezer-safe bag.
Pros & Cons
| Pros | Cons |
|---|---|
| No cooking or appliances required. Incredibly simple. | Not a crunchy treat, so it doesn’t provide the same dental benefits. |
| Excellent for hydration and cooling down on hot days. | Can be messy as it melts. Best served outdoors. |
| A great way to serve fish to dogs who prefer a softer texture. | Must be kept frozen and takes up freezer space. |
Verdict:
An absolute must-try for the summer months! This is the easiest, most refreshing way to give your dog the goodness of capelin. It’s also a fantastic option for teething puppies, providing a soothing, cold treat for their sore gums.
Your Guide to Making the Best Capelin Treats

Feeling inspired? That’s awesome! Before you rush out to buy your fish, let’s go over a few key things to ensure your homemade treats are as safe, healthy, and delicious as possible.
Why Capelin is a Canine Superfood
It’s not just a tasty snack; it’s a nutritional powerhouse. Here’s a quick rundown of the benefits:
- Omega-3 Fatty Acids: Capelin are loaded with EPA and DHA, which are crucial for reducing inflammation, supporting brain function, and promoting healthy skin and a glossy coat.
- High-Quality Protein: They provide essential amino acids for muscle development and repair.
- Natural Dental Care: The crunchy texture of dried capelin helps scrape away plaque and tartar as your dog chews.
- Rich in Nutrients: They’re a great source of calcium, Vitamin B12, and selenium.
Choosing the Right Capelin
Not all fish are created equal. When shopping for capelin for your dog, here’s what to look for:
- Frozen is Best: Look in the freezer section of your grocery store, specialty pet food store, or local fish market. Buying them frozen ensures they are fresh.
- Check the Source: If possible, opt for wild-caught, sustainably sourced capelin.
- Human-Grade: While some are sold as ‘bait,’ it’s always safest to buy human-grade fish to ensure proper handling and quality.
- No Additives: The package should list one ingredient: capelin. Avoid any that are salted, smoked, or preserved in brine.
Proper Storage for Your Homemade Treats
You’ve spent all that time making these wonderful treats, so let’s make sure they last! Proper storage is crucial to prevent spoilage.
- Cool Completely: Never store warm treats. Let them cool to room temperature for at least an hour after they come out of the dehydrator or oven.
- Use an Airtight Container: A glass jar with a tight-fitting lid, a cookie tin, or a zip-top bag will work perfectly.
- Short-Term (1-2 weeks): For maximum crunch and freshness, store the treats in their airtight container in the refrigerator.
- Long-Term (Up to 3 months): For longer storage, you can freeze your dried capelin. They’ll stay fresh and crunchy for months!
Frequently Asked Questions About Capelin for Dogs

How many dried capelin can I give my dog?
This depends on your dog’s size and overall diet. Capelin should be considered a treat, not a meal replacement. For a small dog, 1-2 fish per day is plenty. A medium dog can have 2-3, and a large dog can have 3-5. Always introduce any new food slowly and remember that treats should not make up more than 10% of your dog’s daily caloric intake.
Will my house smell like fish?
Honestly, yes, a little bit. When you’re dehydrating or baking fish for several hours, a fishy aroma is unavoidable. You can minimize it by running your kitchen’s exhaust fan, opening windows, or, if possible, setting up your dehydrator in a garage or on a covered patio. The smell dissipates quickly once you’re done, and trust us, your dog will think it’s the best smell in the world!
Can puppies eat dried capelin?
Yes! Capelin is fantastic for growing puppies. The Omega-3s (especially DHA) are vital for brain and eye development. Just be sure to introduce them slowly and perhaps break the fish into smaller, more manageable pieces for very small puppies. The frozen ‘pupsicle’ version is also excellent for soothing teething gums.
Are the bones safe for dogs to eat?
This is a very common and important question! The bones in small fish like capelin are tiny, soft, and fully digestible, especially after being dehydrated or cooked, which makes them brittle. They are considered perfectly safe for dogs to eat whole and are a great source of calcium. This is very different from the large, cooked bones from poultry or beef, which can splinter and be dangerous.
Conclusion
There you have it—seven fantastic ways to prepare crunchy, healthy, and delicious capelin treats that will have your dog doing zoomies with joy! From the classic dehydrator method to a quick air fryer batch or a cooling frozen snack, there’s a recipe here for every pet parent and every pup.
Making your own dog treats is one of the most rewarding things you can do. You get peace of mind knowing every single ingredient is wholesome and safe, and you get to see the pure happiness on your dog’s face. So go ahead, pick a recipe that sounds fun, and get ready to be your dog’s culinary hero. Happy treat-making!