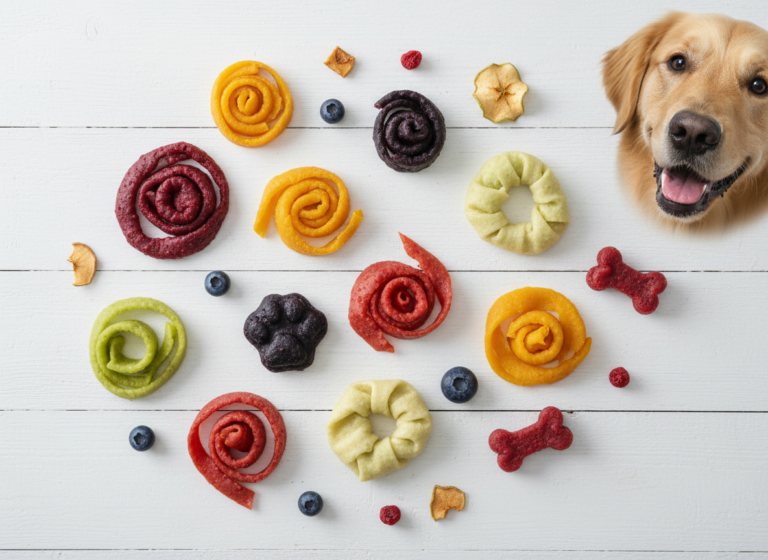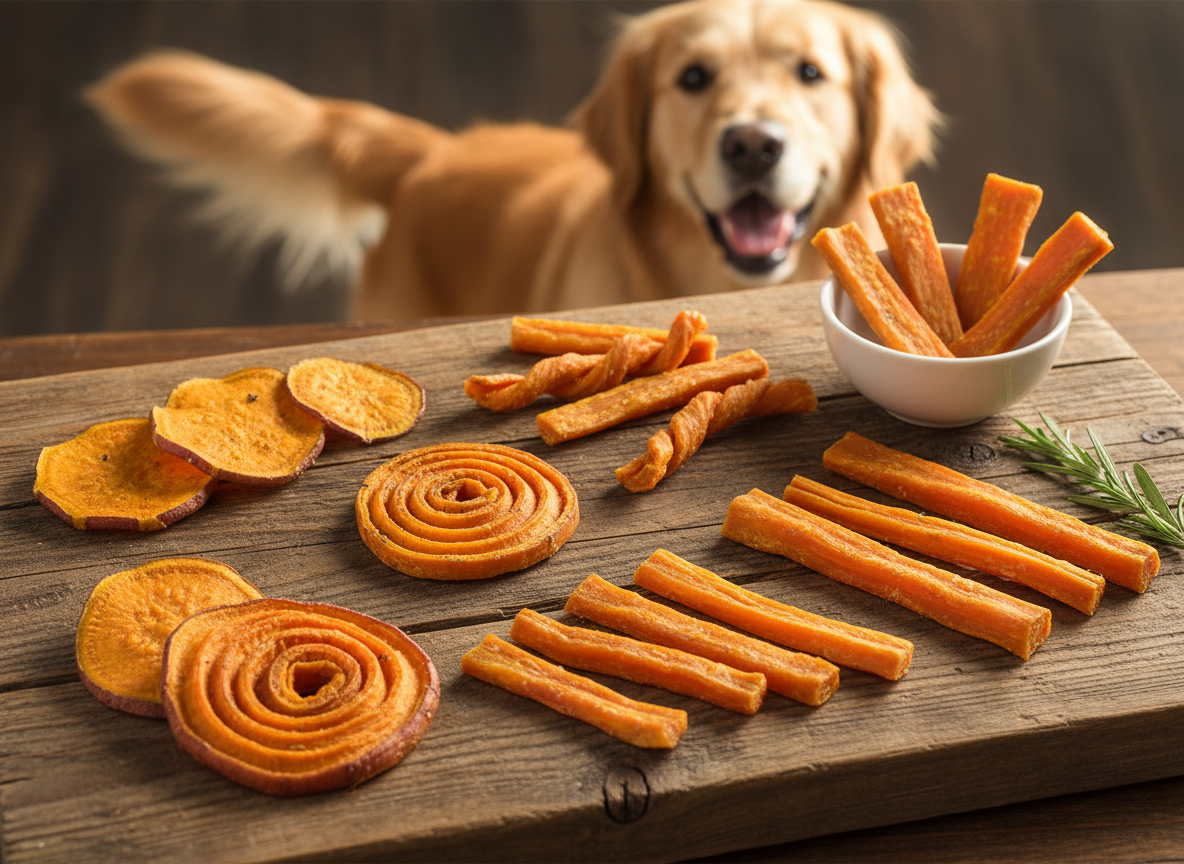
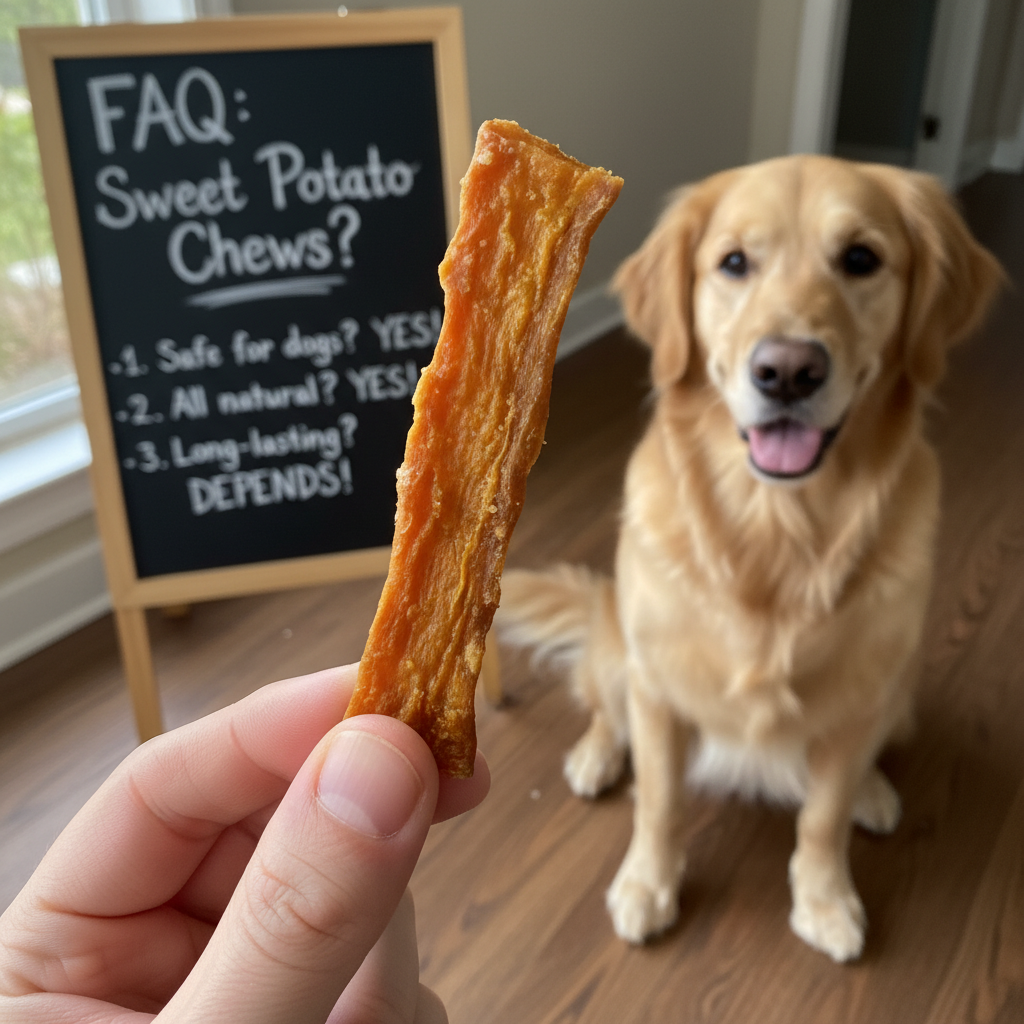
9 Sweet Potato Dog Chew Recipes Made in the Oven
Hey there, fellow pet parent! Are you tired of squinting at ingredient lists on dog treat packages, wondering what half of those things even are? We get it. Giving our dogs the best is priority number one, and that’s why we’re diving headfirst into the wonderful world of homemade treats. And our star ingredient? The humble, yet mighty, sweet potato!
Sweet potatoes are a powerhouse of nutrition for our canine companions. They’re packed with vitamins A, B6, and C, as well as fiber, potassium, and magnesium. They’re naturally sweet (which dogs love!), low in fat, and great for digestive health. By making them at home in your oven, you control everything—no preservatives, no artificial colors, and no mystery fillers. You just get pure, chewy goodness.
To help you get started, we’ve rounded up 9 different ways to turn this vibrant veggie into an irresistible chew. Whether your pup is a tiny teether or a senior snacker, there’s a recipe here they’ll adore.
Quick Recipe Comparison
| Recipe | Difficulty | Approx. Total Time | Best For |
|---|---|---|---|
| 1. The Classic Slice | Easiest | 3 – 4 hours | All-around favorite |
| 2. Crinkle-Cut Chews | Easy | 3 – 4 hours | Dental health & texture lovers |
| 3. Sweet Potato Twists | Medium | 4 – 5 hours | Enthusiastic chewers |
| 4. Cinnamon-Dusted Delights | Easy | 3 – 4 hours | Senior dogs (anti-inflammatory) |
| 5. Coconut Oil Coated Chews | Easy | 2.5 – 3.5 hours | Skin & coat health |
| 6. Parsley-Infused Fresheners | Easy | 3 – 4 hours | Dogs with bad breath |
| 7. Turmeric Golden Strips | Easy | Joint support & senior dogs | |
| 8. The ‘Fry’ Style Stick | Easy | Small dogs & training treats | |
| 9. The Super-Thin Crisp | Medium | Quick, crunchy rewards |
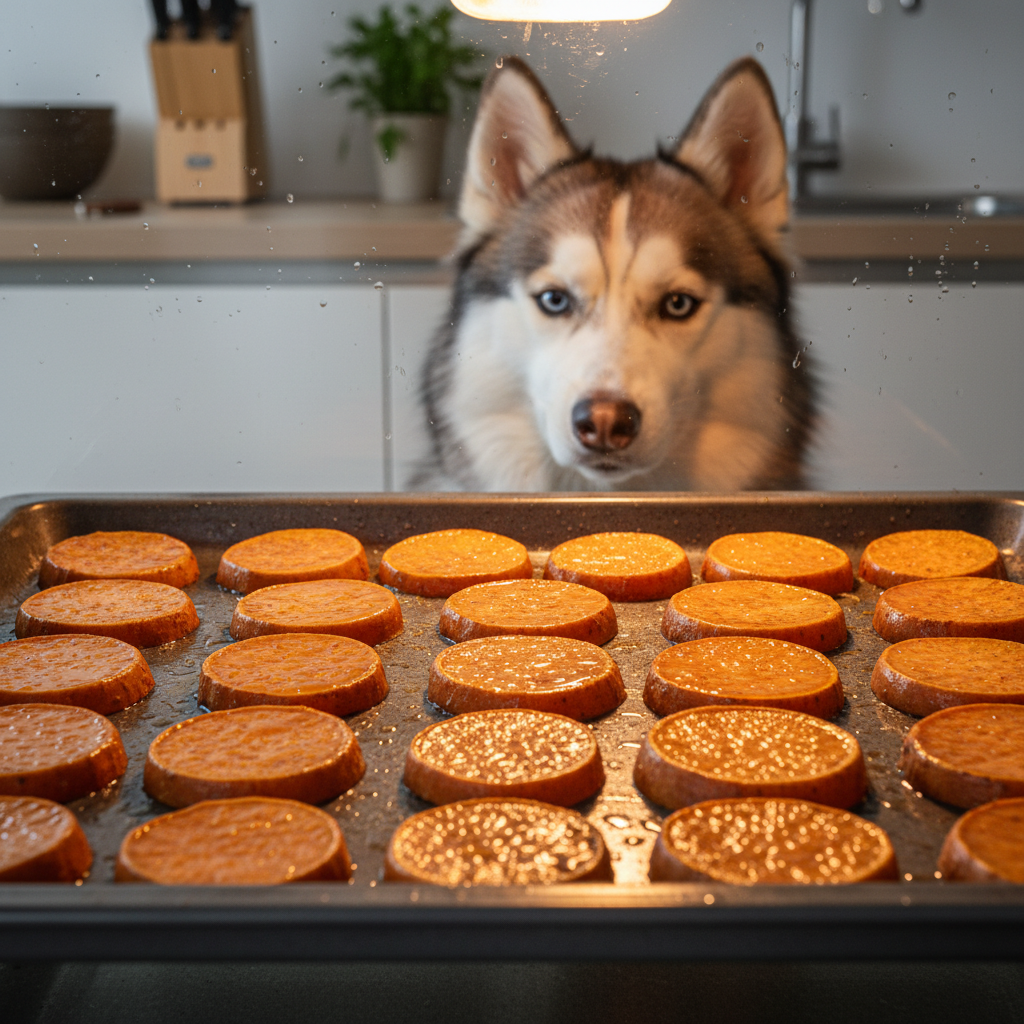
1. The Classic Slice
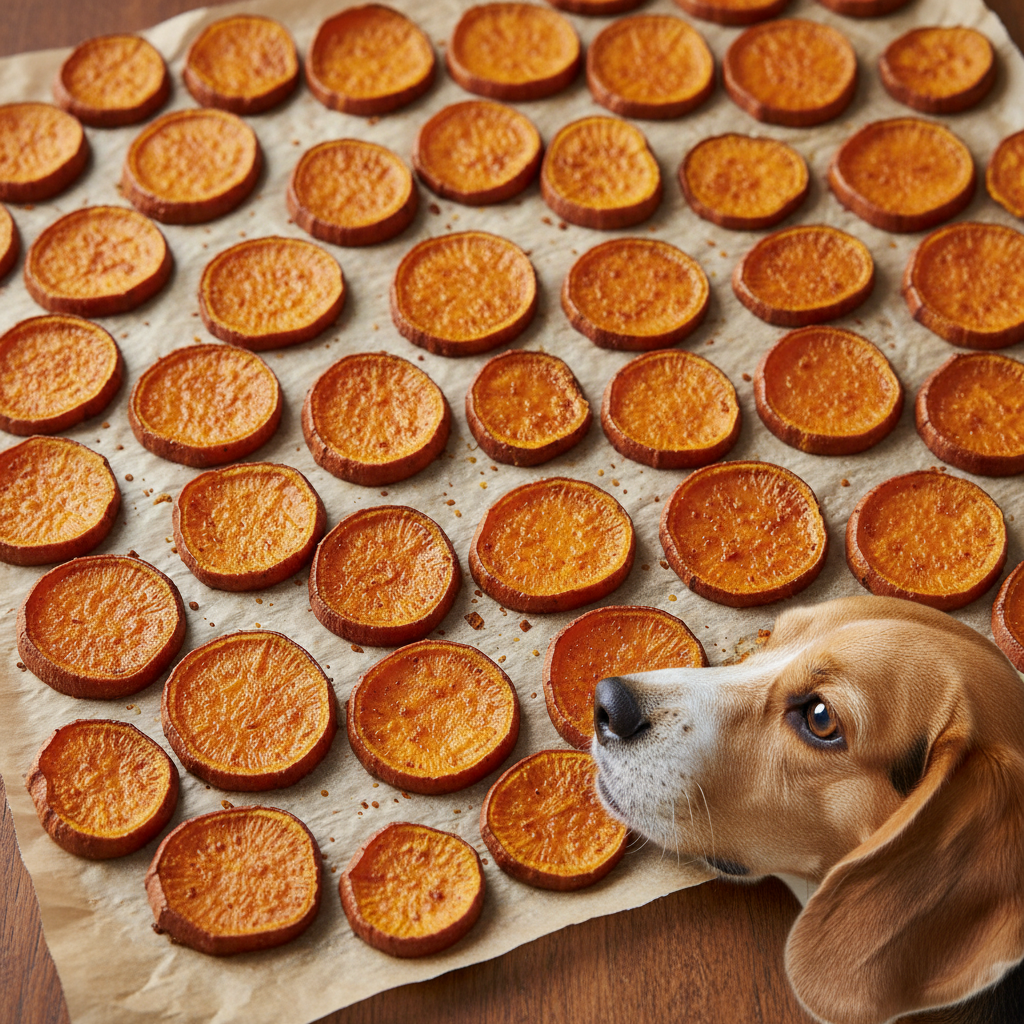
This is the OG, the foundation of all sweet potato chews. It’s incredibly simple and the perfect starting point for any budding dog treat chef. You can’t go wrong with this timeless recipe that dogs universally love.
Ingredients:
- 1-2 large sweet potatoes
Instructions:
- Preheat your oven to its lowest setting, typically around 200-250°F (95-120°C).
- Wash and scrub the sweet potatoes thoroughly. There’s no need to peel them; the skin is full of nutrients!
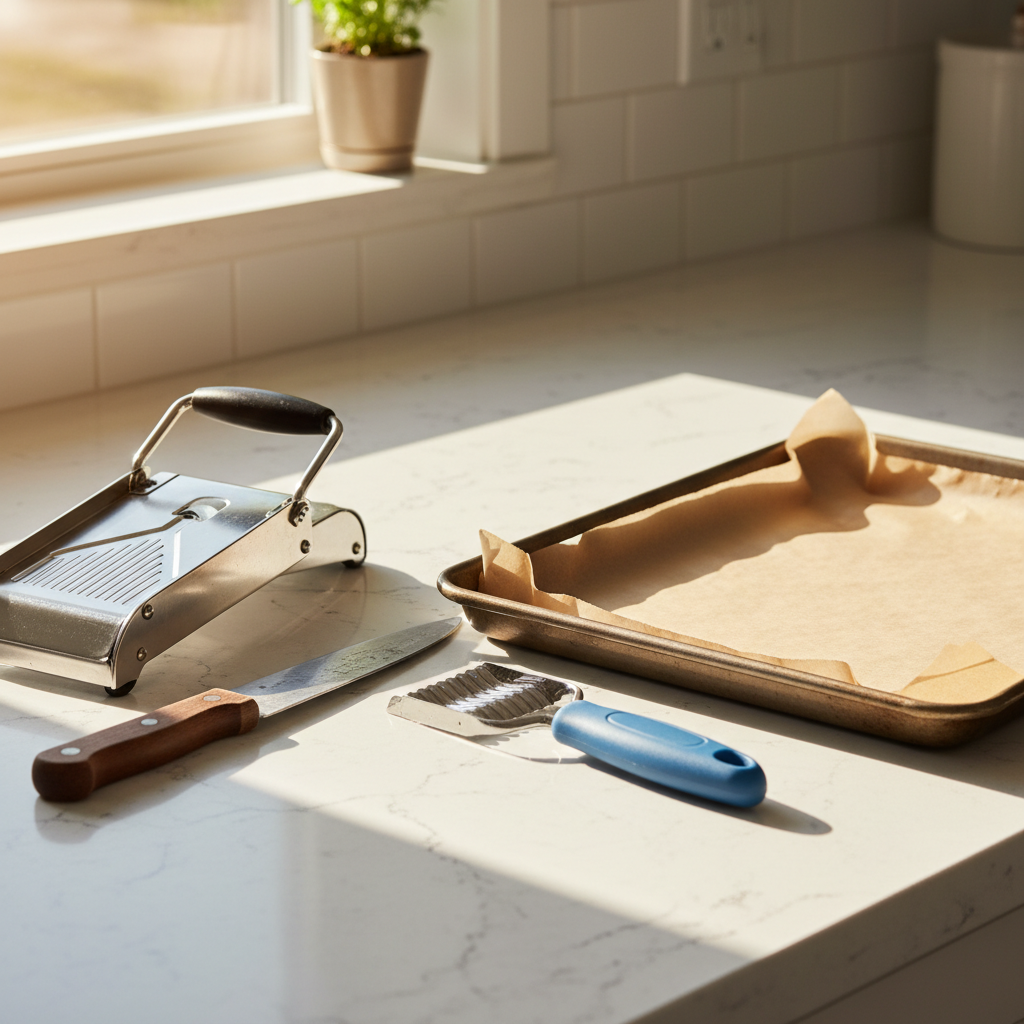
- Slice the sweet potatoes into uniform rounds, about 1/4-inch thick. A mandoline slicer is fantastic for consistency, but a sharp knife works just fine.
- Arrange the slices in a single layer on a baking sheet lined with parchment paper. Make sure they aren’t overlapping.
- Bake for 3-4 hours, flipping them halfway through. The total time will depend on your oven and the thickness of your slices.
- The chews are done when they are dry and leathery. For a crispier treat, you can turn the oven off and let them sit inside as it cools.
- Let them cool completely before treating your pup.
Pros & Cons
Pros:
|
Cons:
|
Verdict:
This recipe is perfect for everyone. It’s the ideal first step into homemade dog treats and a reliable, healthy chew that you can make any time with minimal effort.
2. The Crinkle-Cut Chew
Want to add a little flair and function to your chews? A crinkle cutter is your best friend! The ridges and valleys in these chews create an interesting texture that can help gently clean your dog’s teeth as they gnaw.
Ingredients:
- 1-2 large sweet potatoes
Instructions:
- Preheat your oven to 225°F (107°C).
- Wash and scrub the sweet potatoes well.
- Using a crinkle-cut knife or a mandoline with a crinkle blade, slice the potatoes into 1/3-inch thick rounds. The thicker cut helps the ridges hold up.
- Place the crinkled slices on a parchment-lined baking sheet in a single layer.
- Bake for 3-4 hours, flipping them over at the halfway point.
- They’re ready when they feel dry to the touch and have a leathery, chewy consistency.
- Cool completely on a wire rack.
Pros & Cons
Pros:
|
Cons:
|
Verdict:
This is a great choice for dogs who love texture and for owners who want to provide a little extra dental benefit during treat time. It’s a simple way to make treat time more enriching.
3. The Sweet Potato Twist
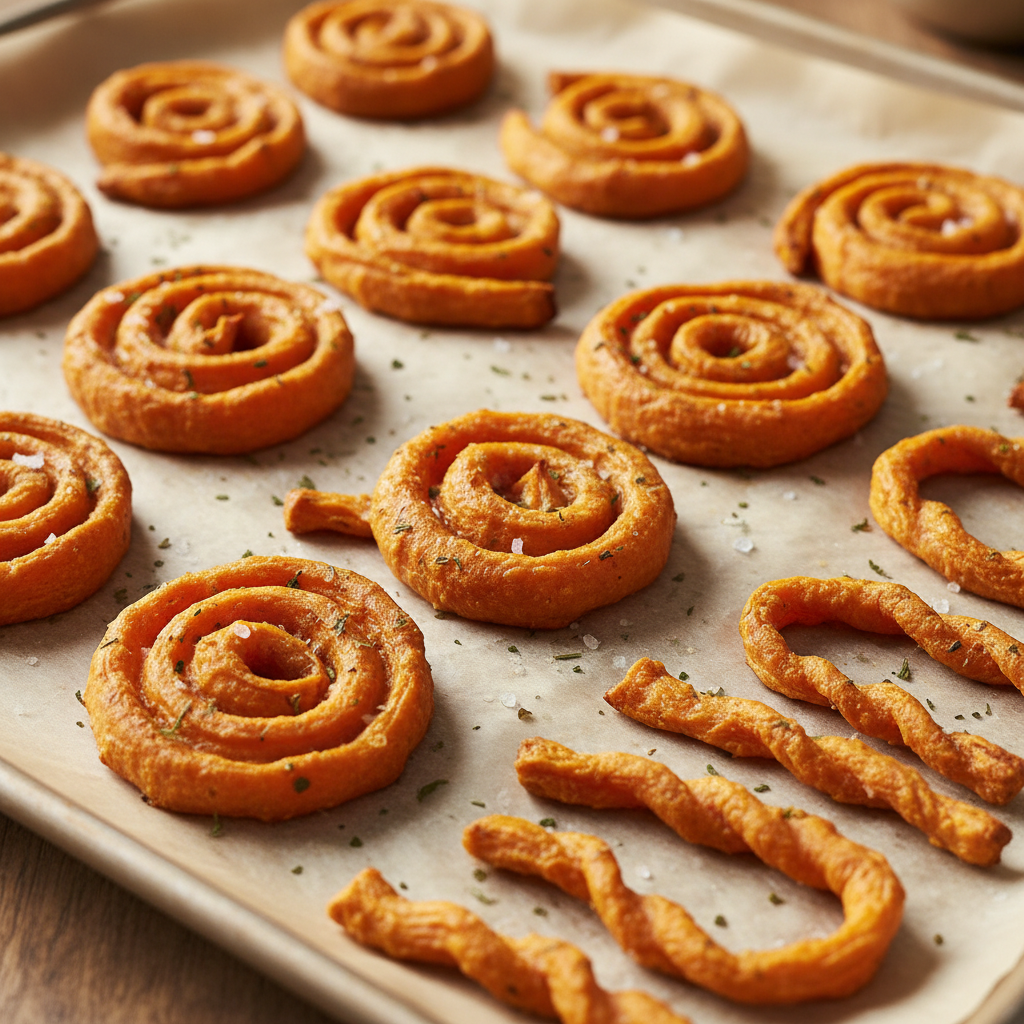
For dogs that need a bit more of a challenge, the twist is the way to go. This shape is a little tougher to get through than a simple slice, providing more chew time and mental stimulation for your power-chewing pal.
Ingredients:
- 1-2 very long, straight sweet potatoes
Instructions:
- Preheat your oven to 250°F (120°C).
- Wash and scrub the potatoes.
- Slice the potatoes lengthwise into 1/4-inch thick planks.
- Cut each plank into long, 1/2-inch wide strips.
- Take each strip and gently twist it several times, then place it on your parchment-lined baking sheet. The ends should hold the twist in place.
- Bake for 4-5 hours, flipping them carefully after about 2.5 hours.
- These will take longer to dry out completely due to their shape. They are done when they are firm and tough.
- Cool completely before serving.
Pros & Cons
Pros:
|
Cons:
|
Verdict:
Ideal for the enthusiastic chewer in your life! If your dog demolishes a regular slice in seconds, give these twists a try for a longer-lasting, more satisfying treat experience.
4. Cinnamon-Dusted Delights
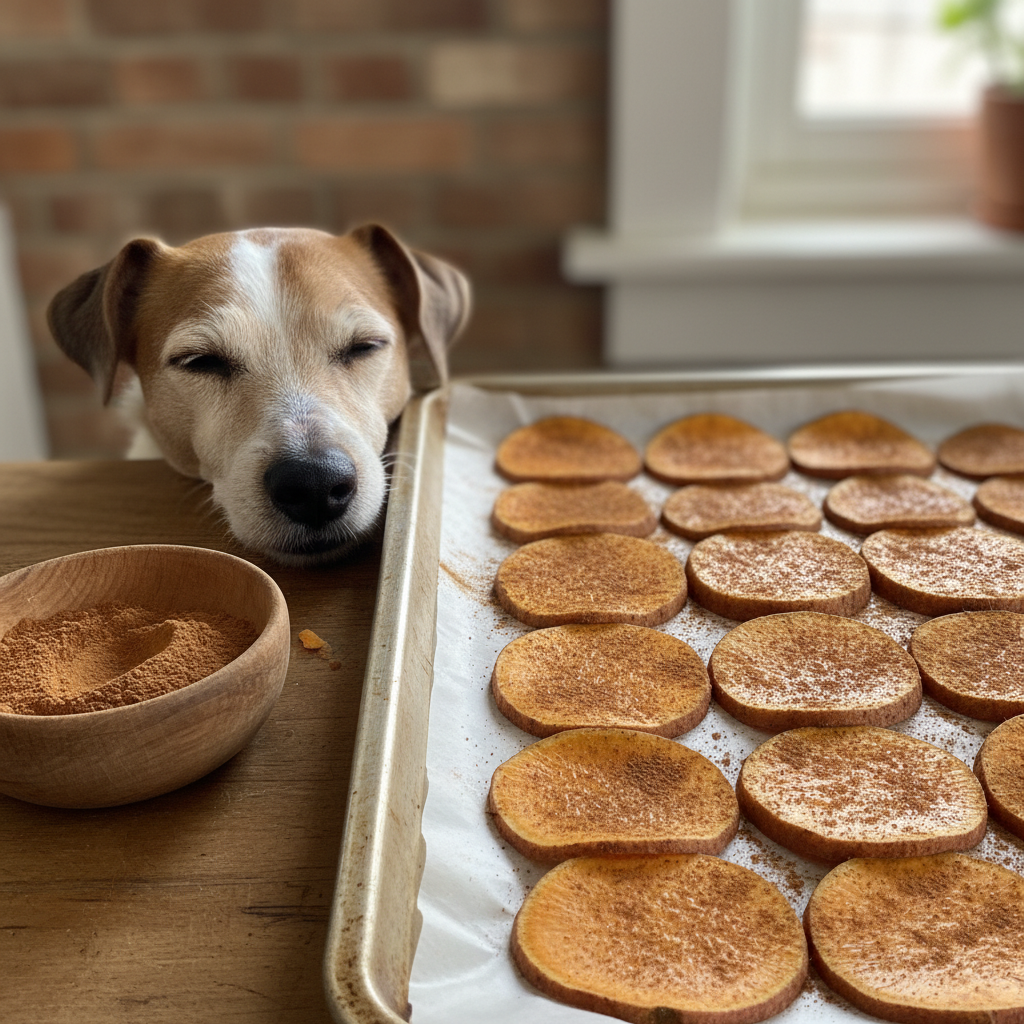
A little sprinkle of spice can make all the difference! Ceylon cinnamon is not only safe for dogs in moderation, but it also boasts anti-inflammatory properties, making it a fantastic addition for senior dogs or those with joint issues. Plus, it smells amazing while baking!
Ingredients:
- 1-2 large sweet potatoes
- 1/2 teaspoon Ceylon cinnamon (important: do not use Cassia cinnamon)
Instructions:
- Preheat oven to 225°F (107°C).
- Wash, scrub, and slice the sweet potatoes into 1/4-inch rounds.
- Place the slices in a bowl or a large zip-top bag.
- Sprinkle the Ceylon cinnamon over the slices and toss gently to coat them evenly.
- Arrange the cinnamon-dusted slices on a parchment-lined baking sheet.
- Bake for 3-4 hours, flipping halfway through, until they are leathery and dry.
- Let them cool completely. Your kitchen will smell like autumn!
Pros & Cons
Pros:
|
Cons:
|
Verdict:
A wonderful choice for older dogs needing a little joint support or for any pup that enjoys a bit of extra flavor. The warm, comforting aroma is a bonus for the human baker, too!
5. Coconut Oil Coated Chews
Give your dog’s coat a beautiful shine from the inside out with these coconut oil-coated chews. Coconut oil is full of healthy fats (medium-chain triglycerides) that are great for skin, coat, and cognitive health. It also helps the chews brown nicely in the oven.
Ingredients:
- 1-2 large sweet potatoes
- 1 tablespoon melted coconut oil
Instructions:
- Preheat oven to 250°F (120°C).
- Wash, scrub, and slice the sweet potatoes into 1/4-inch thick rounds or strips.
- In a large bowl, toss the sweet potato slices with the melted coconut oil until they are lightly coated.
- Spread the slices in a single layer on a parchment-lined baking sheet.
- Bake for 2.5 to 3.5 hours, flipping once. The oil may reduce the baking time slightly, so keep an eye on them.
- They are done when they are chewy and the edges are slightly caramelized.
- Cool fully on a wire rack.
Pros & Cons
Pros:
|
Cons:
|
Verdict:
Perfect for dogs with dry skin or dull coats, or for any pup that could use a boost of healthy fats. These are a functional treat that tastes like a decadent indulgence.
6. Parsley-Infused Fresheners
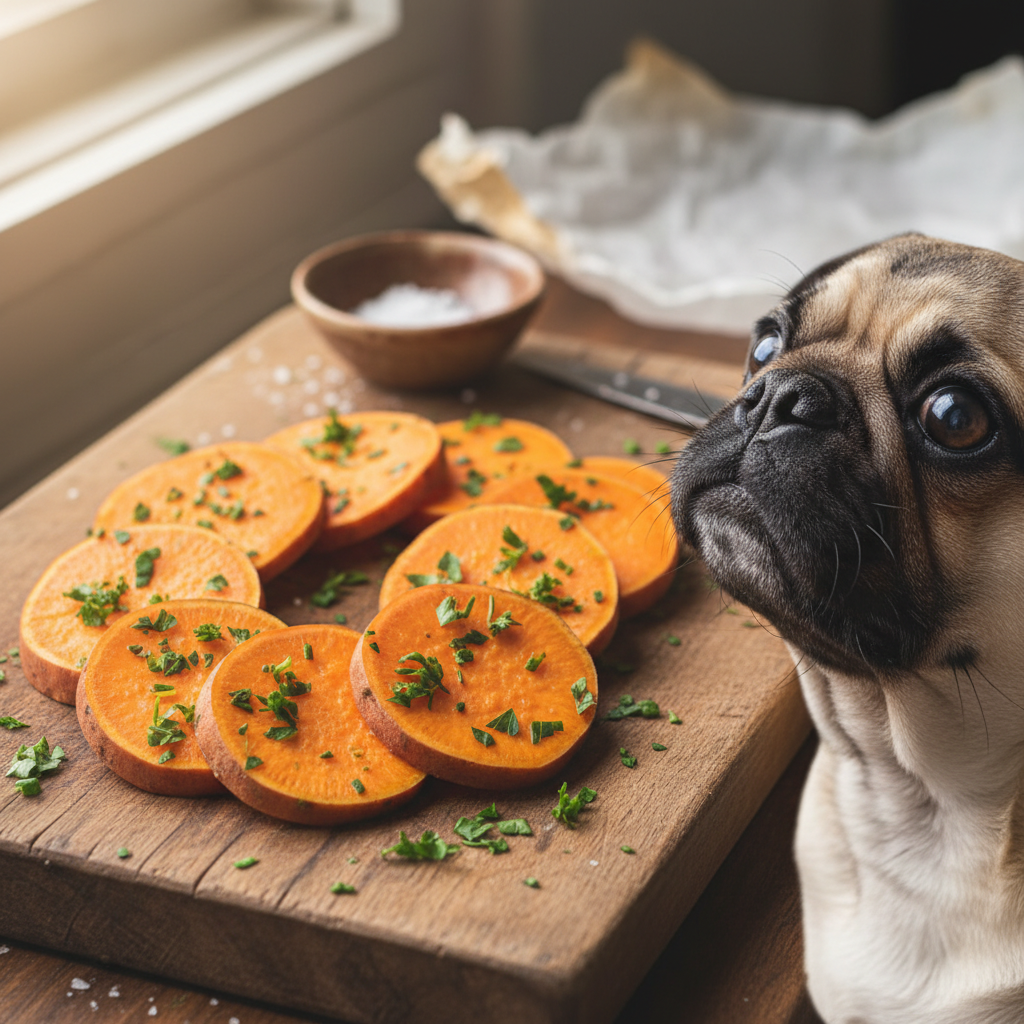
Is your dog’s breath less than pleasant? Call in the green reinforcements! Parsley is a natural breath freshener. By infusing it into these chews, you create a treat that’s not just tasty but also helps combat doggy breath with every bite.
Ingredients:
- 1-2 large sweet potatoes
- 2 tablespoons finely chopped fresh parsley
Instructions:
- Preheat your oven to 225°F (107°C).
- Wash, scrub, and slice your sweet potatoes into your desired shape (rounds or sticks work well).
- In a bowl, toss the sweet potato pieces with the finely chopped parsley. Press the parsley onto the slices to help it adhere.
- Arrange the pieces in a single layer on a baking sheet lined with parchment paper.
- Bake for 3-4 hours, flipping halfway through. The parsley will darken as it dries.
- Cool completely before letting your dog enjoy their breath-freshening snack.
Pros & Cons
Pros:
|
Cons:
|
Verdict:
A must-try for any dog owner who leans away from puppy kisses due to bad breath. It’s a simple, healthy, and effective way to tackle the problem from the inside out.
7. Turmeric Golden Strips
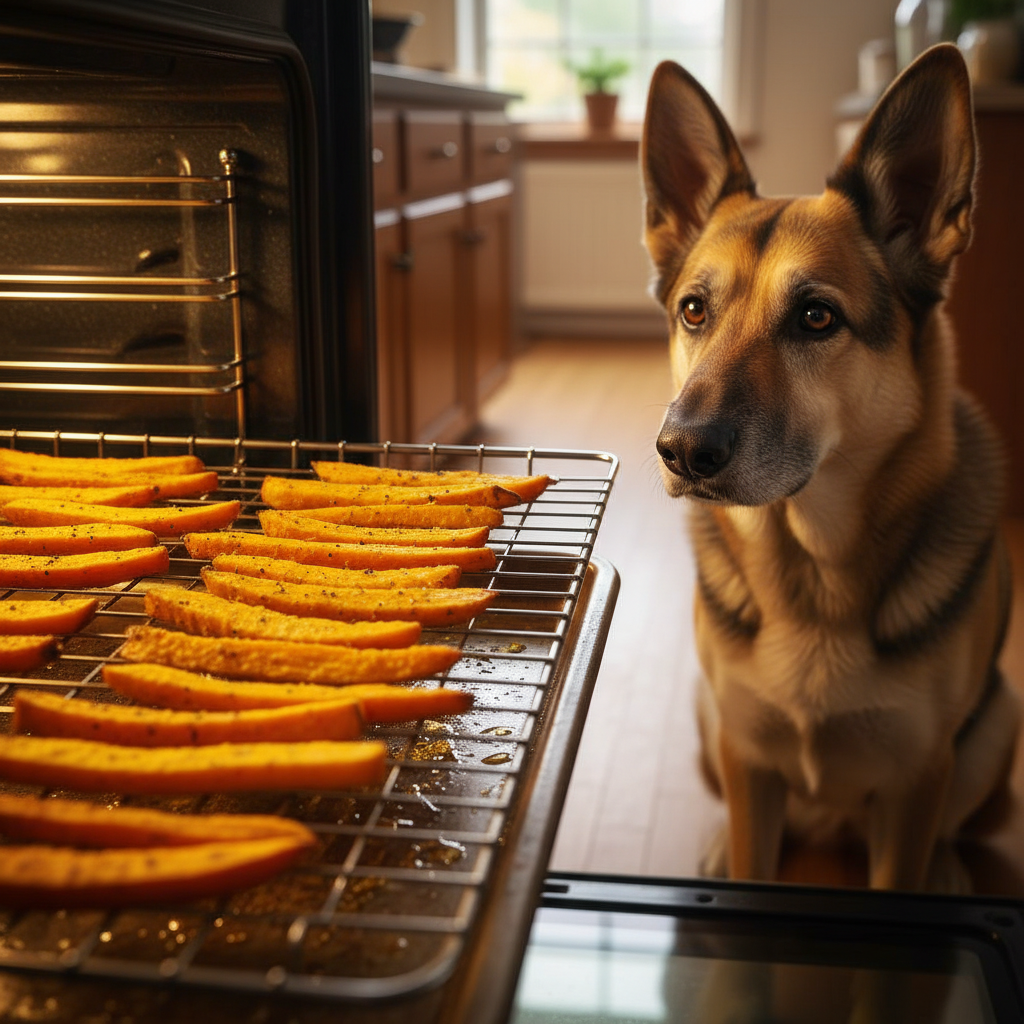
Turmeric is a super-spice known for its powerful anti-inflammatory compound, curcumin. This makes it another excellent choice for senior dogs, active dogs, or any pup that could benefit from some natural joint support. A little goes a long way!
Ingredients:
- 1-2 large sweet potatoes
- 1/2 teaspoon turmeric powder
- A pinch of black pepper (helps with turmeric absorption)
Instructions:
- Preheat oven to 225°F (107°C).
- Wash, scrub, and cut the sweet potatoes into long, 1/3-inch thick strips.
- In a large bag or bowl, combine the turmeric and black pepper. Add the sweet potato strips and shake until they are lightly coated in the golden powder.
- Place the strips on a parchment-lined baking sheet.
- Bake for 3.5 to 4.5 hours, flipping halfway. The turmeric will give them a beautiful deep golden color.
- Allow to cool completely before serving.
Pros & Cons
Pros:
|
Cons:
|
Verdict:
This is the go-to recipe for aging pups or very active dogs. It’s a fantastic, functional treat that helps support their joints and keep them comfortable and mobile, all while they enjoy a tasty chew.
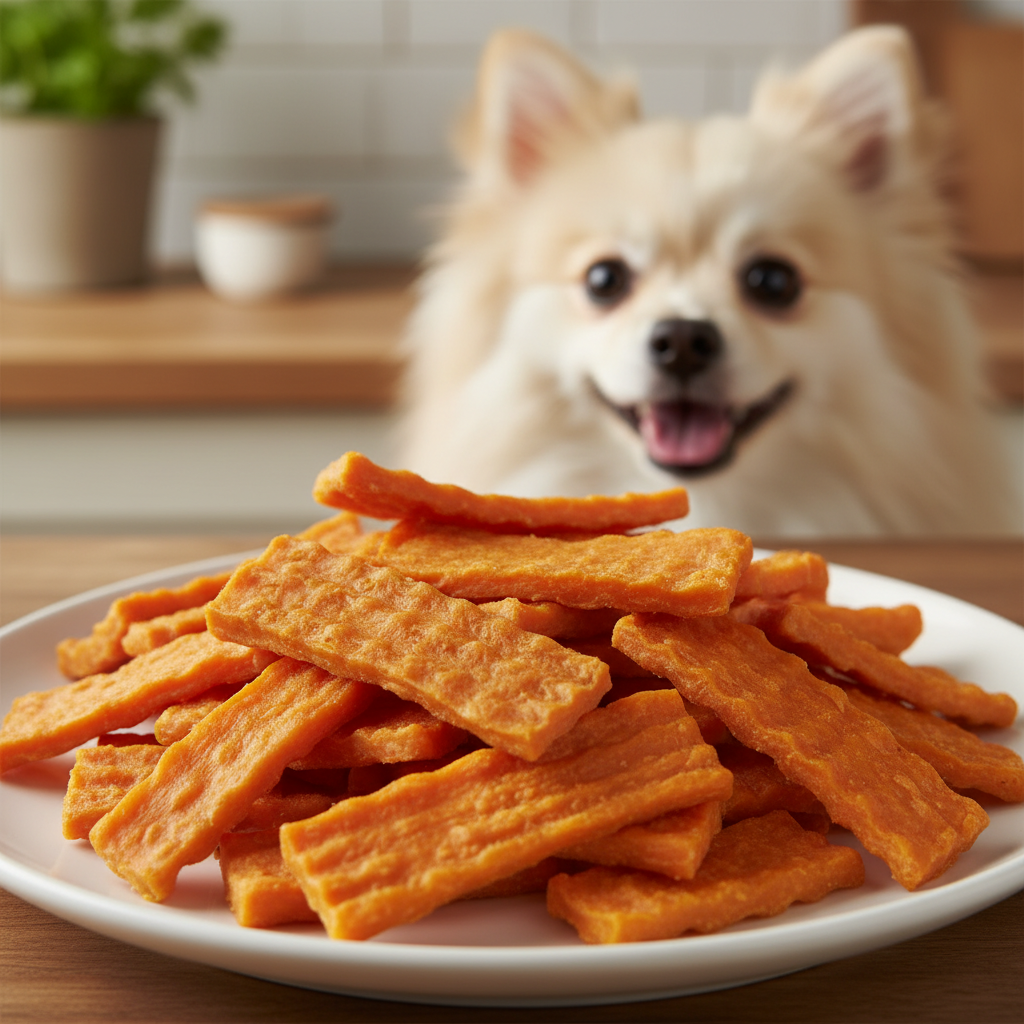
8. The ‘Fry’ Style Stick

Perfectly sized for smaller mouths or for use as a high-value training reward, these ‘fry’ style sticks are easy for dogs to hold and chew. They dry a bit faster than larger rounds and are wonderfully versatile for all sorts of situations.
Ingredients:
- 1-2 large, blocky sweet potatoes
Instructions:
- Preheat oven to 250°F (120°C).
- Wash, scrub, and trim the ends of the sweet potatoes.
- Cut the potatoes into 1/3-inch thick planks.
- Stack the planks and cut them into 1/3-inch wide sticks, just like french fries.
- Spread the sticks out on a parchment-lined baking sheet, trying to give them some space.
- Bake for 2.5 to 3 hours, shaking the pan or flipping them halfway through to ensure even drying.
- They’re done when they are firm and chewy. Cool completely.
Pros & Cons
Pros:
|
Cons:
|
Verdict:
An excellent all-purpose treat shape. Especially great for owners of small breeds who find large rounds cumbersome, or for anyone looking for a healthy, single-ingredient training treat.
9. The Super-Thin Crisp
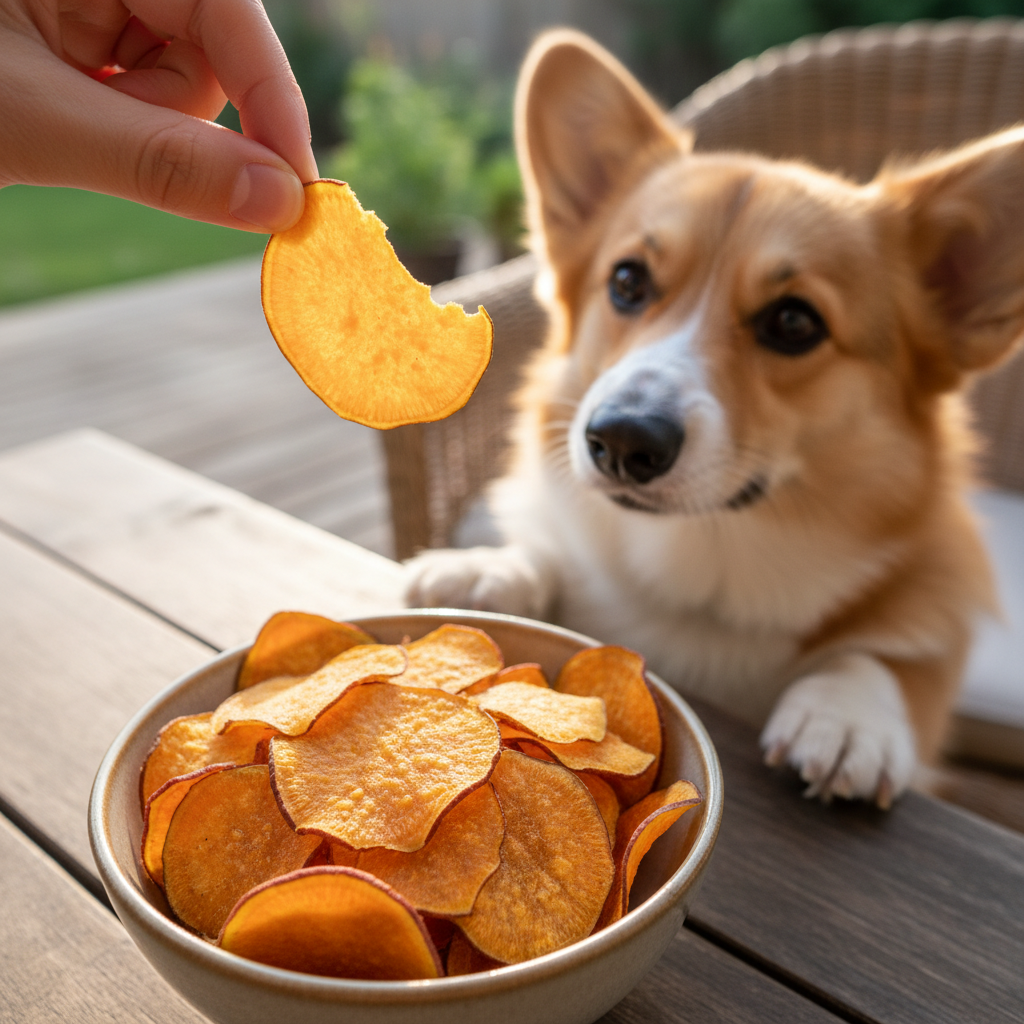
For dogs who prefer a crunch over a chew, these super-thin crisps are the answer. They bake up into a light, brittle chip that’s incredibly satisfying. This is the fastest recipe of the bunch, delivering a crunchy reward in less time.
Ingredients:
- 1 large sweet potato
Instructions:
- Preheat oven to 275°F (135°C). Note the slightly higher temperature.
- Wash and scrub the sweet potato.
- Using a mandoline slicer is highly recommended for this recipe. Set it to its thinnest setting (about 1/8-inch or less).
- Carefully slice the potato into paper-thin rounds.
- Arrange the delicate slices in a single layer on a parchment-lined baking sheet.
- Bake for 1.5 to 2 hours, flipping once. Watch them closely during the last 30 minutes as they can go from crisp to burnt quickly.
- They are done when they are brittle and snap easily.
- Let them cool completely, and they will crisp up even more.
Pros & Cons
Pros:
|
Cons:
|
Verdict:
This one’s for the crunch-lovers! If your dog goes wild for the sound of a potato chip bag, these healthy, crunchy crisps will be their new favorite thing. Also great for dogs on a diet due to their light, airy nature.
Your Guide to Perfect Sweet Potato Chews
Ready to become a master chew-maker? Keep these tips in your back pocket to ensure every batch comes out perfectly.
Choosing the Right Potatoes
Look for sweet potatoes that are firm, with smooth skin and no bruises or soft spots. Longer, more evenly shaped potatoes are easier to slice into uniform pieces, especially for recipes like the twists or fries.
The Slice is Everything
Consistency is key! Slices of the same thickness will bake at the same rate. A mandoline slicer is a game-changer for getting perfectly even slices every time. If using a knife, take your time and aim for a consistent 1/4-inch thickness for chews or 1/3-inch for sticks and crinkle cuts.
Low and Slow is the Way to Go
The goal here isn’t to cook the potato, but to dehydrate it. A low oven temperature (between 200-250°F or 95-120°C) slowly removes the moisture without burning the natural sugars in the potato. Rushing the process with high heat will result in a treat that’s burnt on the outside and still soft on the inside, which can lead to mold.
How to Tell When They’re Done
The final texture depends on your dog’s preference. For a chewy treat, they should feel dry to the touch and leathery, but still have some bend. For a crunchy treat, bake them a little longer until they are hard and brittle. Remember, they will continue to harden and crisp up as they cool.
Proper Storage is Crucial
Because these are homemade without preservatives, proper storage is vital to prevent mold. Make sure the chews are completely cool and dry before storing. Store them in a container that allows for some air circulation, like a cookie jar with a loose lid or a paper bag. For longer-term storage, you can keep them in an airtight container in the refrigerator for a few weeks or in the freezer for several months.
Frequently Asked Questions
Are sweet potato chews safe for all dogs?
For most dogs, yes! Sweet potatoes are a safe and healthy treat. However, because they are high in fiber, introducing too many at once can cause digestive upset. They also contain natural sugars, so they should be given in moderation, especially to diabetic or overweight dogs. As with any new food, start with a small amount and consult your vet if you have concerns.
How many sweet potato chews can my dog have a day?
This depends on the size of your dog and the size of the chews. A good rule of thumb is that treats should not make up more than 10% of your dog’s daily caloric intake. For a small dog, one or two small chews might be plenty. For a large dog, a few larger chews may be appropriate. Think of them as a special reward, not a meal replacement.
Can I use a food dehydrator instead of an oven?
Absolutely! A food dehydrator is actually the ideal tool for this job. It’s designed for low, slow, even drying. Simply follow your dehydrator’s instructions for fruits/vegetables. It will likely take longer (8-12 hours), but it’s very energy-efficient and yields fantastic, consistent results.
My chews got moldy! What did I do wrong?
Mold is almost always caused by trapped moisture. This can happen for two reasons: either the chews weren’t dried out enough in the oven, or they were stored in an airtight container before they were completely cool. To avoid this, make sure your chews are thoroughly dehydrated and always let them cool on a wire rack for several hours before storing them.
Conclusion
There you have it! Nine fantastic ways to bake up some love for your furry best friend. Making your own dog treats is more than just a way to save money or avoid weird ingredients; it’s a simple, rewarding act of love. Your dog doesn’t care if the slices are a little uneven or if the twists are a bit wonky. They just know that you made something special just for them.
So, pick a recipe that sounds fun, preheat that oven, and get ready for some serious tail wags. Happy baking!