7 Copycat Homemade Milk Bone Recipes Better Than the Original
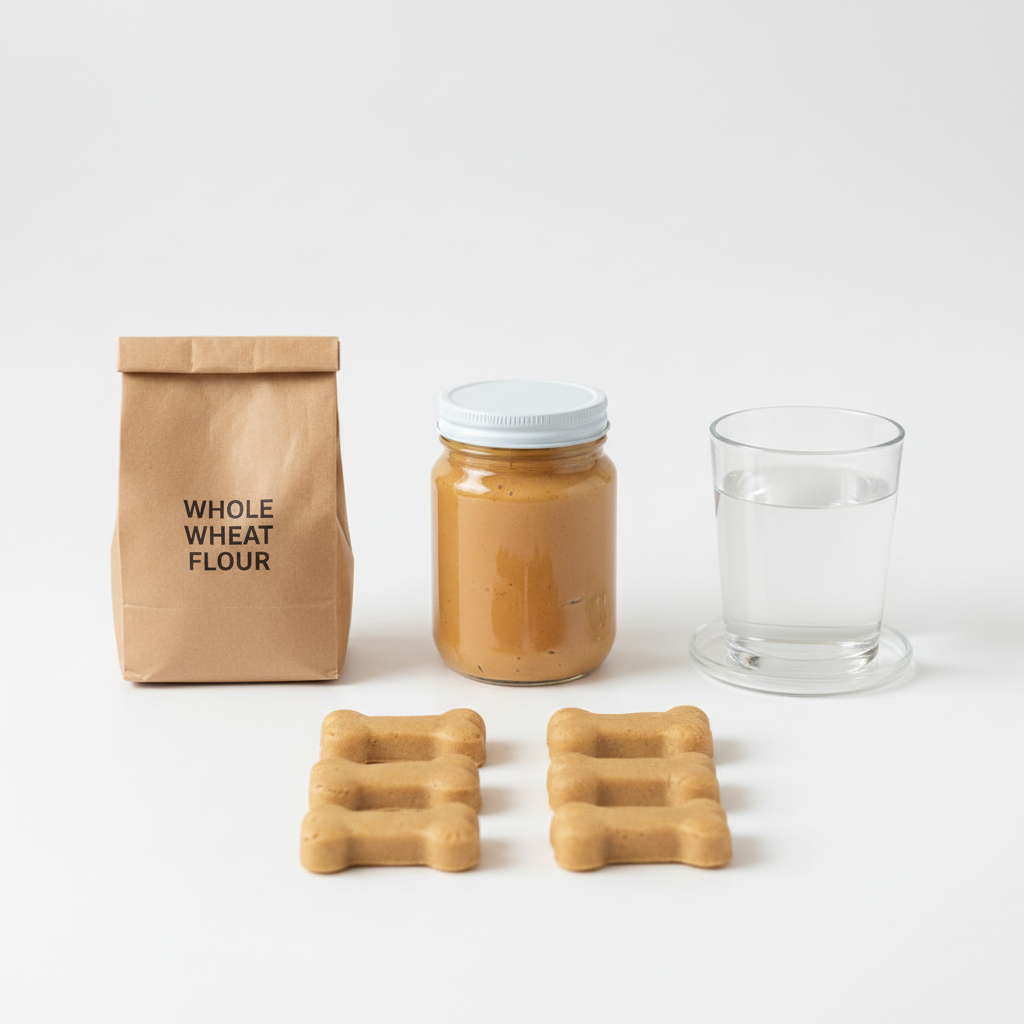
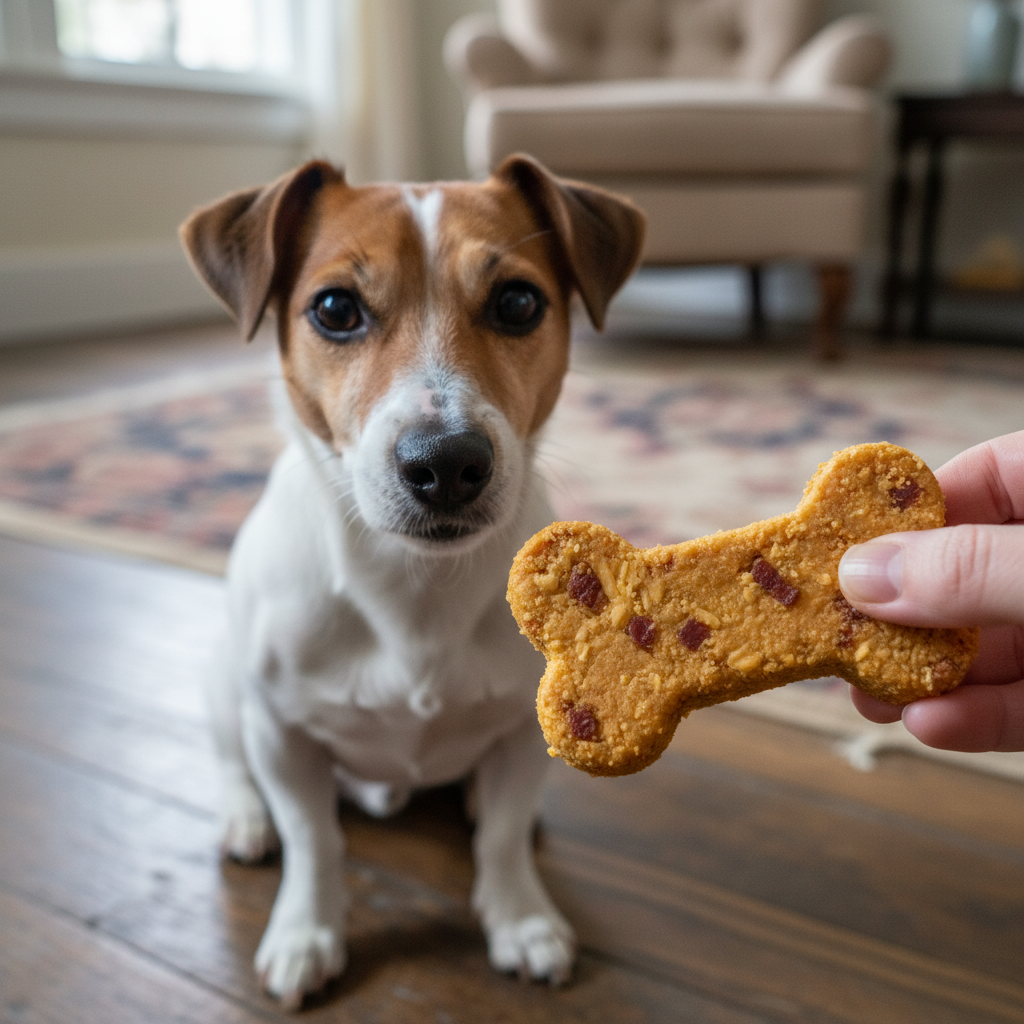
There’s nothing quite like the look on your dog’s face when you reach for the treat jar. That tail-wagging, ear-perking excitement is one of the best parts of being a pet parent! For decades, the go-to crunchy treat has been the classic Milk-Bone. And while our dogs may love them, have you ever glanced at the long list of ingredients and wondered if you could do better? The answer is a resounding YES!
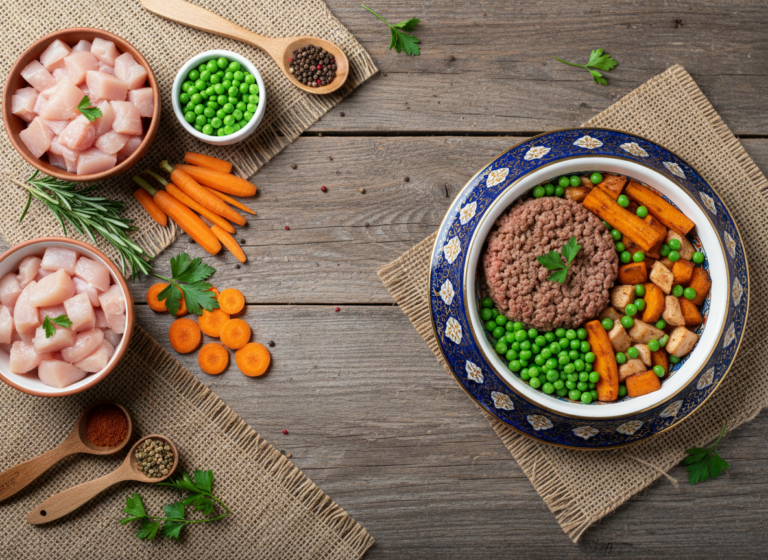
Making your own dog treats at home is a game-changer. You get complete control over what goes into your pup’s tummy—no strange preservatives, artificial flavors, or unnecessary fillers. Plus, you can customize recipes to suit your dog’s specific dietary needs and taste preferences. It’s a fun, rewarding process that fills your home with the delicious aroma of baking and ends with a healthier, happier pup. Ready to become your dog’s personal baker? We’ve rounded up seven fantastic copycat Milk-Bone recipes that are not only easy to make but are way more delicious and nutritious than the original. Let’s preheat those ovens!
Quick Recipe Comparison
| Recipe Name | Main Flavor | Best For | Approx. Time |
|---|---|---|---|
| Classic Peanut Butter & Pumpkin | Peanut Butter & Pumpkin | Overall Health & Digestion | 45 mins |
| Oat & Apple Cinnamon Treats | Apple & Cinnamon | Sensitive Stomachs | 50 mins |
| Grain-Free Sweet Potato & Bacon | Bacon & Sweet Potato | Dogs with Grain Allergies | 60 mins |
| Beef Broth & Parsley Bones | Beef & Herbs | Freshening Breath | 40 mins |
| Simple 3-Ingredient PB Bones | Peanut Butter | Beginner Bakers & Quick Treats | 30 mins |
| Cheddar & Bacon Savory Bites | Cheese & Bacon | Picky Eaters | 50 mins |
| Carrot & Turmeric Health Boosters | Carrot & Spices | Senior Dogs & Joint Health | 55 mins |
1. The Classic Peanut Butter & Pumpkin Bone

This recipe is the quintessential homemade dog treat. It combines two flavors most dogs find irresistible: creamy peanut butter and earthy pumpkin. Pumpkin is a superstar ingredient, fantastic for digestive health, while peanut butter provides healthy fats and protein. This recipe creates a sturdy, crunchy biscuit that’s perfect for a daily reward.
Ingredients:
- 2 1/2 cups whole wheat flour (or all-purpose)
- 1 cup pumpkin puree (100% pure pumpkin, not pie filling)
- 1/2 cup all-natural, xylitol-free peanut butter
- 2 large eggs
- 1/2 teaspoon cinnamon (optional)
Instructions:
- Preheat your oven to 350°F (175°C) and line a baking sheet with parchment paper.
- In a large bowl, whisk together the pumpkin puree, peanut butter, and eggs until well combined.
- Gradually add the whole wheat flour and cinnamon (if using) to the wet ingredients. Mix with a spatula until a stiff dough forms. You may need to use your hands to bring it all together.
- Lightly flour a clean surface and roll out the dough to about 1/4-inch thickness.
- Use a bone-shaped cookie cutter (or any shape you like!) to cut out the treats. Place them on the prepared baking sheet.
- Bake for 20-25 minutes, or until the edges are golden brown and the treats are hard to the touch. For an extra crunchy biscuit, turn off the oven and let the treats cool inside with the door cracked open.
- Let cool completely before serving to your eager pup.
Pros & Cons
Pros
|
Cons
|
Verdict:
This is the perfect all-rounder recipe for any dog owner looking to start their baking journey. It’s simple, reliable, and a guaranteed crowd-pleaser for pups who love classic flavors and a good crunch.
2. Oat & Apple Cinnamon Treats

If your dog has a bit of a sensitive stomach, this recipe is a fantastic choice. Oats are gentle on the digestive system and packed with soluble fiber. The addition of unsweetened applesauce and a dash of cinnamon makes these treats smell like autumn and taste like heaven to your furry friend. They have a slightly softer texture than wheat-based biscuits.
Ingredients:
- 2 cups old-fashioned rolled oats, blended into a flour
- 1/2 cup unsweetened applesauce
- 1/4 cup water or low-sodium chicken broth
- 1 large egg
- 1 teaspoon cinnamon
Instructions:
- Preheat your oven to 350°F (175°C) and line a baking sheet with parchment paper.
- To make oat flour, simply place the rolled oats in a blender or food processor and pulse until they reach a flour-like consistency.
- In a medium bowl, combine the oat flour and cinnamon.
- In a separate bowl, whisk together the applesauce, egg, and water (or broth).
- Pour the wet ingredients into the dry ingredients and mix until a sticky dough forms. Let it sit for 5 minutes to thicken.
- Roll the dough out between two pieces of parchment paper to about 1/4-inch thickness. This dough can be sticky, so the parchment helps!
- Cut out your desired shapes and place them on the baking sheet.
- Bake for 25-30 minutes, until firm and lightly browned.
- Cool completely on a wire rack before sharing.
Pros & Cons
Pros
|
Cons
|
Verdict:
This recipe is ideal for dogs with sensitive stomachs or those who need a lower-fat treat option. The sweet and comforting flavors of apple and cinnamon make it a unique and delicious reward.
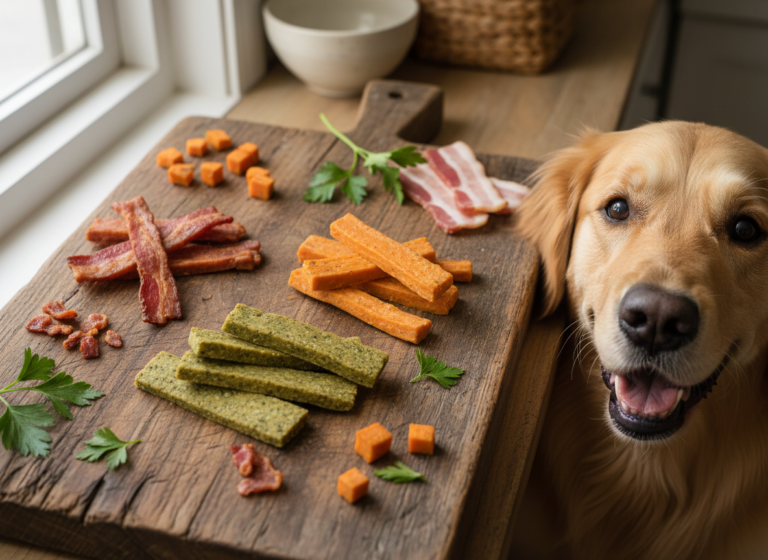
3. Grain-Free Sweet Potato & Bacon Treats

For the pup with grain sensitivities or allergies, this recipe is a lifesaver. It uses coconut flour, a fantastic grain-free alternative, and gets its structure and flavor from mashed sweet potato. And what dog can resist the savory, smoky allure of bacon? These treats are packed with flavor and are sure to get your dog’s tail wagging with anticipation.
Ingredients:
- 1 large sweet potato, cooked and mashed (about 1 cup)
- 1/2 cup coconut flour, plus more for dusting
- 1/4 cup bacon bits (use real bacon, cooked and crumbled)
- 1 large egg
- 1 tablespoon coconut oil, melted
Instructions:
- Preheat your oven to 375°F (190°C). Line a baking sheet with parchment paper.
- To cook the sweet potato, you can bake it, boil it, or microwave it until soft. Let it cool slightly, then remove the skin and mash it thoroughly.
- In a large bowl, combine the mashed sweet potato, egg, and melted coconut oil. Mix well.
- Add the coconut flour and crumbled bacon. Stir until a thick, pliable dough forms. Coconut flour is very absorbent, so the dough will stiffen up quickly.
- Dust your work surface with a little extra coconut flour. Roll the dough out to about 1/3-inch thickness.
- Cut into shapes and arrange on your prepared baking sheet.
- Bake for 15-20 minutes, until the edges are firm and the bottoms are lightly browned.
- Let them cool completely. They will continue to harden as they cool.
Pros & Cons
Pros
|
Cons
|
Verdict:
This is the ultimate treat for dogs on a grain-free diet. The combination of sweet and savory is a huge hit, making it a special-occasion biscuit that feels extra luxurious for your pup.
4. Beef Broth & Parsley Bones
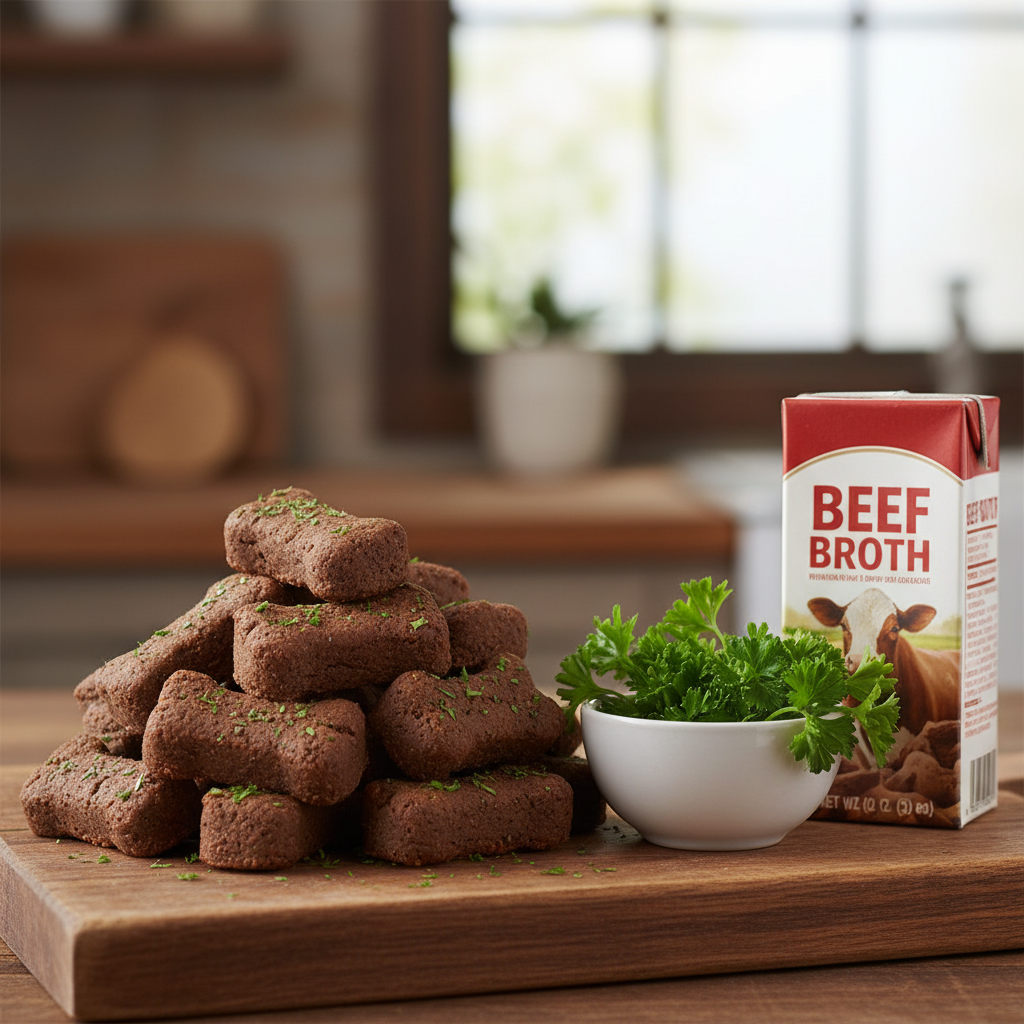
Does your furry friend have, shall we say, less-than-fresh breath? These treats are here to help! The savory flavor of beef broth makes them incredibly enticing, while fresh parsley works as a natural breath freshener. It’s a simple, effective recipe that tackles a common doggy problem while still delivering a delicious, crunchy snack.
Ingredients:
- 2 cups whole wheat flour
- 1/2 cup cornmeal or powdered milk for texture
- 1/2 cup low-sodium beef broth
- 1/4 cup fresh parsley, finely chopped
- 1 large egg
- 3 tablespoons vegetable oil or melted bacon fat
Instructions:
- Preheat your oven to 350°F (175°C) and prepare a baking sheet with parchment paper.
- In a large bowl, mix the whole wheat flour and cornmeal (or powdered milk).
- Add the chopped parsley and stir to combine.
- In a separate bowl, whisk together the beef broth, egg, and oil.
- Pour the wet ingredients into the dry and mix until you have a firm dough. Knead it a few times on a floured surface until it comes together smoothly.
- Roll the dough to 1/4-inch thickness and cut out your treats.
- Place on the baking sheet and bake for 25-30 minutes, until hard and golden.
- Cool completely before storing. These get very crunchy, just like the store-bought kind!
Pros & Cons
Pros
|
Cons
|
Verdict:
Perfect for owners looking for a treat with benefits! If your dog loves savory flavors and you’d appreciate a little help in the breath department, this recipe is a win-win.
5. Simple 3-Ingredient Peanut Butter Bones
New to baking? Or just short on time and ingredients? This is the recipe for you. With just three simple ingredients, you can whip up a batch of delicious, crunchy peanut butter treats in no time. It’s proof that you don’t need a complicated recipe to make your dog incredibly happy. This is as basic as it gets, and it’s absolutely perfect.
Ingredients:
- 2 cups whole wheat flour
- 1/2 cup all-natural, xylitol-free peanut butter
- 1 cup warm water
Instructions:
- Preheat your oven to 350°F (175°C). Lightly grease a baking sheet or line it with parchment paper.
- In a large bowl, combine the flour and peanut butter. It will be crumbly.
- Slowly add the warm water, mixing with a spatula or your hands until a firm dough forms. If it’s too sticky, add a bit more flour. If it’s too dry, add a splash more water.
- On a floured surface, roll the dough to about 1/4-inch thickness.
- Cut out shapes and place them on the prepared baking sheet.
- Bake for 18-20 minutes, until the edges are lightly browned.
- Turn off the oven and let the treats cool inside for at least an hour to get them extra hard and crunchy.
Pros & Cons
Pros
|
Cons
|
Verdict:
This is the go-to recipe for busy pet owners or anyone new to the world of homemade dog treats. It’s foolproof, fast, and delivers a classic peanut butter biscuit that dogs universally love.
6. Cheddar & Bacon Savory Bites
Do you have a picky eater on your hands? A dog who turns their nose up at sweeter treats? This recipe is your secret weapon. The powerful, savory combination of sharp cheddar cheese and salty bacon is virtually impossible for any canine to resist. These are rich, flavorful, and smell so good while baking, you might be tempted to try one yourself!
Ingredients:
- 2 cups all-purpose flour
- 1 cup shredded sharp cheddar cheese
- 1/2 cup cooked, crumbled bacon
- 1/4 cup vegetable oil
- 1 large egg
- 1/4 cup water or milk
Instructions:
- Preheat your oven to 375°F (190°C) and line a baking sheet with parchment paper.
- In a large bowl, stir together the flour, shredded cheese, and bacon crumbles.
- In a smaller bowl, whisk the egg, oil, and water (or milk) together.
- Pour the wet mixture into the dry ingredients and stir until just combined. Use your hands to form a cohesive ball of dough.
- Roll the dough out on a floured surface to about 1/4-inch thick.
- Cut into shapes. Because this is a richer treat, you might consider using a smaller cookie cutter.
- Place the treats on the baking sheet and bake for 20-25 minutes, or until golden brown and crisp.
- Let them cool completely before serving.
Pros & Cons
Pros
|
Cons
|
Verdict:
This is the ultimate high-value treat for training or for winning over the most discerning canine palate. Due to its richness, it’s best served in moderation, but it’s worth it for the sheer joy it brings.
7. Carrot & Turmeric Health Booster Bones

This recipe is all about packing as much goodness as possible into one tasty treat. Carrots are loaded with beta-carotene, while turmeric is a well-known natural anti-inflammatory, making it fantastic for senior dogs or active pups with joint stress. A little bit of ginger also aids digestion. These treats are a beautiful golden color and offer a unique, slightly spicy flavor your dog will find intriguing.
Ingredients:
- 2 cups whole wheat flour
- 1 cup finely grated carrots (about 2 medium carrots)
- 1/2 cup water or low-sodium chicken broth
- 1/4 cup nutritional yeast (for a cheesy, savory flavor)
- 1 large egg
- 2 tablespoons olive oil
- 1 teaspoon ground turmeric
- 1/2 teaspoon ground ginger
Instructions:
- Preheat your oven to 350°F (175°C) and line a baking sheet with parchment paper.
- In a large bowl, whisk together the flour, nutritional yeast, turmeric, and ginger.
- Stir in the finely grated carrots.
- In a separate bowl, whisk the egg, water (or broth), and olive oil.
- Combine the wet and dry ingredients, mixing until a stiff dough forms.
- Roll the dough out on a floured surface to 1/4-inch thickness.
- Cut into bone shapes and place on the baking sheet.
- Bake for 20-25 minutes. For extra crunch, turn off the oven and let them cool inside for an hour.
- Cool completely before storing.
Pros & Cons
Pros
|
Cons
|
Verdict:
This is the perfect treat for the health-conscious pet owner. It’s an excellent choice for older dogs, highly active breeds, or any pup who could benefit from a little anti-inflammatory boost in their diet.
A Baker’s Guide: Tips for Perfect Homemade Dog Treats
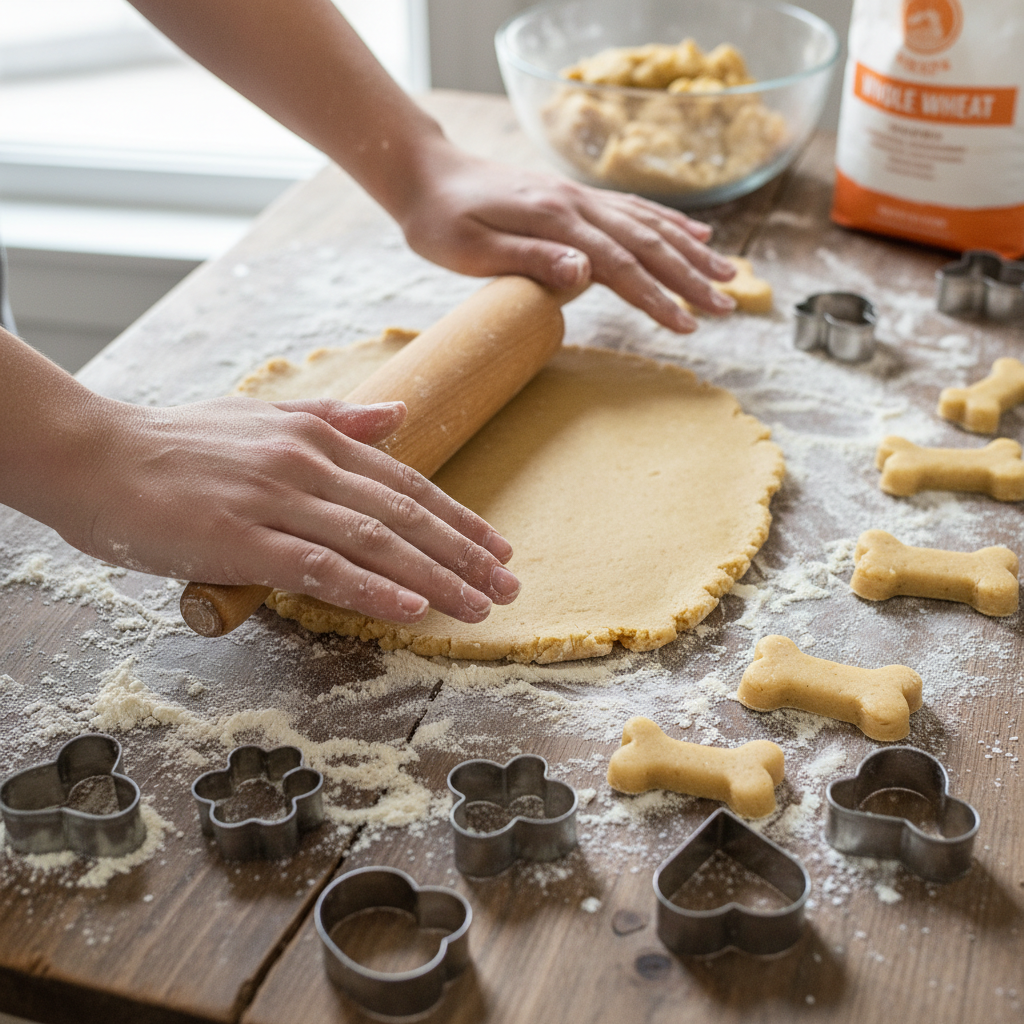
Welcome to the club of dog-treat bakers! It’s a fun and rewarding hobby. To make sure your baking adventures are always successful, keep these tips in mind.
Choosing Your Ingredients
- Flour Power: Whole wheat flour is a great, fiber-rich base, but if your dog has sensitivities, you can experiment with oat flour, brown rice flour, chickpea flour, or coconut flour. Each has different properties, so you may need to adjust the liquid in your recipe.
- Safety First: ALWAYS use peanut butter that is free of xylitol, an artificial sweetener that is extremely toxic to dogs. Check the label carefully.
- Pure is Best: When using pumpkin or applesauce, make sure you’re buying 100% pure puree, not pie filling or sweetened sauce, which contain added sugars and spices that aren’t good for your pup.
Baking and Storage
- Get Crunchy: The secret to a super crunchy, long-lasting biscuit is a slow cool-down. After the baking time is up, turn off the oven, crack the door open, and let the treats dry out in the residual heat for an hour or even longer. This removes excess moisture.
- Storing Your Creations: Because these treats don’t have preservatives, they won’t last as long as store-bought ones. Store them in an airtight container at room temperature for up to a week. For longer storage, you can refrigerate them for 2-3 weeks or freeze them for up to 3 months.
Customization is Key
Don’t be afraid to get creative! You can easily swap ingredients based on what your dog loves or what you have on hand. Don’t have pumpkin? Use mashed banana. Want to add more nutrients? A spoonful of flaxseed or chia seeds can be a great addition. Just be sure to research any new ingredient to confirm it’s safe for canine consumption.
Frequently Asked Questions

1. How long do homemade dog treats last?
Since these recipes don’t contain the preservatives found in commercial treats, their shelf life is shorter. For maximum crunchiness and freshness, store them in an airtight container at room temperature for about 5-7 days. To make them last longer, you can store them in the refrigerator for up to 3 weeks or in the freezer for up to 3 months.
2. Can I substitute different flours in these recipes?
Yes, but with caution. Different flours absorb liquid differently. If you’re swapping whole wheat flour for a grain-free option like coconut or almond flour, you’ll likely need to adjust the amount of liquid. Coconut flour, for example, is highly absorbent, so you may need more liquid. Oat flour is a fairly easy 1:1 substitute for whole wheat. It’s best to make small adjustments until the dough reaches the right consistency.
3. Are these treats safe for puppies?
Generally, yes! These treats are made with whole-food ingredients that are safe for most dogs, including puppies. However, treats should only make up a small portion (less than 10%) of any dog’s daily caloric intake, which is especially important for growing puppies. Always introduce new foods slowly, and if your puppy has a sensitive stomach or known allergies, consult your vet first. Also, ensure the treats are an appropriate size and texture for your puppy to chew safely.
Conclusion
And there you have it—seven delicious, healthy, and dog-approved ways to show your furry best friend some extra love. Baking for your dog is more than just making a snack; it’s about providing them with wholesome nutrition and strengthening that special bond you share. Seeing their excitement as you pull a tray of homemade goodies from the oven is a reward in itself.
Whether you started with the super-simple 3-ingredient recipe or jumped right into the grain-free bacon treats, we hope you and your pup have a blast with these copycat Milk-Bones. So, tie on that apron, get out your rolling pin, and get ready to be crowned the best doggone baker on the block. Happy baking!