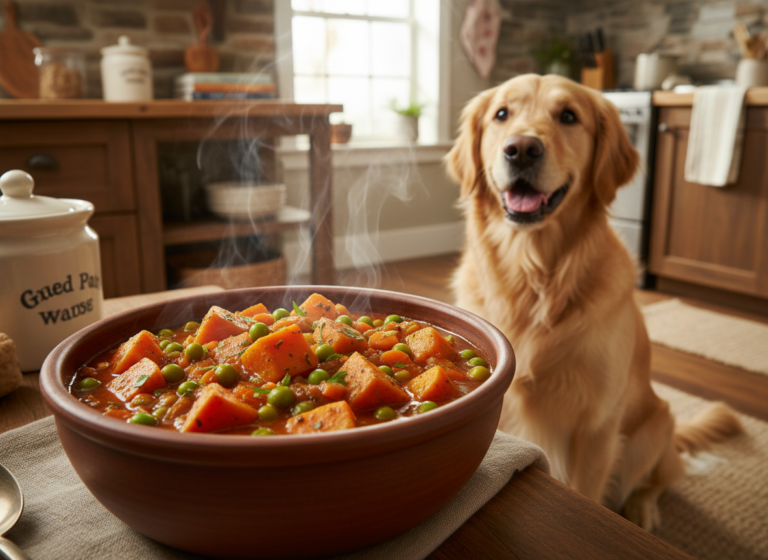
9 Safe Dog Friendly Pizza Crust Recipes for Movie Night
Is there anything better than settling in for a movie night with a warm, delicious pizza? Well, maybe one thing: sharing that experience with your four-legged best friend! While your pepperoni and extra cheese slice is a definite no-go for your pup, it doesn’t mean they have to miss out on the fun. We’ve whipped up a list of nine fantastic, dog-safe pizza crust recipes that will have your furry co-star drooling with delight.
Forget the guilt of munching while they watch with those big, pleading eyes. With these simple recipes, you can create a healthy, tasty, and perfectly safe ‘pup-zza’ for them to enjoy right alongside you. We’re talking wholesome ingredients, easy-to-follow steps, and a whole lot of tail wags. So, grab your apron, preheat the oven, and let’s get cooking!
Quick Recipe Comparison
| Recipe | Main Flour/Base | Best For | Approx. Prep & Cook Time |
|---|---|---|---|
| Cauliflower Crust | Cauliflower | Grain-free & low-calorie diets | 35 minutes |
| Oat Flour & Pumpkin Crust | Oat Flour | Sensitive tummies & fiber boost | 30 minutes |
| Sweet Potato Crust | Sweet Potato | Pups who love a hint of sweetness | 45 minutes (includes baking potato) |
| Whole Wheat & Flaxseed Crust | Whole Wheat Flour | A classic pizza texture | 25 minutes |
| Coconut Flour Crust | Coconut Flour | Dogs with grain allergies | 25 minutes |
| Quinoa Crust | Quinoa | A high-protein, gluten-free option | 50 minutes (includes cooking quinoa) |
| Brown Rice Flour Crust | Brown Rice Flour | Simple, gluten-free alternative | 30 minutes |
| Almond Flour Crust | Almond Flour | Low-carb and healthy fats | 20 minutes |
| No-Bake Chickpea Crust | Chickpea Flour | Quick, no-oven-needed treat | 15 minutes |
1. The Veggie-Packed Cauliflower Crust
If you’re looking for a grain-free, low-calorie option that’s packed with nutrients, look no further than the humble cauliflower. This recipe transforms a simple vegetable into a sturdy and delicious pizza base that even picky pups can enjoy.
Recipe & Instructions
Ingredients:
- 2 cups of riced cauliflower (fresh or frozen and thawed)
- 1 large egg
- 1/4 cup of grated, low-moisture, part-skim mozzarella cheese (optional, ensure your dog tolerates dairy)
- 1 tablespoon of finely chopped parsley (for fresh breath!)
Steps:
- Preheat your oven to 400°F (200°C) and line a baking sheet with parchment paper.
- If using fresh cauliflower, pulse florets in a food processor until they resemble rice. If using frozen, thaw it completely.
- Place the riced cauliflower in a microwave-safe bowl and microwave for 4-5 minutes. Let it cool slightly.
- This is the most important step: Transfer the cooked cauliflower to a clean dish towel or cheesecloth and squeeze out as much liquid as physically possible. You’ll be amazed at how much water comes out! A dry base is key to a non-soggy crust.
- In a medium bowl, combine the squeezed cauliflower, egg, optional cheese, and parsley. Mix until it forms a cohesive ‘dough’.
- Spread the mixture onto the prepared baking sheet, forming a thin, round pizza crust shape.
- Bake for 15-20 minutes, or until the crust is golden brown and firm to the touch.
- Let it cool before adding any dog-safe toppings.
Pros & Cons
Pros
|
Cons
|
Verdict
This is the perfect choice for dogs on a grain-free diet, those watching their weight, or any pup who could use an extra boost of veggies. It takes a little elbow grease, but the healthy results are well worth it.
2. The Tummy-Friendly Oat Flour & Pumpkin Crust

Combining the gentle fiber of oats with the digestive benefits of pumpkin, this crust is a fantastic choice for dogs with sensitive stomachs. It’s easy to whip up and has a lovely, slightly chewy texture that dogs love.
Recipe & Instructions
Ingredients:
- 1 cup of oat flour (simply blend rolled oats in a blender until fine)
- 1/2 cup of plain pumpkin purée (NOT pumpkin pie filling)
- 1 large egg
- 1 tablespoon of water, if needed
Steps:
- Preheat your oven to 350°F (175°C). Line a baking sheet with parchment paper.
- In a bowl, mix together the oat flour, pumpkin purée, and egg.
- Stir until a thick, slightly sticky dough forms. If it’s too dry and crumbly, add a tablespoon of water.
- Place the dough ball on the parchment paper and, using your hands or another piece of parchment on top, press it down into a pizza crust shape, about 1/4 inch thick.
- Bake for 15-18 minutes, until the edges are firm and the center is cooked through.
- Allow it to cool completely before topping and serving.
Pros & Cons
Pros
|
Cons
|
Verdict
An absolute winner for dogs with sensitive tummies or those who need a little extra fiber in their diet. It’s simple, wholesome, and a guaranteed hit for any pumpkin-loving pooch.
3. The Naturally Sweet Sweet Potato Crust
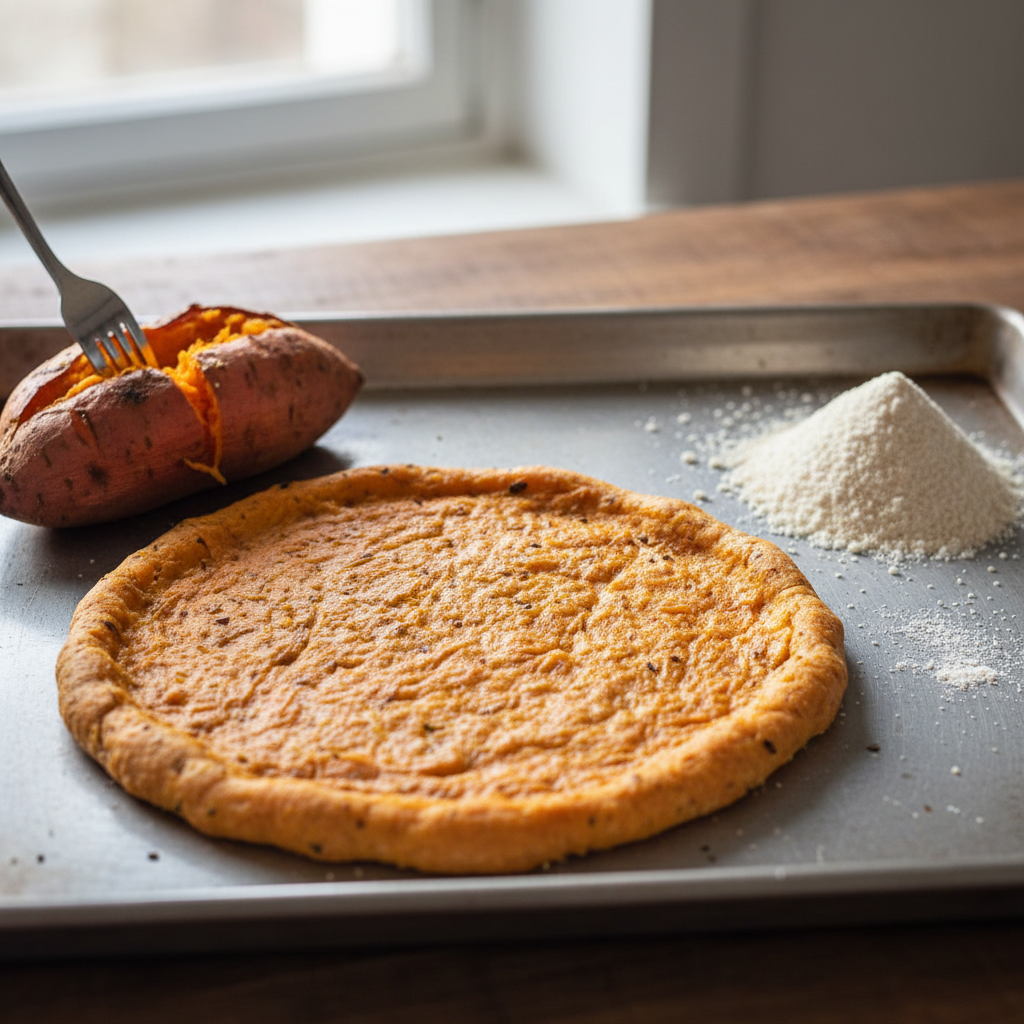
This vibrant, two-ingredient crust is as simple as it is nutritious. Sweet potatoes are a powerhouse of vitamins and fiber, and their natural sweetness is a flavor most dogs can’t resist. This one is a beautiful orange color and holds up well to toppings.
Recipe & Instructions
Ingredients:
- 1 large sweet potato
- 1/2 cup of a dog-safe flour (like whole wheat, oat, or brown rice flour)
Steps:
- Preheat your oven to 400°F (200°C).
- Wash the sweet potato, pierce it several times with a fork, and bake for 45-60 minutes, or until very soft. Alternatively, you can peel, chop, and boil it until tender.
- Let the sweet potato cool enough to handle, then remove the skin. Mash it thoroughly in a bowl.
- Measure out 1 cup of the mashed sweet potato and place it in a clean bowl.
- Gradually mix in the flour until a pliable dough forms. The amount of flour may vary slightly depending on the moisture content of your potato.
- Press the dough onto a parchment-lined baking sheet into your desired pizza shape.
- Bake for 20-25 minutes, until the crust is dry to the touch and firm around the edges.
- Cool before serving.
Pros & Cons
Pros
|
Cons
|
Verdict
Ideal for pet parents who love minimal-ingredient recipes. It’s a fantastic, nutrient-dense choice for dogs who enjoy a slightly sweeter treat. The beautiful color makes it extra fun for a special occasion!
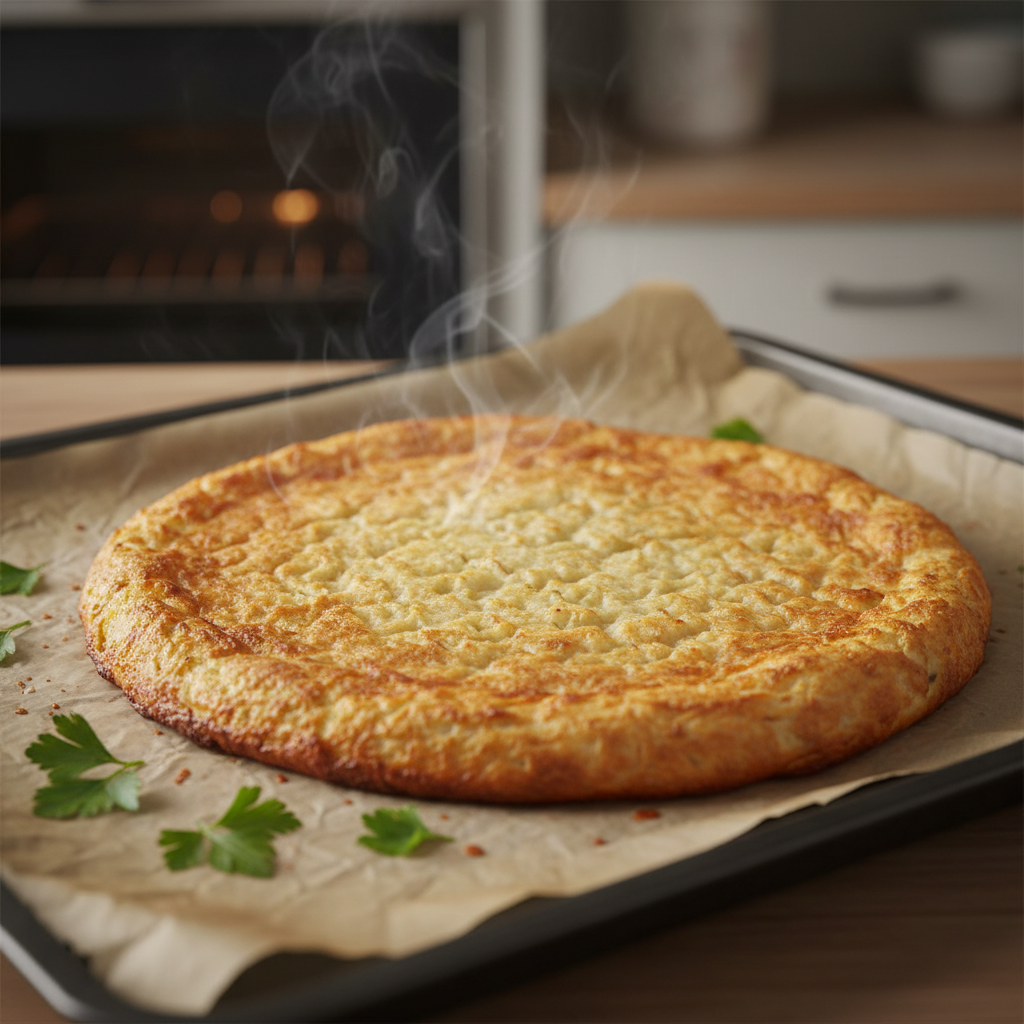
4. The Classic Whole Wheat & Flaxseed Crust
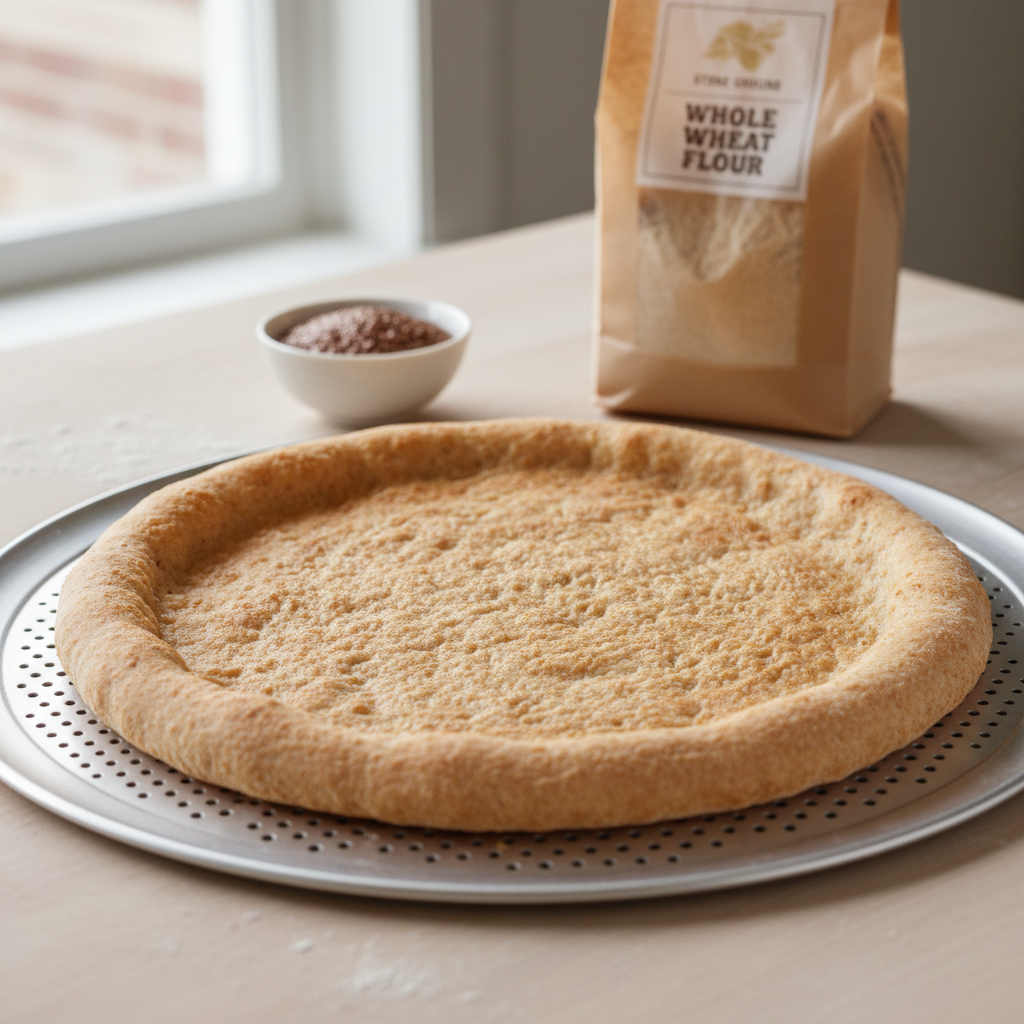
For a crust that most closely resembles the human version, this whole wheat recipe is the way to go. The addition of ground flaxseed provides a wonderful boost of omega-3 fatty acids, which are great for your dog’s skin and coat.
Recipe & Instructions
Ingredients:
- 1 cup of whole wheat flour
- 1 tablespoon of ground flaxseed
- 1 large egg
- 1/4 cup of warm, low-sodium chicken or beef broth (or water)
Steps:
- Preheat your oven to 375°F (190°C). Lightly grease a baking sheet or line with parchment paper.
- In a bowl, whisk together the whole wheat flour and ground flaxseed.
- In a separate small bowl, beat the egg and then mix it in with the warm broth.
- Pour the wet ingredients into the dry ingredients and stir until a shaggy dough forms.
- Turn the dough out onto a lightly floured surface and knead for 2-3 minutes until smooth.
- Roll or press the dough into a thin pizza crust shape on your prepared baking sheet.
- Bake for 12-15 minutes, until lightly browned and cooked through.
- Let it cool down before adding your pup’s favorite toppings.
Pros & Cons
Pros
|
Cons
|
Verdict
This is the go-to recipe for dogs without grain sensitivities who would appreciate a more traditional, chewy pizza crust. It’s a sturdy base perfect for loading up with lots of delicious, dog-friendly toppings.
5. The Grain-Free Coconut Flour Crust

Coconut flour is a fantastic grain-free alternative that’s high in fiber and healthy fats. It’s highly absorbent, so a little goes a long way. This recipe results in a slightly dense, subtly sweet crust that’s perfect for dogs with common grain allergies.
Recipe & Instructions
Ingredients:
- 1/2 cup of coconut flour
- 2 large eggs
- 2 tablespoons of melted and cooled coconut oil
- 2-3 tablespoons of water
Steps:
- Preheat the oven to 375°F (190°C) and line a baking sheet with parchment paper.
- In a mixing bowl, whisk together the coconut flour, eggs, and coconut oil. The mixture will be thick and crumbly.
- Add the water one tablespoon at a time, mixing well after each addition, until the dough comes together and is pliable.
- Place the dough between two sheets of parchment paper and roll it out to about 1/4 inch thickness.
- Peel off the top layer of parchment and transfer the crust (still on the bottom layer) to your baking sheet.
- Bake for 10-12 minutes, or until the edges are golden and the center is set.
- Cool before decorating.
Pros & Cons
Pros
|
Cons
|
Verdict
A top-tier choice for dogs with sensitivities to grains or for owners looking to incorporate the benefits of coconut into their pup’s diet. It’s quick, easy, and yields a uniquely delicious result.
6. The Protein-Packed Quinoa Crust

Did you know you can make a pizza crust from quinoa? This clever recipe creates a gluten-free, high-protein base that’s surprisingly sturdy. It’s a great way to use up leftover cooked quinoa and give your active dog an extra protein boost.
Recipe & Instructions
Ingredients:
- 1 cup of cooked and cooled quinoa
- 1 large egg
- 1 tablespoon of nutritional yeast (optional, for a ‘cheesy’ flavor)
- A pinch of dried oregano (optional, dog-safe herb)
Steps:
- Preheat your oven to 425°F (220°C). Line a pizza pan or baking sheet with parchment paper.
- In a food processor or blender, combine the cooked quinoa, egg, and optional nutritional yeast and oregano.
- Pulse until the mixture is well-combined and forms a thick batter. It won’t be a traditional dough.
- Pour the batter onto the prepared parchment paper and use a spatula to spread it evenly into a thin, round crust.
- Bake for 20-25 minutes. Carefully flip the crust over and bake for another 10-15 minutes, until it’s golden and crispy on both sides.
- Let it cool before adding toppings.
Pros & Cons
Pros
|
Cons
|
Verdict
This is an excellent, innovative recipe for athletic dogs or any pup that would benefit from extra protein. It’s a bit more involved, but the crispy, nutritious result is a unique treat they’ll love.
7. The Simple & Safe Brown Rice Flour Crust

For a straightforward, gluten-free crust that’s easy on the digestive system, brown rice flour is a reliable choice. It’s a common ingredient in many commercial dog foods, so it’s likely to be well-tolerated by your pup. This recipe is simple and versatile.
Recipe & Instructions
Ingredients:
- 1 cup of brown rice flour
- 1/2 cup of unsweetened applesauce
- 1 large egg
Steps:
- Preheat oven to 350°F (175°C) and prepare a baking sheet with parchment paper.
- In a bowl, combine the brown rice flour, applesauce, and egg.
- Mix until everything is incorporated and a soft dough forms. It will be a bit sticky.
- Use wet hands to press the dough onto the parchment paper, forming an even crust.
- Bake for 20-25 minutes, until the crust is firm and the edges are lightly browned.
- Cool completely. The texture will be soft and slightly cakey.
Pros & Cons
Pros
|
Cons
|
Verdict
A perfect starter recipe for pet owners new to making homemade dog treats. It’s a safe, simple, and gentle gluten-free option that provides a soft base for your dog’s favorite healthy toppings.
8. The Low-Carb Almond Flour Crust

Almond flour is another fantastic low-carb, grain-free option that’s rich in healthy fats, protein, and vitamin E. It creates a tender, flavorful crust that’s incredibly quick to make. Just be sure to use almond flour, not almond meal, for the best texture.
Recipe & Instructions
Ingredients:
- 1 cup of fine almond flour
- 1 large egg
- 1 tablespoon of olive oil
- A pinch of dried basil (optional)
Steps:
- Preheat your oven to 350°F (175°C). Line a baking sheet with parchment paper.
- In a medium bowl, stir together the almond flour, egg, olive oil, and optional basil.
- Mix until a ball of dough forms.
- Place the dough on the parchment paper and press it out with your fingers or a rolling pin into a thin crust.
- Bake for 10-15 minutes, until the edges are golden brown and the center feels firm.
- Let it cool before serving this nutty, delicious treat to your pup.
Pros & Cons
Pros
|
Cons
|
Verdict
Best for dogs on a low-carb or grain-free diet. Due to its higher calorie content, it’s a great special treat for an indulgent movie night, but should be served in moderation, especially for less active dogs.
9. The Speedy No-Bake Chickpea Crust

Don’t want to turn on the oven? No problem! This ingenious no-bake crust uses chickpea flour (also known as gram or besan flour) and sets up in the fridge. It’s a high-protein, high-fiber, and super-fast way to make a pizza base.
Recipe & Instructions
Ingredients:
- 1/2 cup of chickpea flour
- 1 cup of cold water or low-sodium broth
- 1 tablespoon of nutritional yeast (optional, for flavor)
Steps:
- Lightly grease a small plate or the bottom of a springform pan with a dog-safe oil (like coconut or olive oil).
- In a small saucepan, whisk the chickpea flour and nutritional yeast (if using) together.
- Slowly whisk in the cold water or broth until the mixture is completely smooth and free of lumps.
- Place the saucepan over medium heat. Cook, whisking constantly, for 5-7 minutes. The mixture will thicken considerably, like a thick porridge.
- Once it’s very thick and pulling away from the sides of the pan, immediately pour it onto your prepared plate.
- Use a spatula to quickly spread it into a flat, round crust shape.
- Place it in the refrigerator to chill and set for at least 30 minutes. It will become firm and sliceable.
- Once firm, you can add cool toppings and serve.
Pros & Cons
Pros
|
Cons
|
Verdict
The perfect solution for a last-minute treat, a hot day when you don’t want to use the oven, or for pet parents who aren’t confident bakers. It’s a quick, protein-rich base that’s ready in a flash.
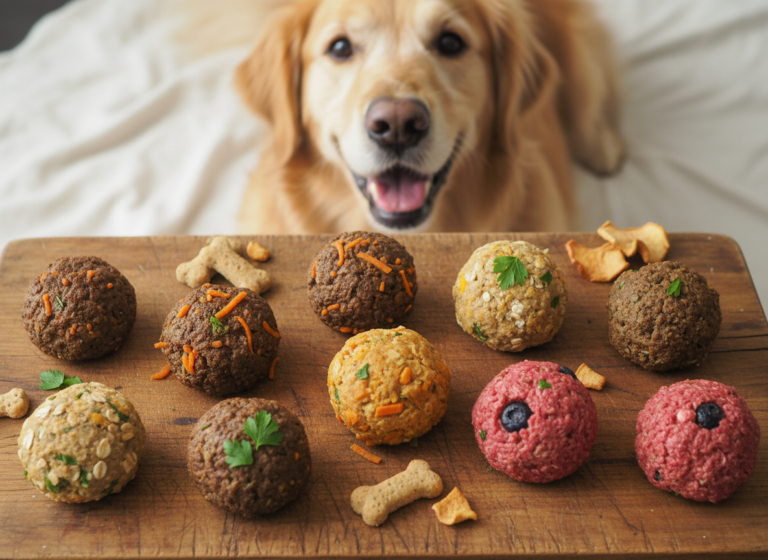
A Guide to Safe ‘Pup-zza’ Toppings

Now that you’ve mastered the crust, the real fun begins—toppings! Creating a delicious and safe pizza for your dog is all about choosing the right ingredients. Human pizza toppings are often loaded with salt, onions, garlic, and fatty meats, all of which are harmful to dogs. Instead, think fresh, simple, and dog-approved. Here’s a breakdown of what to look for.
Safe ‘Sauce’ Options
Traditional tomato sauce is often acidic and can contain added sugar, salt, garlic, and onions. Opt for these safer alternatives:
- Plain Pumpkin Purée: A thin layer of 100% pumpkin purée is a fantastic, fiber-rich sauce.
- Unsweetened Applesauce: Offers a touch of sweetness and moisture.
- Plain Yogurt or Kefir: A great source of probiotics, this can be spread on a cooled crust.
- Mashed Sweet Potato: Nutrient-dense and naturally tasty for dogs.
Dog-Friendly ‘Cheese’
While small amounts of low-fat, low-lactose cheese like mozzarella can be okay for some dogs, many are lactose intolerant. For a safer bet, try:
- Nutritional Yeast: Sprinkling this on top gives a savory, cheese-like flavor without the dairy.
- Grated Carrots: When finely grated, carrots can mimic the look of shredded cheddar and add a nice crunch.
- Dog-Specific Cheese Treats: You can find specially formulated dog cheese that is lactose-free.
Healthy and Delicious Toppings
This is where you can get creative! Just remember to chop everything into small, manageable pieces to prevent choking.
- Vegetables: Steamed or raw shredded carrots, chopped green beans, bell peppers (any color), cooked spinach (in moderation), zucchini, or peas are all excellent choices.
- Fruits: Small pieces of apple (no seeds), blueberries, or cantaloupe can add a surprising and delightful twist.
- Proteins: Stick to lean, plainly cooked meats. Shredded boiled chicken, cooked lean ground turkey, or small pieces of cooked salmon (a great source of omega-3s) are perfect. Avoid processed meats like pepperoni or sausage.
- Herbs: A sprinkle of fresh parsley or basil can add flavor and even help freshen your dog’s breath.
What to ALWAYS Avoid
This is critical. Never put these ingredients on your dog’s pizza:
- Onions, garlic, chives, and leeks (toxic)
- Grapes and raisins (toxic)
- Chocolate (toxic)
- Macadamia nuts (toxic)
- Avocado (contains persin, which can be toxic)
- Excessive salt, sugar, or artificial sweeteners (especially xylitol)
- Greasy, fatty, or spicy foods
By sticking to the safe list, you can create a beautiful, delicious, and healthy pizza that makes movie night special for everyone in the family.
Frequently Asked Questions

Have a few more questions before you start baking? We’ve got you covered with answers to some common queries about making pizza for your pup.
1. Can my dog eat regular pizza crust?
It’s best to avoid it. Regular pizza dough often contains high levels of salt and sugar, which aren’t healthy for dogs. Some dough might even contain ingredients like garlic or onion powder for flavor, which are toxic to dogs. Furthermore, raw yeast dough is extremely dangerous if ingested, as it can expand in their stomach and cause life-threatening bloat. Always stick to a recipe specifically designed for dogs.
2. How much dog-friendly pizza can I give my dog?
Treats, even healthy homemade ones, should only make up about 10% of your dog’s daily caloric intake. A ‘pup-zza’ should be considered a special treat, not a meal replacement. The appropriate serving size depends on your dog’s size, age, and activity level. For a small dog, a tiny sliver is plenty. For a large dog, a slightly larger slice is acceptable. When in doubt, start small and always consult your vet if you have concerns about your dog’s diet.
3. How should I store leftover dog pizza?
You can store leftover dog pizza in an airtight container in the refrigerator for up to 3-4 days. For longer storage, you can freeze the crusts (before or after baking) or the finished pizza. To freeze, place the slices on a baking sheet in the freezer until solid, then transfer them to a freezer-safe bag or container. They can be stored in the freezer for up to 3 months. You can serve them thawed or even as a cool, crunchy treat straight from the freezer on a warm day!
Conclusion
And there you have it—nine delicious and safe ways to include your furry best friend in your next movie night marathon! From grain-free veggie crusts to hearty whole wheat classics, there’s a recipe here to suit every pup’s palate and dietary needs. Making a homemade ‘pup-zza’ is more than just feeding your dog; it’s about creating shared moments and making them feel like a true part of the family fun.
Remember to always introduce new foods slowly and keep toppings simple, healthy, and safe. Now, all that’s left to do is pick a recipe, choose a movie, and get ready for the best cuddles and tail wags you could ask for. Happy baking, and enjoy the show!