15 Cheddar Cheese Dog Biscuit Recipes That Are Pawsitively Delicious
Hey there, fellow dog lovers! Is there anything better than the look on your pup’s face when you shake the treat bag? We think there is: the look they give you when they smell a fresh batch of homemade biscuits baking just for them! Store-bought treats are convenient, but making your own lets you control every single ingredient, ensuring your furry friend gets only the best. Plus, it’s a super fun way to show them some extra love.
Today, we’re diving into a flavor that most dogs go absolutely bonkers for: cheddar cheese! In moderation, cheese can be a fantastic high-value reward for your pup. We’ve rounded up 15 pawsitively delicious and easy-to-follow cheddar cheese dog biscuit recipes that will make you the ultimate pet parent. Whether your dog is a fan of classic flavors or needs a grain-free option, we’ve got you covered.
Quick Comparison of Our Favorite Cheesy Recipes
| Recipe Name | Difficulty | Prep Time | Key Flavors | Best For |
|---|---|---|---|---|
| Classic Cheddar Chompers | Easy | 10 mins | Cheddar, Whole Wheat | Beginner bakers |
| Bacon & Cheddar Bites | Easy | 15 mins | Cheddar, Bacon | Pups who love savory treats |
| Oat & Cheddar Crisps | Easy | 10 mins | Cheddar, Oat | Dogs needing a wheat-free option |
| Pumpkin & Cheddar Puffs | Medium | 15 mins | Cheddar, Pumpkin, Cinnamon | Sensitive tummies & fall baking |
| Apple & Cheddar Bones | Easy | 15 mins | Cheddar, Apple | A sweet & savory combination |
| Rosemary & Cheddar Biscuits | Easy | 10 mins | Cheddar, Rosemary | A sophisticated, aromatic treat |
| Carrot & Cheddar Trainers | Medium | 20 mins | Cheddar, Carrot | Small, low-calorie training rewards |
| Beef Broth & Cheddar Bites | Easy | 10 mins | Cheddar, Beef | Pups who crave meaty flavor |
| Spinach & Cheddar Greenies | Medium | 15 mins | Cheddar, Spinach | Getting extra veggies in their diet |
| Peanut Butter & Cheddar Swirls | Medium | 20 mins | Cheddar, Peanut Butter | The ultimate dog flavor mashup |
| Coconut Flour & Cheddar Nibblers | Medium | 15 mins | Cheddar, Coconut | Grain-free and low-carb diets |
| Tuna & Cheddar Melts | Easy | 10 mins | Cheddar, Tuna | Dogs who love fishy flavors |
| Sweet Potato & Cheddar Chews | Medium | 15 mins | Cheddar, Sweet Potato | A boost of healthy carbs & vitamins |
| Parsley & Cheddar Breath Busters | Easy | 10 mins | Cheddar, Parsley, Mint | Freshening up that doggy breath |
| Cheesy Pretzel Twists | Hard | 25 mins | Cheddar, Whole Wheat | A fun baking project |
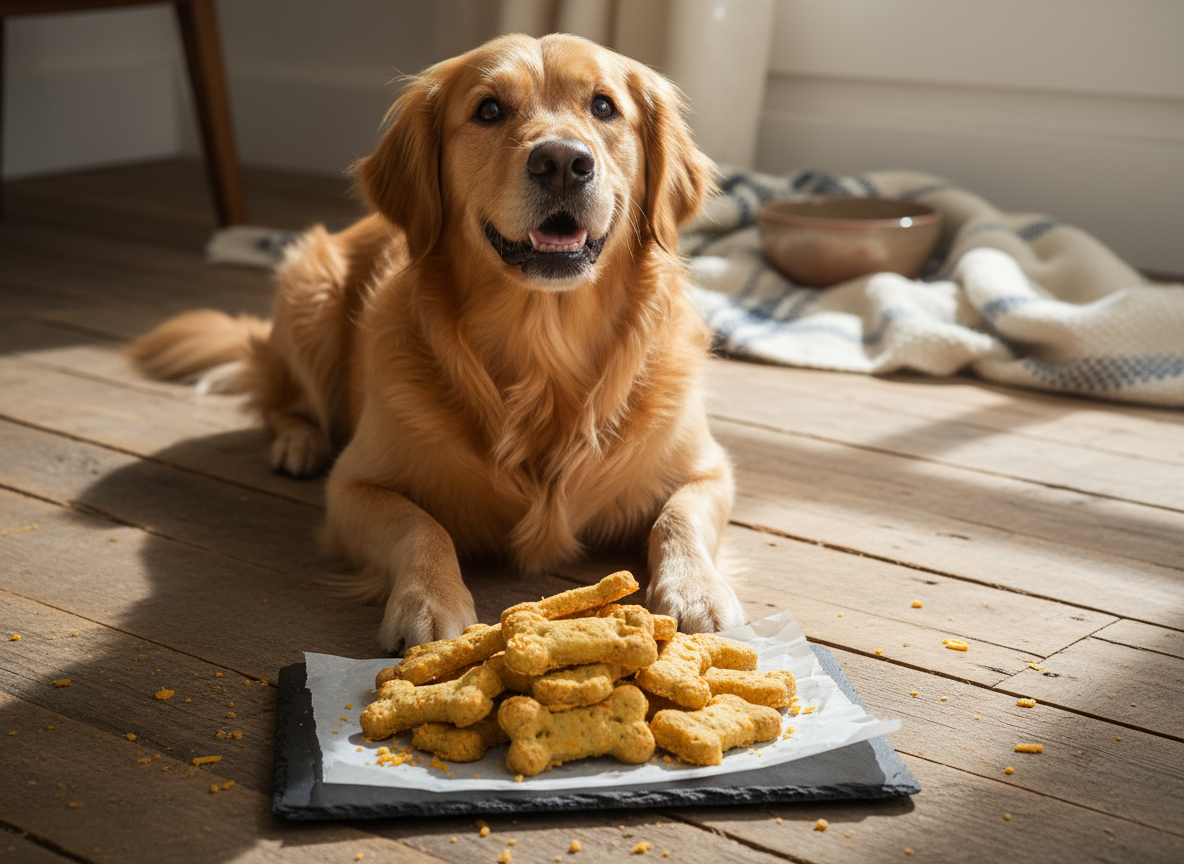
1. Classic Cheddar Chompers
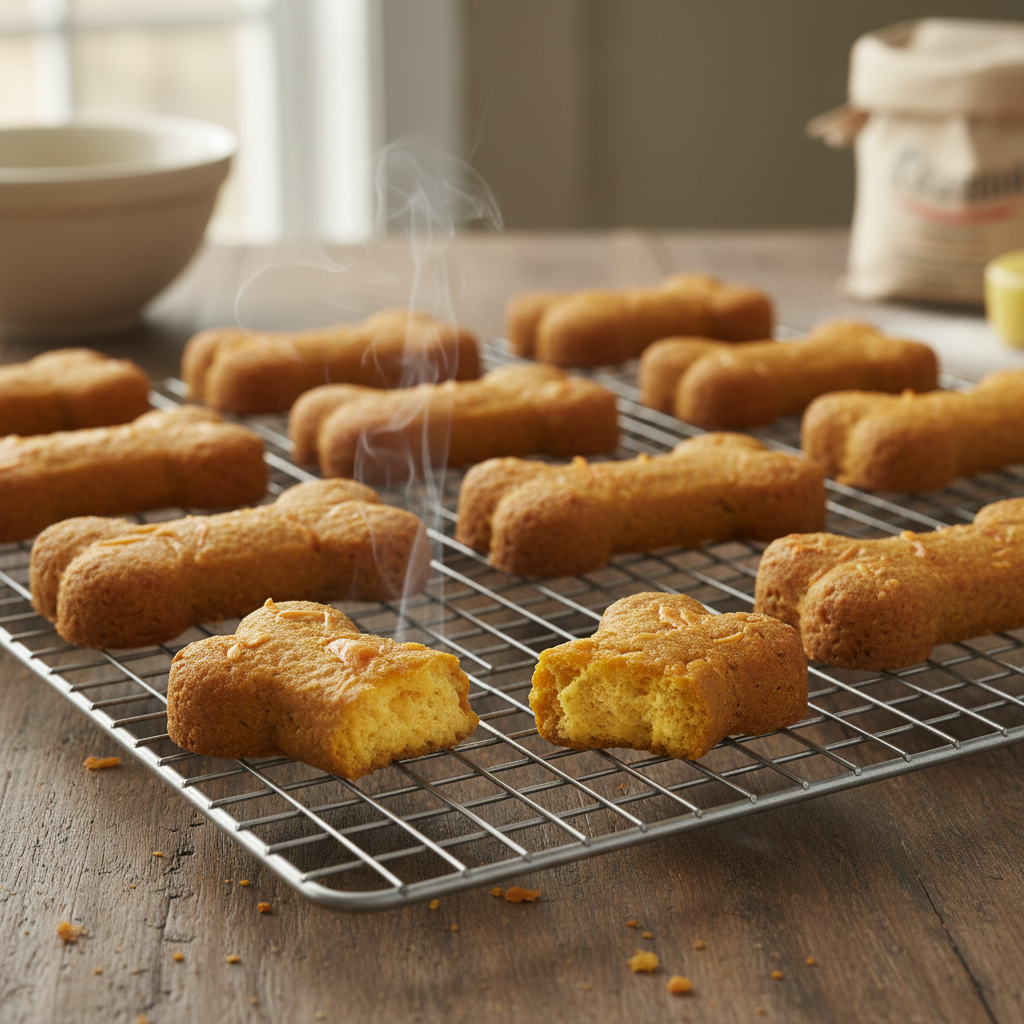
Let’s start with a timeless classic! This recipe is the little black dress of dog biscuits – simple, reliable, and always a hit. It uses basic pantry staples and comes together in a flash. If you’re new to baking for your pup, this is the perfect place to begin.
Ingredients:
- 2 cups whole wheat flour
- 1 cup shredded sharp cheddar cheese
- 1 large egg
- 1/3 cup vegetable oil
- 1/2 cup water or milk
Instructions:
- Preheat your oven to 350°F (175°C) and line a baking sheet with parchment paper.
- In a large bowl, mix the whole wheat flour and shredded cheddar cheese.
- In a separate, smaller bowl, whisk together the egg, vegetable oil, and water.
- Pour the wet ingredients into the dry ingredients and stir until a stiff dough forms. If it’s too crumbly, add a tablespoon of water at a time.
- On a lightly floured surface, knead the dough for a minute or two until it’s smooth.
- Roll the dough out to about 1/4-inch thickness and use your favorite cookie cutters to cut out shapes.
- Place the biscuits on the prepared baking sheet and bake for 20-25 minutes, or until golden brown and firm.
- Let them cool completely on a wire rack before treating your pup.
Pros & Cons
Pros:
|
Cons:
|
Verdict:
This recipe is perfect for first-time dog bakers and anyone looking for a quick, no-fuss treat to make. It’s a guaranteed crowd-pleaser for the average pup.
2. Bacon & Cheddar Bites
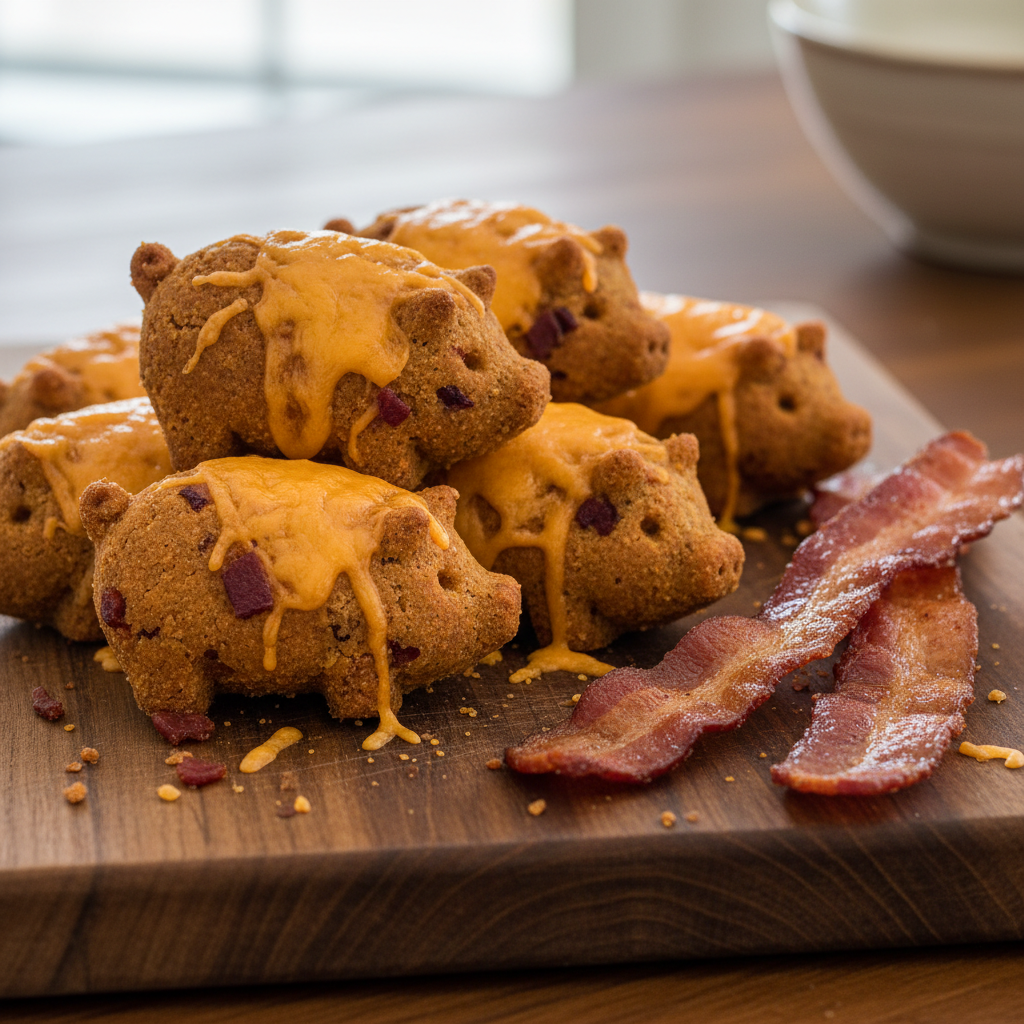
What’s better than cheese? Cheese and bacon, of course! This recipe combines two of the most irresistible flavors in a dog’s world. The smell of these baking will have your dog glued to the oven door, we promise.
Ingredients:
- 2 cups all-purpose flour
- 1 cup shredded cheddar cheese
- 1/2 cup cooked and crumbled bacon (about 4-5 strips)
- 1 egg
- 1/4 cup bacon grease or vegetable oil
- 1/3 cup water
Instructions:
- Preheat your oven to 375°F (190°C) and line a baking sheet with parchment paper.
- In a large bowl, combine the flour, cheddar cheese, and crumbled bacon.
- In another bowl, whisk the egg with the bacon grease and water.
- Add the wet mixture to the dry ingredients and mix until a dough forms.
- Knead briefly on a floured surface, then roll out to 1/4-inch thickness.
- Cut into desired shapes and place on the baking sheet.
- Bake for 18-22 minutes, until the edges are nicely browned.
- Cool completely before serving. The bacon grease makes these extra tempting!
Pros & Cons
Pros:
|
Cons:
|
Verdict:
These are the ultimate special occasion treats. Perfect for birthdays, ‘gotcha’ days, or for any pup who has been an exceptionally good boy or girl and deserves a truly decadent reward.
3. Oat & Cheddar Crisps
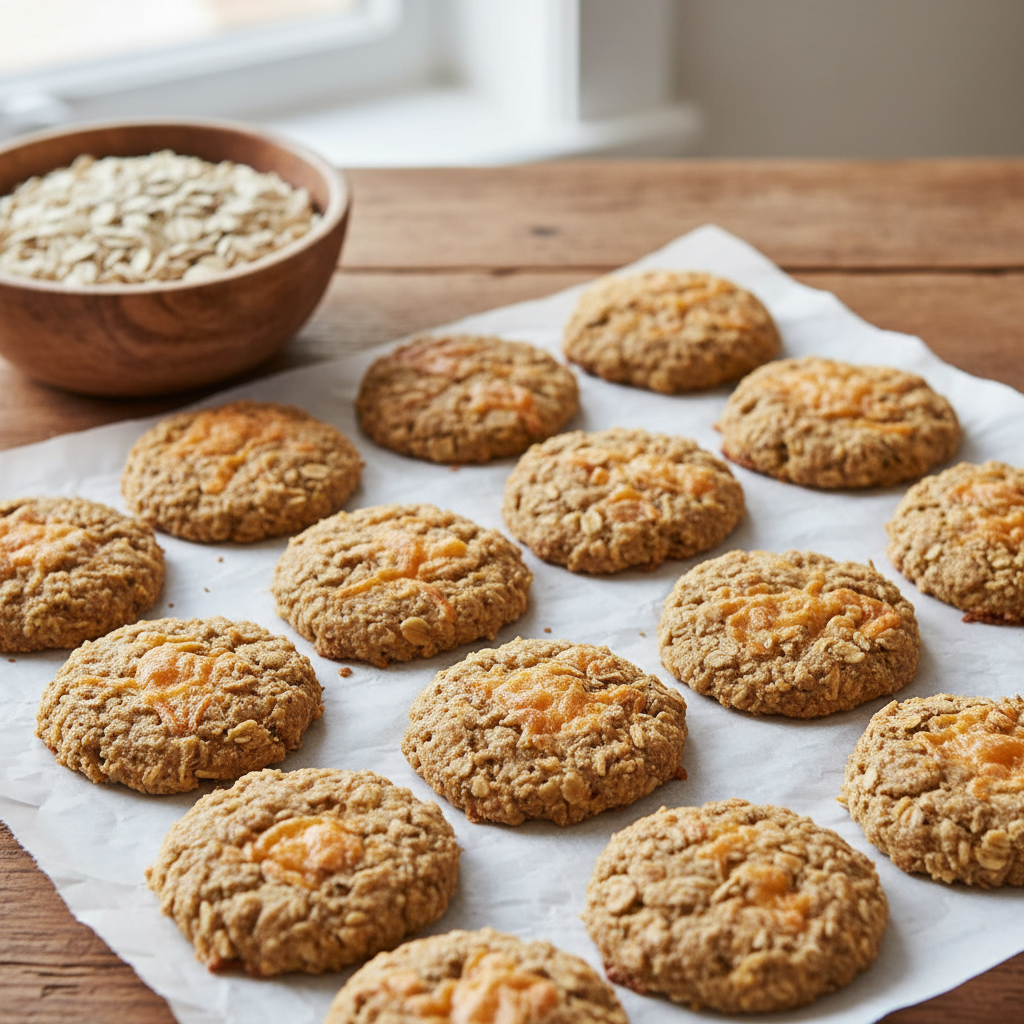
If your dog has a sensitivity to wheat, this recipe is a fantastic alternative. Using ground oats instead of traditional flour creates a wonderfully rustic and crumbly texture, and oats are great for a dog’s skin and coat.
Ingredients:
- 2 cups old-fashioned oats, ground into a flour in a blender
- 1 cup shredded cheddar cheese
- 1 egg
- 1/3 cup milk or water
- 2 tablespoons olive oil
Instructions:
- Preheat oven to 350°F (175°C). Line a baking sheet with parchment paper.
- To make oat flour, simply pulse the old-fashioned oats in a blender or food processor until they reach a flour-like consistency.
- In a large bowl, combine the oat flour and shredded cheddar cheese.
- In a separate bowl, whisk the egg, milk, and olive oil.
- Pour the wet ingredients into the dry and mix until a sticky dough forms.
- Let the dough rest for 5 minutes to allow the oats to absorb some moisture.
- Roll the dough between two sheets of parchment paper to about 1/4-inch thickness.
- Cut into shapes and place on the prepared baking sheet.
- Bake for 20-25 minutes, until firm and lightly golden.
- Cool completely. These will be crispier than wheat-based biscuits.
Pros & Cons
Pros:
|
Cons:
|
Verdict:
An excellent choice for pet parents looking for a healthier, wheat-free option. These are especially good for dogs with dry skin or coat issues, thanks to the beneficial properties of oats.
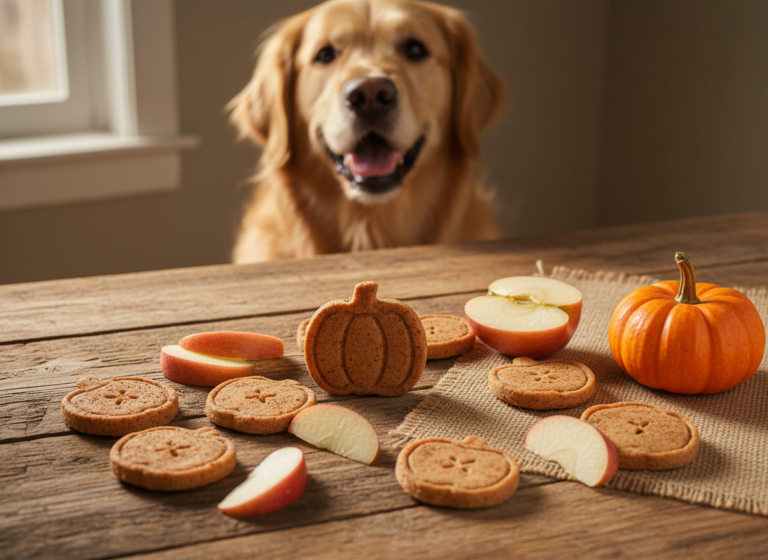
4. Pumpkin & Cheddar Puffs
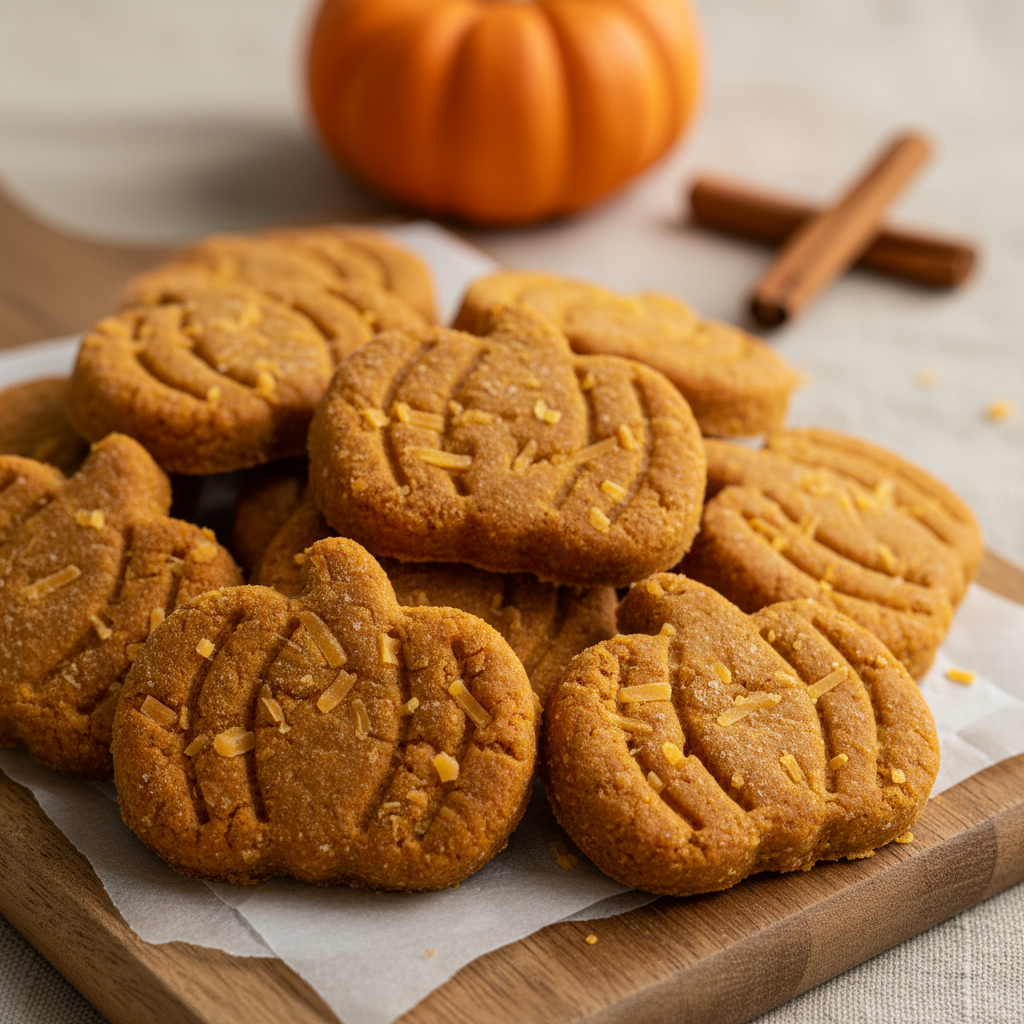
Pumpkin is a superfood for dogs! It’s fantastic for digestive health and packed with vitamins. Paired with savory cheddar and a hint of cinnamon, these puffs are a healthy and delicious treat, perfect for the autumn season or any time of year.
Ingredients:
- 2 1/2 cups whole wheat flour
- 1 cup shredded cheddar cheese
- 1/2 cup pumpkin puree (100% pure pumpkin, not pie filling)
- 1 egg
- 1/2 teaspoon cinnamon
- 3-4 tablespoons of water, as needed
Instructions:
- Preheat oven to 350°F (175°C) and line a baking sheet with parchment paper.
- In a large bowl, whisk together the flour, cheese, and cinnamon.
- In a separate bowl, mix the pumpkin puree and the egg.
- Add the pumpkin mixture to the dry ingredients and stir until combined. The dough will be crumbly.
- Add water, one tablespoon at a time, until the dough comes together.
- Knead on a floured surface for a minute, then roll to 1/4-inch thickness.
- Cut into fun shapes (pumpkin or leaf shapes are great!) and place on the baking sheet.
- Bake for 25-30 minutes, until hard and dry. For extra crunch, turn off the oven and let them cool inside.
Pros & Cons
Pros:
|
Cons:
|
Verdict:
Ideal for dogs with sensitive stomachs or those who need a little extra fiber in their diet. These are a wonderfully healthy treat that feels special and seasonal.
5. Apple & Cheddar Bones
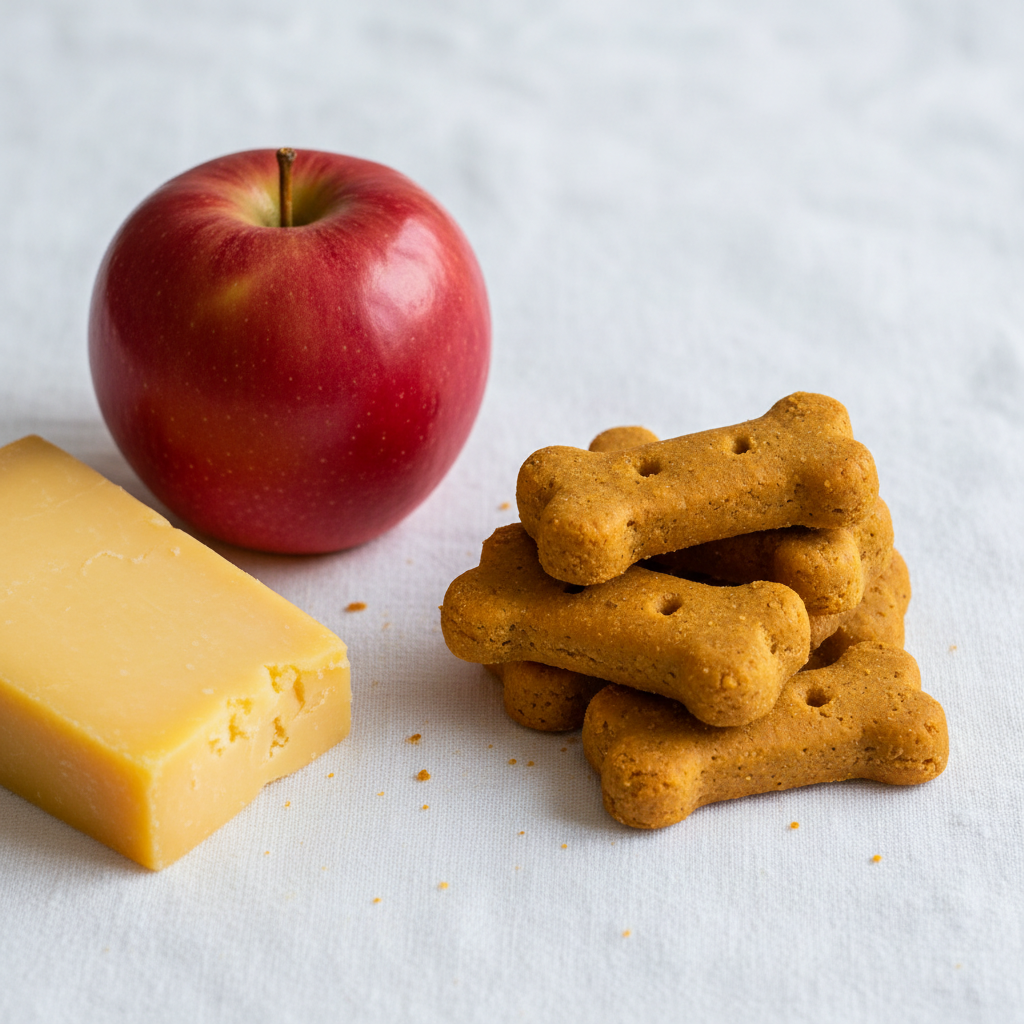
The combination of sweet, crisp apple and sharp, savory cheddar is a match made in heaven for our four-legged friends. This recipe offers a delightful balance of flavors and a satisfying crunch that dogs love.
Ingredients:
- 2 cups whole wheat flour
- 1 cup shredded sharp cheddar cheese
- 1/2 cup unsweetened applesauce
- 1 egg
- 1/4 cup water
Instructions:
- Preheat your oven to 350°F (175°C) and prepare a baking sheet with parchment paper.
- In a large mixing bowl, combine the flour and cheddar cheese.
- In a smaller bowl, whisk the applesauce, egg, and water together.
- Pour the wet apple mixture into the flour and cheese, stirring until a cohesive dough forms.
- On a lightly floured surface, roll the dough to your desired thickness (about 1/4-inch is perfect).
- Use a bone-shaped cookie cutter to create your biscuits.
- Arrange the bones on the baking sheet and bake for 20-25 minutes, or until golden and firm.
- Let them cool down completely before sharing with your eager pup.
Pros & Cons
Pros:
|
Cons:
|
Verdict:
A fantastic choice for dogs who enjoy a hint of sweetness with their savory treats. The applesauce makes for a slightly softer biscuit, which can be good for older dogs.
6. Rosemary & Cheddar Biscuits
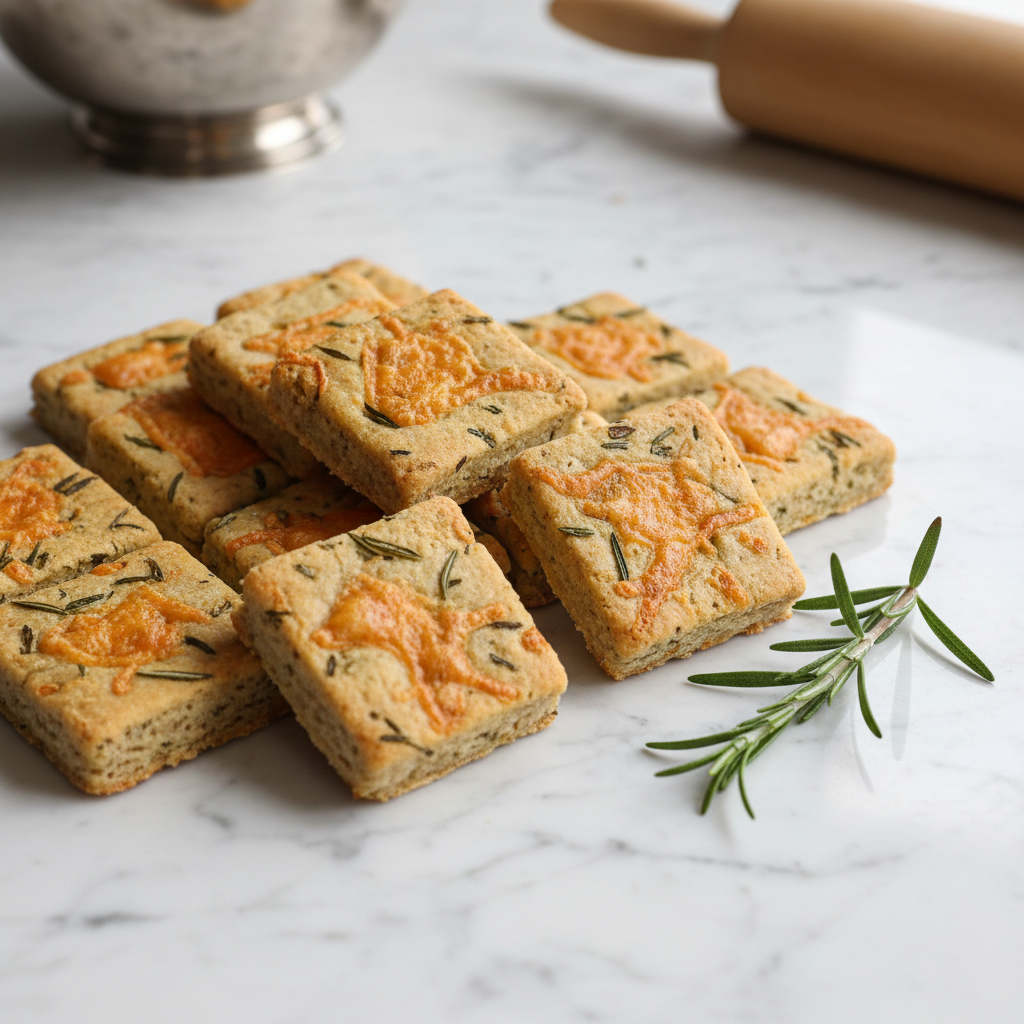
Want to bake something a little more… sophisticated for your canine companion? Fresh rosemary adds a wonderful, fragrant aroma and is a natural antioxidant. These gourmet biscuits will make your kitchen smell amazing!
Ingredients:
- 2 cups all-purpose flour
- 1 cup shredded cheddar cheese
- 1 tablespoon finely chopped fresh rosemary
- 1 egg
- 1/4 cup olive oil
- 1/2 cup water
Instructions:
- Preheat oven to 375°F (190°C). Line a baking sheet with parchment paper.
- In a large bowl, stir together the flour, cheese, and chopped rosemary.
- In a separate bowl, whisk the egg, olive oil, and water.
- Combine the wet and dry ingredients, mixing until a dough forms.
- Roll out on a floured surface to 1/4-inch thickness.
- Cut into elegant shapes, like squares or diamonds. You can even score the tops with a fork.
- Bake for 20 minutes, until the edges are golden.
- Cool completely on a wire rack.
Pros & Cons
Pros:
|
Cons:
|
Verdict:
For the pup with a refined palate! This is a great recipe to try if you want to introduce some beneficial herbs into your dog’s diet in a delicious way.
7. Carrot & Cheddar Trainers

Training requires lots of small, tasty rewards. These little bites are packed with the goodness of carrots and cheese but are designed to be small and lower in calories, so you can reward your pup frequently without overdoing it.
Ingredients:
- 1 cup whole wheat flour
- 1 cup finely grated carrot (about 2 medium carrots)
- 1/2 cup shredded cheddar cheese
- 1 egg
- 2 tablespoons of water, if needed
Instructions:
- Preheat your oven to 350°F (175°C).
- In a bowl, mix the flour, grated carrot, and cheese.
- Add the egg and mix well. The moisture from the carrots and egg should be enough to form a dough, but add a little water if it’s too dry.
- Roll the dough out very thin, about 1/8-inch thick.
- Use a knife or pizza cutter to score the dough into small, pea-sized squares. You don’t need to separate them yet.
- Transfer the entire sheet of scored dough onto a baking sheet lined with parchment paper.
- Bake for 15-20 minutes.
- Once cooled, you can easily break the dough apart into tiny training treats.
Pros & Cons
Pros:
|
Cons:
|
Verdict:
An absolute must-have for anyone actively training a puppy or dog. They are healthy, motivating, and perfectly sized for rewarding good behavior over and over again.
8. Beef Broth & Cheddar Bites
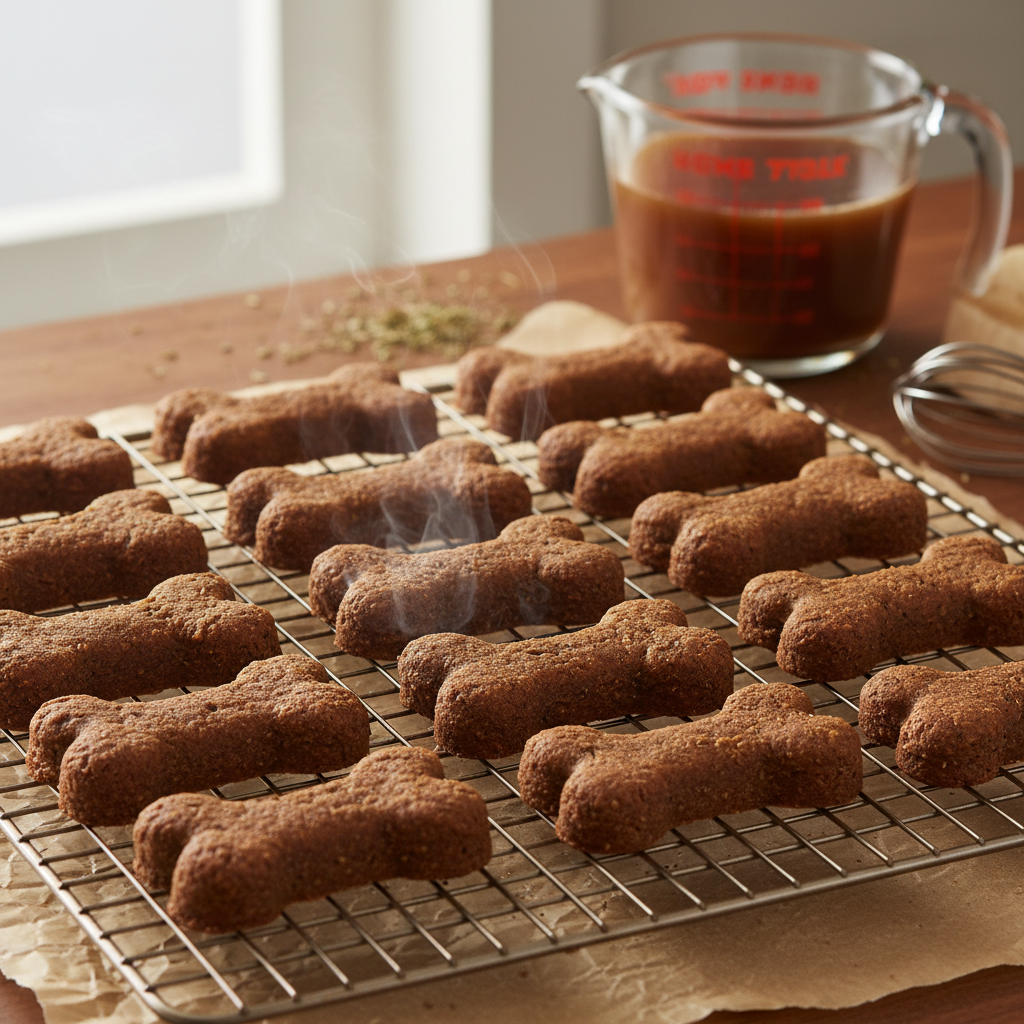
For the dog that goes wild for meaty flavors, these biscuits are a home run. Using low-sodium beef broth instead of water infuses every bite with a rich, savory taste that perfectly complements the sharp cheddar.
Ingredients:
- 2 1/2 cups whole wheat flour
- 1 cup shredded cheddar cheese
- 1 egg
- 1/2 cup low-sodium beef broth
- 1/4 cup vegetable oil
Instructions:
- Preheat oven to 350°F (175°C) and line a baking sheet.
- In a large bowl, mix the flour and cheese.
- In a separate bowl, whisk the egg, beef broth, and oil.
- Pour the liquid ingredients into the flour mixture and stir until a firm dough forms.
- Knead for a minute on a floured surface.
- Roll the dough to 1/4-inch thickness and cut with your favorite cookie cutters.
- Place on the baking sheet and bake for 25-30 minutes, until hard and golden.
- Cool completely.
Pros & Cons
Pros:
|
Cons:
|
Verdict:
This recipe is tailor-made for meat-loving canines. It’s a fantastic way to create a high-value treat that will hold even the most distractible dog’s attention.
9. Spinach & Cheddar Greenies

Trying to sneak some extra greens into your pup’s diet? This is the recipe for you! Finely chopped spinach blends beautifully with cheddar cheese, creating a nutritious treat that’s as healthy as it is tasty.
Ingredients:
- 2 cups all-purpose flour
- 1 cup shredded cheddar cheese
- 1/2 cup finely chopped fresh spinach (packed)
- 1 egg
- 1/4 cup olive oil
- 1/4 cup water
Instructions:
- Preheat your oven to 375°F (190°C).
- Make sure the spinach is washed, dried, and chopped very finely. You can even pulse it in a food processor.
- In a large bowl, combine the flour, cheese, and spinach.
- In another bowl, whisk the egg, olive oil, and water.
- Mix the wet and dry ingredients until a green-flecked dough forms.
- Roll out on a floured surface to 1/4-inch thickness. A leaf-shaped cookie cutter is a fun choice here!
- Bake on a parchment-lined sheet for 20-25 minutes.
- Let cool completely before serving.
Pros & Cons
Pros:
|
Cons:
|
Verdict:
Perfect for the health-conscious pet owner. If you’re looking for a treat that offers a little something extra in the nutrition department, these green-flecked goodies are a fantastic choice.
10. Peanut Butter & Cheddar Swirls
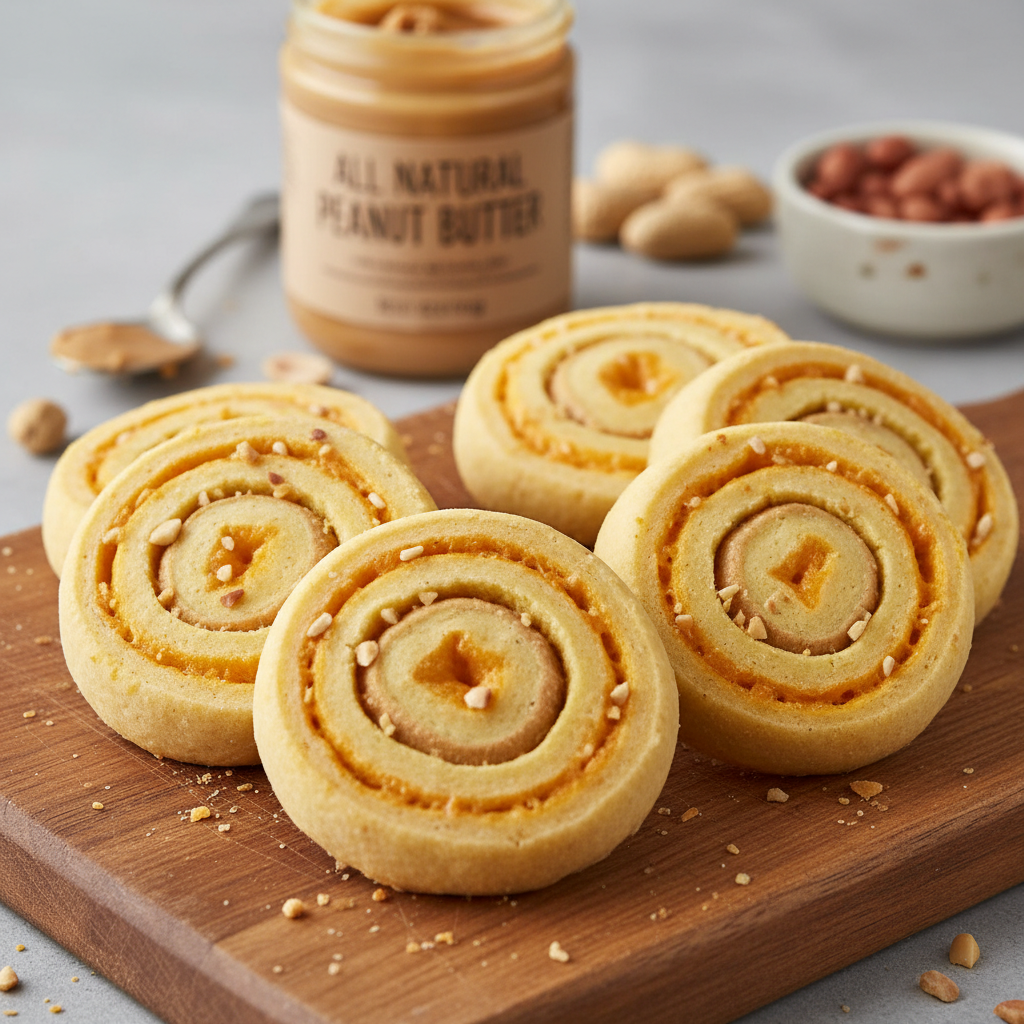
Peanut butter and cheese? It might sound strange to us, but to a dog, it’s a dream come true! This recipe creates a fun pinwheel effect by rolling two distinct doughs together for a treat that looks as good as it tastes.
Ingredients:
For the Peanut Butter Dough:
- 1 cup whole wheat flour
- 1/2 cup creamy peanut butter (xylitol-free)
- 1/4 cup water
For the Cheddar Dough:
- 1 cup whole wheat flour
- 1/2 cup shredded cheddar cheese
- 1 egg
- 2 tablespoons oil
Instructions:
- Preheat oven to 350°F (175°C).
- Prepare each dough separately in two different bowls. Mix the ingredients for each until a dough forms.
- Roll out the peanut butter dough into a rectangle on parchment paper.
- Roll out the cheddar dough into a rectangle of the same size on another piece of parchment.
- Carefully place the cheddar dough rectangle on top of the peanut butter dough rectangle.
- Tightly roll the stacked doughs into a log, like a jelly roll.
- Use a sharp knife to slice the log into 1/4-inch thick pinwheels.
- Place the swirls on a parchment-lined baking sheet and bake for 20-25 minutes.
Pros & Cons
Pros:
|
Cons:
|
Verdict:
This is a showstopper recipe for when you’re feeling a bit more ambitious in the kitchen. It’s perfect for doggy birthday parties or for impressing other pet parents with your baking skills.
11. Coconut Flour & Cheddar Nibblers
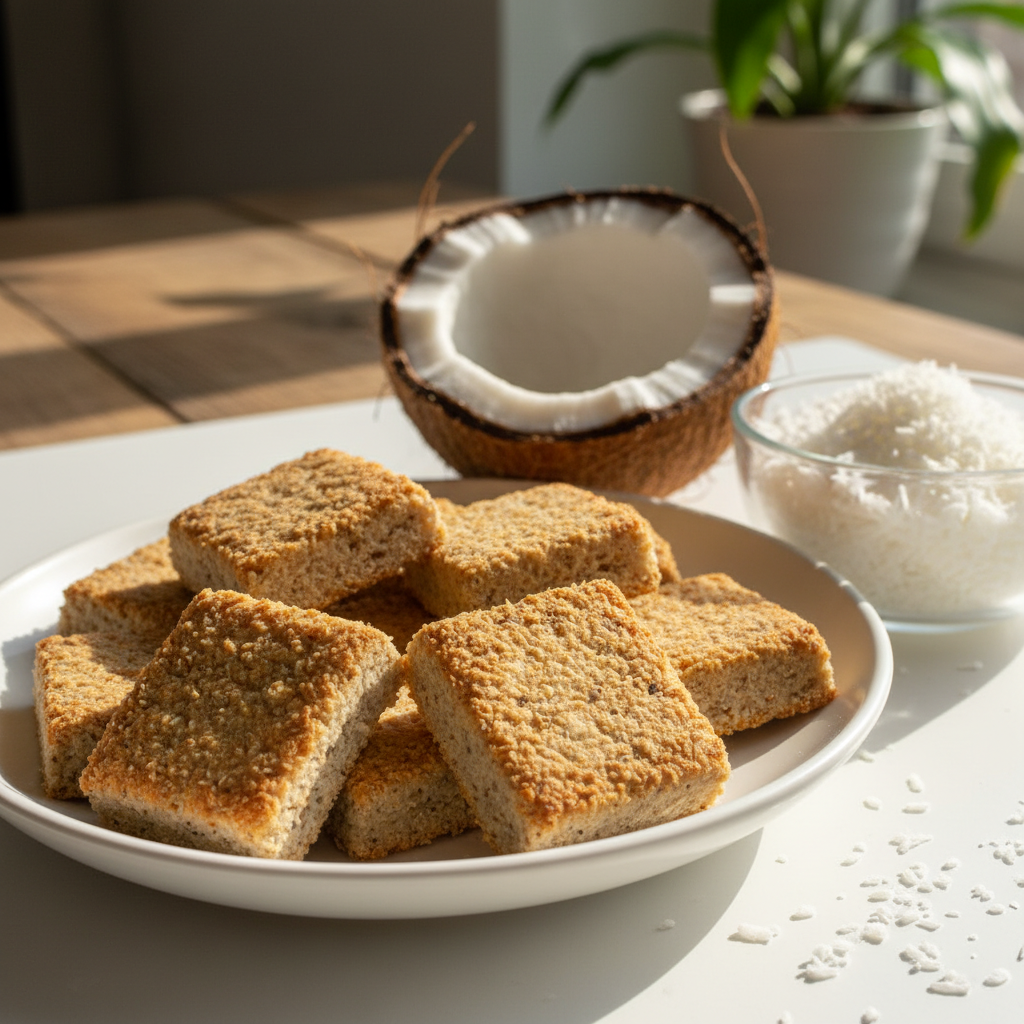
For dogs on a grain-free diet, coconut flour is a fantastic, healthy alternative. It’s high in fiber and protein. These nibblers have a unique, slightly sweet flavor from the coconut that pairs surprisingly well with sharp cheddar.
Ingredients:
- 1 cup coconut flour
- 1 cup shredded cheddar cheese
- 2 large eggs
- 1/2 cup coconut oil, melted
- 1/4 cup water
Instructions:
- Preheat oven to 350°F (175°C).
- Coconut flour is very absorbent, so working quickly is key. In a bowl, mix the coconut flour and cheese.
- In a separate bowl, whisk the eggs, melted coconut oil, and water.
- Pour the wet ingredients into the dry and mix immediately to form a dough. It will be dense.
- Press the dough out between two sheets of parchment paper to about 1/4-inch thickness. It’s easier to press than to roll.
- Cut into small squares or shapes.
- Bake on a parchment-lined sheet for 15-18 minutes, until the edges are brown.
- Cool completely. They will be very crumbly when warm but will firm up as they cool.
Pros & Cons
Pros:
|
Cons:
|
Verdict:
The go-to recipe for any dog with grain allergies or sensitivities. It’s a healthy, low-carb treat that supports a shiny coat and happy skin, making it a win-win for sensitive pups.
12. Tuna & Cheddar Melts
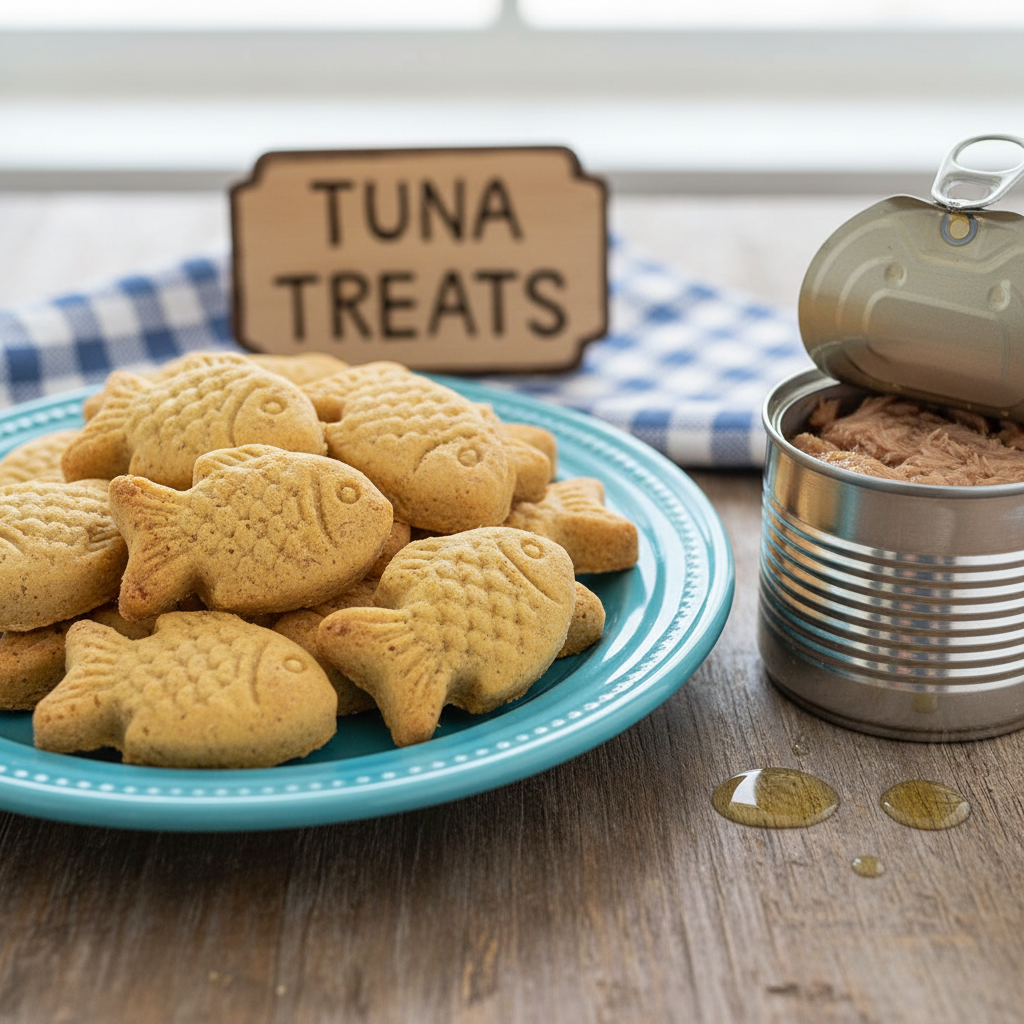
Does your dog go crazy for fishy flavors? This recipe is for them! The strong scent of tuna is highly motivating for most dogs, and the combination with cheese creates a savory treat that will have them begging for more.
Ingredients:
- 1 can (5 ounces) tuna in water, drained well
- 1 1/2 cups whole wheat flour
- 1 cup shredded cheddar cheese
- 1 egg
- 2 tablespoons olive oil
Instructions:
- Preheat your oven to 350°F (175°C).
- In a bowl, flake the drained tuna with a fork.
- Add the flour, cheese, egg, and olive oil to the tuna.
- Mix everything together until a stiff dough forms. You shouldn’t need any extra liquid.
- Roll the dough out on a floured surface to 1/4-inch thickness.
- Use a small, fish-shaped cookie cutter for extra fun!
- Place on a parchment-lined baking sheet and bake for 15-20 minutes.
- Cool completely. Store in an airtight container.
Pros & Cons
Pros:
|
Cons:
|
Verdict:
A perfect choice for dogs who love fish and for owners looking to boost their pup’s intake of healthy omega-3s for coat and joint health. Also great for cats who like to steal the dog’s treats!
13. Sweet Potato & Cheddar Chews

Sweet potatoes are another canine superfood, loaded with vitamins and fiber. This recipe creates a slightly softer, chewier biscuit that’s perfect for senior dogs or those who have trouble with very hard treats.
Ingredients:
- 2 cups whole wheat flour
- 1 cup cooked and mashed sweet potato
- 1 cup shredded cheddar cheese
- 1 egg
- 2 tablespoons melted coconut oil
Instructions:
- Preheat oven to 375°F (190°C).
- In a large bowl, combine the flour and cheese.
- In a separate bowl, mix the mashed sweet potato, egg, and melted coconut oil.
- Add the wet ingredients to the dry and stir until a soft dough forms.
- The dough will be soft and a bit sticky. Lightly flour your work surface and your hands.
- Roll or pat the dough out to about 1/3-inch thickness.
- Cut into shapes and place on a parchment-lined baking sheet.
- Bake for 20-25 minutes. They will still be slightly soft when done.
- Cool completely.
Pros & Cons
Pros:
|
Cons:
|
Verdict:
An excellent, nutrient-dense option for senior dogs, puppies, or any pup that prefers a chewier texture. The natural sweetness of the sweet potato makes them extra delicious.
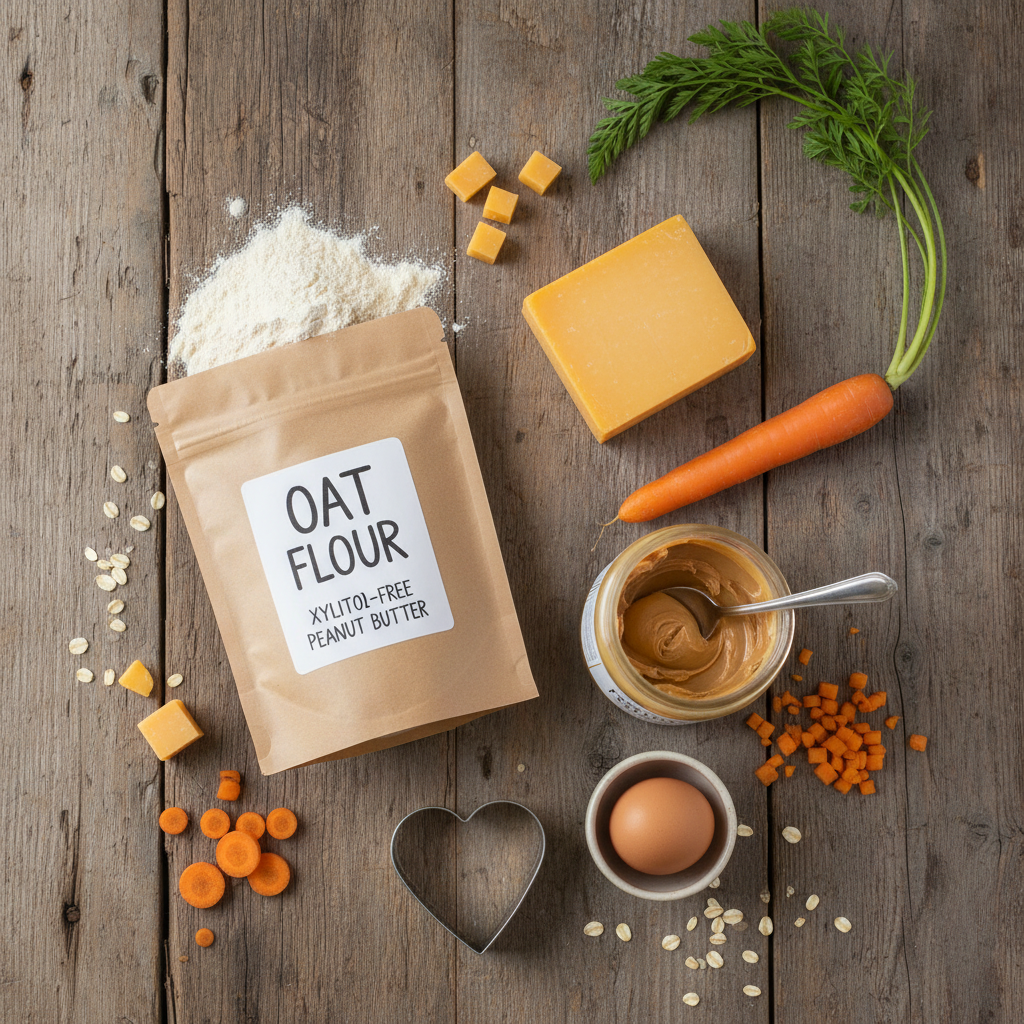
14. Parsley & Cheddar Breath Busters
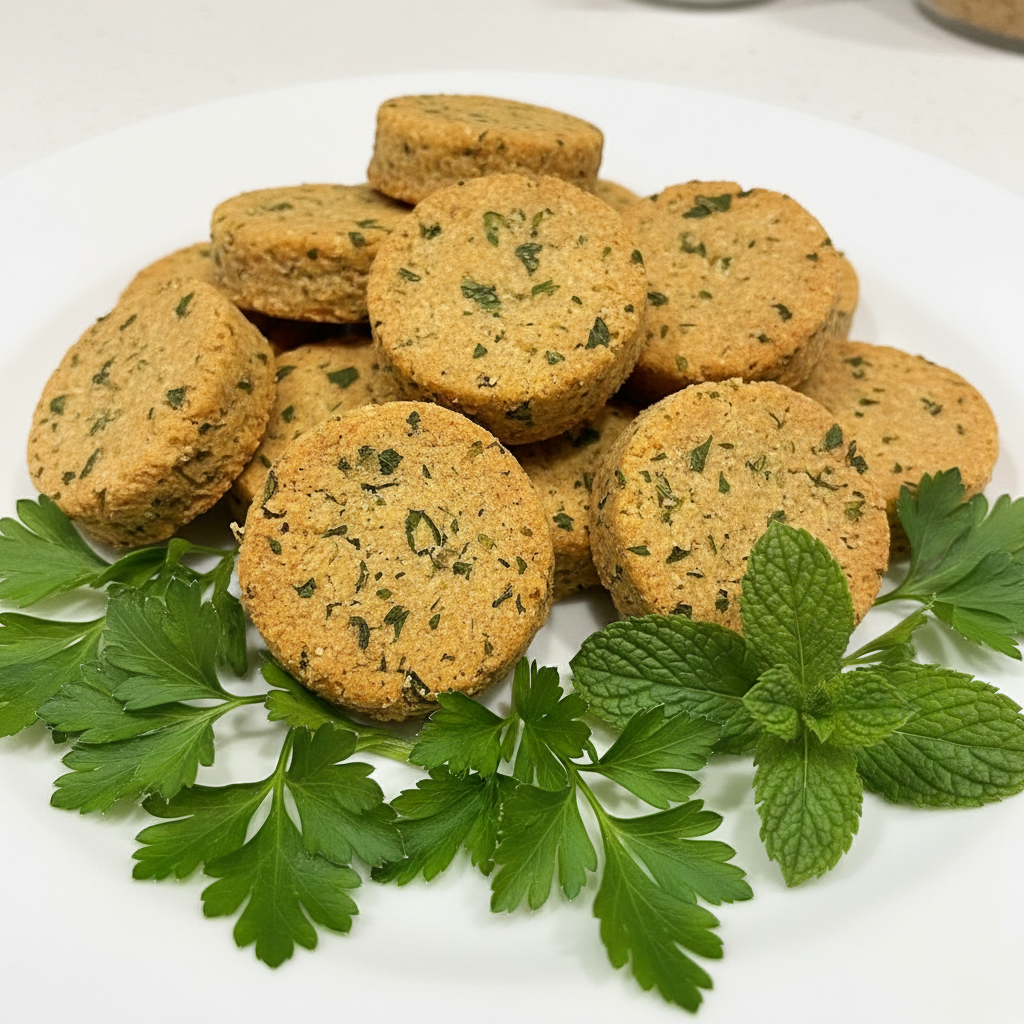
Love doggy kisses but not so much the doggy breath? These treats can help! Parsley and mint are natural breath fresheners. Combined with tasty cheddar, these biscuits fight bad breath from the inside out.
Ingredients:
- 2 cups oat flour (ground oats)
- 1 cup shredded cheddar cheese
- 1/2 cup finely chopped fresh parsley
- 1/4 cup finely chopped fresh mint
- 1 egg
- 1/4 cup olive oil
- 1/3 cup water
Instructions:
- Preheat your oven to 350°F (175°C).
- In a large bowl, combine the oat flour, cheese, chopped parsley, and chopped mint.
- In another bowl, whisk the egg, olive oil, and water.
- Pour the wet mixture into the dry and stir until a green, herby dough comes together.
- Roll out to 1/4-inch thickness on a surface dusted with oat flour.
- Cut into small, bite-sized shapes.
- Bake on a parchment-lined sheet for 20-25 minutes.
- Cool completely to let them crisp up.
Pros & Cons
Pros:
|
Cons:
|
Verdict:
A must-bake for any dog owner battling with stinky breath. These treats are a healthy, functional, and tasty way to make those puppy smooches a little more pleasant.
15. Cheesy Pretzel Twists
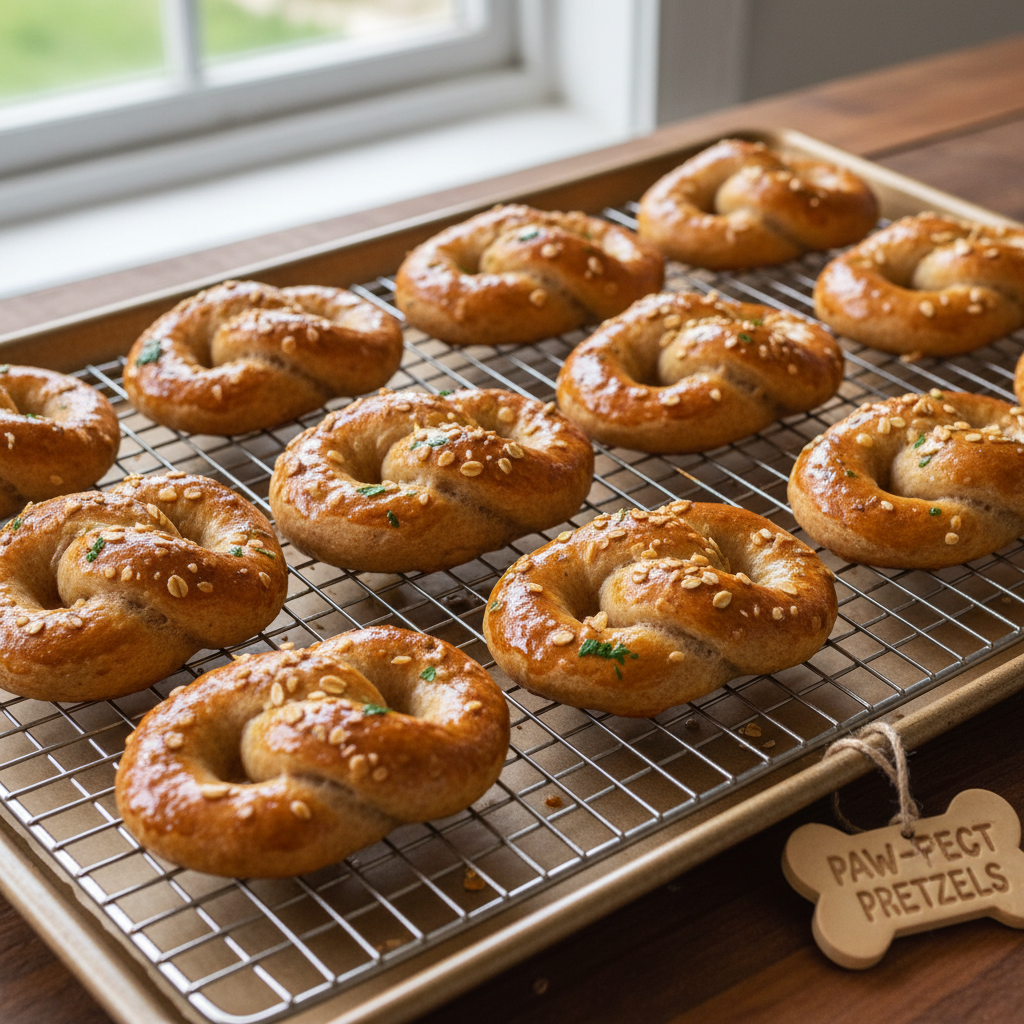
Ready for a baking challenge? These cheesy pretzel twists are as fun to make as they are for your dog to eat! They have a fantastic crunchy texture and a classic shape that’s perfect for a satisfying chew.
Ingredients:
- 2 1/2 cups whole wheat flour
- 1 cup shredded cheddar cheese
- 1 egg
- 1/2 cup warm water or milk
- 1 tablespoon vegetable oil
- For the wash: 1 egg, beaten with 1 tbsp water
Instructions:
- Preheat oven to 375°F (190°C).
- In a bowl, mix the flour and cheese.
- Add the egg, warm water, and oil. Mix until a stiff dough forms.
- Knead the dough on a floured surface for 3-4 minutes until it’s elastic.
- Divide the dough into small balls. Roll each ball into a long, thin rope (about 8-10 inches).
- Twist each rope into a pretzel shape and place on a parchment-lined baking sheet.
- Brush the tops of the pretzels with the egg wash.
- Bake for 25-30 minutes, until they are hard and deeply golden brown.
- Cool completely for maximum crunch.
Pros & Cons
Pros:
|
Cons:
|
Verdict:
For the dedicated pet parent who enjoys the process of baking. These hard, crunchy pretzels are great for your dog’s teeth and provide a longer-lasting chewing experience than a standard biscuit.
A Baker’s Guide to Perfect Dog Biscuits
Baking for your dog is a blast, but keeping a few key things in mind will ensure your treats are both safe and delicious. Think of this as your cheat sheet for becoming a canine pastry chef!
Choosing the Right Flour
While many of our recipes use whole wheat or all-purpose flour, you have lots of options! If your dog has a grain sensitivity, consider these alternatives:
- Oat Flour: Great for skin and coat health. Easy to make yourself by grinding rolled oats.
- Coconut Flour: A grain-free, low-carb option. It’s very absorbent, so you’ll need more liquid in your recipe.
- Chickpea or Almond Flour: Other excellent grain-free choices that add protein.
Always introduce new flours slowly to make sure they agree with your dog’s tummy.
Cheese, Please! But Which Kind?
Cheddar is our star today, but you can experiment! Low-fat mozzarella or Swiss cheese are also good options. The most important thing is to opt for lower-sodium varieties and always serve cheese-based treats in moderation due to their fat content.
Safe Storage
Because our homemade treats don’t have preservatives, they won’t last as long as store-bought ones. Here’s how to keep them fresh:
- Crunchy Biscuits: Store in an airtight container at room temperature for up to a week. For extra crunch, make sure they are completely cooled and dried out before storing.
- Softer Biscuits (like the sweet potato chews): These have more moisture and should be stored in an airtight container in the refrigerator for 5-7 days.
- Long-Term Storage: All of these recipes freeze beautifully! Pop them in a freezer-safe bag, and they’ll last for up to 3 months. You can thaw them as needed for a quick treat.
Ingredients to ALWAYS Avoid
Your kitchen has many dog-safe ingredients, but some are extremely toxic. Never include these in your dog’s treats:
- Xylitol: An artificial sweetener found in some peanut butters, yogurts, and baked goods. It is extremely toxic to dogs.
- Chocolate, Coffee, and Caffeine: All are toxic.
- Onions, Garlic, Chives: Can cause gastrointestinal irritation and red blood cell damage.
- Grapes and Raisins: Can cause kidney failure.
- Macadamia Nuts: Highly toxic to dogs.
When in doubt, always do a quick search or ask your vet before adding a new ingredient to your dog’s treats.
Frequently Asked Questions

How long do these homemade dog biscuits last?
It depends on the recipe! Drier, crunchier biscuits will last for about a week in an airtight container at room temperature. Softer, moister biscuits (like those with pumpkin or sweet potato) should be stored in the fridge and will last for about 5-7 days. For longer storage, you can freeze any of these treats for up to 3 months.
Can I use a different type of cheese?
Absolutely! While sharp cheddar provides a great flavor punch, you can substitute it with other dog-safe cheeses. Low-fat mozzarella, Swiss, or Colby are all fine choices. Just be mindful of the fat and sodium content and always choose real cheese over processed cheese products.
Are these recipes safe for puppies?
For the most part, yes. These ingredients are generally safe for puppies. However, puppy tummies can be sensitive, so it’s always best to introduce new treats one at a time and in small quantities. For very young puppies, you might want to break the treats into smaller, more manageable pieces.
My dog has allergies. How can I adapt these recipes?
That’s the beauty of homemade treats! You can easily customize them. If your dog is allergic to wheat, swap the whole wheat flour for a gluten-free alternative like oat, coconut, or chickpea flour. If they’re allergic to chicken or beef, stick to recipes that use water or vegetable-based ingredients. Always consult your vet if you’re unsure about a specific ingredient for your allergic dog.
Conclusion
Whew, that’s a lot of cheesy goodness! We hope you’ve found a recipe (or five!) that you’re excited to try for your furry best friend. Baking for your dog is more than just making food; it’s an act of love. It’s a chance to bond, to create something wholesome, and to know exactly what your beloved companion is eating.
Seeing their tail wag with excitement as you pull a fresh tray from the oven is one of the best rewards a pet parent can ask for. So, tie on that apron, get out your rolling pin, and get ready to fill your home with the delicious smell of baking and your dog’s heart with joy. Happy baking!