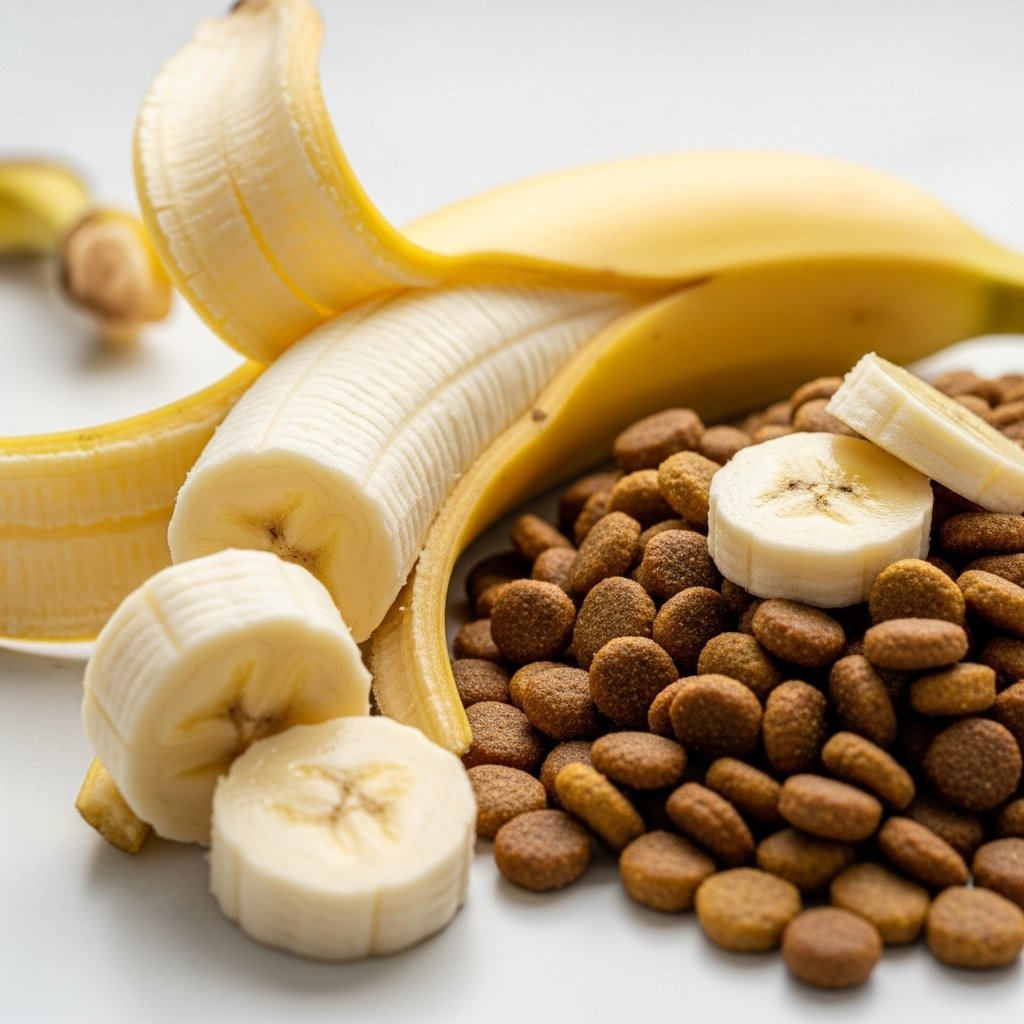
21 Baked Banana Chips For Dogs (Easy 1-Ingredient Snack)
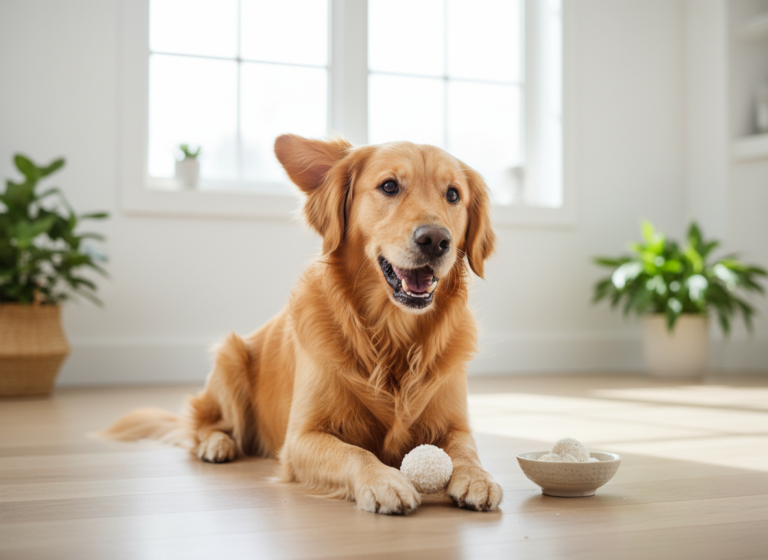
Hey there, fellow dog lovers! We all know that look—the big, soulful eyes, the gentle head tilt, the ever-so-hopeful tail wag. It’s the universal sign for ‘Can I have a treat, please?’ And while it’s tempting to share our own snacks, we know that what’s good for us isn’t always good for them. But what if you could give your pup a delicious, crunchy snack that you feel great about? Enter the magical, one-ingredient wonder: baked banana chips!
Making your own dog treats might sound like a big project, but I promise you, this recipe is as simple as it gets. There’s no complicated mixing, no long list of expensive ingredients, and no mystery additives. It’s just pure, natural goodness that your dog will adore. Before we dive into the step-by-step guide, here’s a quick look at what makes this recipe a winner.
Quick Recipe Facts
| Category | Details |
|---|---|
| Total Time | Approx. 2-3 hours (mostly hands-off baking) |
| Prep Time | 5-10 minutes |
| Difficulty | Super Easy |
| Main Ingredient | Bananas! |
| Cost | Very Low |
Why Bananas are a Pawsome Choice for Your Pup
So, what’s the big deal with bananas? You might see them as just a simple fruit, but for our canine companions, they’re a powerhouse of nutrients packed into a sweet, tasty package. When given in moderation, bananas can be a fantastic addition to your dog’s diet, and turning them into crispy chips makes them an extra-special, high-value treat.
A Bunch of Benefits:
- Potassium Power: Bananas are famous for their potassium content. This essential mineral plays a vital role in supporting your dog’s muscle function, regulating nerve signals, and maintaining healthy kidney and heart function. It’s especially great for active dogs who need to keep their muscles in top shape.
- Vitamins Galore: They are a great source of Vitamin C, a powerful antioxidant that helps boost the immune system and reduce inflammation. They also contain Vitamin B6, which is crucial for brain function, hormone regulation, and the production of red blood cells.
- Fiber for Digestion: The fiber in bananas can aid in your dog’s digestion. It helps promote regular bowel movements and can be beneficial for pups with occasional tummy troubles. However, this is also why moderation is key—too much fiber can have the opposite effect!
- Natural Energy Boost: The natural sugars (fructose, sucrose, and glucose) in bananas provide a quick and healthy source of energy. This makes banana chips a perfect treat for after a long walk, a game of fetch, or a training session.
A Quick Word of Caution
While bananas are wonderful, they are also high in sugar. This means they should always be considered a ‘treat’ and not a staple of your dog’s diet. Overfeeding can lead to weight gain and an upset stomach. Always consult with your veterinarian if you have any concerns about introducing new foods to your dog, especially if they have underlying health conditions like diabetes.
The Ultimate 1-Ingredient Baked Banana Chip Recipe

Alright, let’s get to the main event! It’s time to preheat that oven and get your bake on. You’ll be amazed at how something so simple can result in such a delightful treat for your four-legged friend.
What You’ll Need
Ingredients:
- 2-3 ripe bananas (firm, with some brown spots, but not mushy)
That’s it. Seriously! No flour, no sugar, no preservatives. Just pure, unadulterated banana.
Equipment:
- Baking sheets
- Parchment paper or a silicone baking mat
- A sharp knife or a mandoline slicer
- An oven
Step-by-Step Instructions
- Preheat Your Oven: Set your oven to a low temperature, around 200-225°F (about 95-107°C). The goal here is to dehydrate the bananas slowly, not to cook or burn them. Low and slow is the secret to crispy chips!
- Prepare Your Pans: Line two large baking sheets with parchment paper. This is a crucial step to prevent sticking and makes cleanup an absolute breeze.
- Slice the Bananas: Peel your bananas. Now, for the most important part: slicing. You want to slice them as thinly and uniformly as possible, aiming for about 1/8-inch thickness. A mandoline slicer is a fantastic tool for this, as it guarantees every slice is the same size, which means they’ll bake evenly. If using a knife, just take your time.
- Arrange the Slices: Place the banana slices on the prepared baking sheets in a single layer. Make sure they aren’t overlapping, as this will prevent them from crisping up properly. Give them a little space to breathe.
- Time to Bake: Place the baking sheets in the preheated oven. Let them bake for about 1.5 to 2 hours. The exact time will depend on your oven and the thickness of your slices.
- Flip ’em Over: After the first leg of baking, carefully take the sheets out of the oven. You’ll notice the tops are starting to dry out. Gently flip each slice over. This helps both sides get equally crispy.
- The Final Bake: Return the sheets to the oven and bake for another 1 to 1.5 hours. Keep an eye on them during this last stretch. You’re looking for them to be golden brown and feel dry to the touch. They will continue to crisp up as they cool.
- Cool Down: Once they’re done, turn off the oven and let them cool completely on the baking sheets or on a wire rack. This final step is essential for achieving that satisfying crunch. Don’t be tempted to give one to your pup while it’s hot!
Pro Tips for Perfect Banana Chips Every Time

While the recipe is incredibly straightforward, a few little tricks can take your banana chips from good to absolutely perfect. Here are some tips I’ve picked up from making countless batches for my own furry taste-testers.
- Choose the Right Banana: The ideal banana is ripe but still firm. You want some brown spots on the peel, which indicates sweetness, but you don’t want a banana that’s soft and mushy. Overly ripe bananas are harder to slice thinly and can result in a chewier, rather than crispy, chip.
- Consistency is Key: I can’t stress this enough—the thickness of your slices matters! If some are thick and some are thin, you’ll end up with a mix of burnt and undercooked chips. A mandoline is your best friend for this task. If you don’t have one, just focus on making each slice as even as the last with a sharp knife.
- Don’t Crowd the Pan: Give each slice its own personal space on the baking sheet. If they’re touching or overlapping, steam gets trapped between them, and they’ll end up steaming instead of dehydrating. This leads to soft, chewy spots.
- A Touch of Lemon Juice (Optional): If you’re concerned about the chips browning too much (which is purely aesthetic), you can very lightly brush the slices with a bit of lemon juice before baking. The citric acid helps prevent oxidation. Just use a tiny amount, as some dogs aren’t fond of the sour taste.
- Patience with the Oven: It might be tempting to crank up the heat to speed things up, but please resist! A higher temperature will caramelize the sugars on the outside of the banana before the inside has a chance to dry out. This will give you a burnt-tasting, soft chip. Low and slow is the only way to go for that perfect crunch.
- Check for Doneness: The chips should feel dry and leathery when you take them out of the oven. They might not seem super crispy right away, but they will firm up significantly as they cool. If they still feel soft after cooling completely, you can pop them back in a low oven for another 20-30 minutes.
Fun Variations & Flavor Boosts (Dog-Safe, of course!)

Once you’ve mastered the basic one-ingredient recipe, why not get a little creative? There are a few simple, dog-safe additions you can make to add a little extra flair and nutritional value to your banana chips. Your pup will appreciate the variety!
Spice It Up with Cinnamon
Before popping them in the oven, give your banana slices a very light dusting of Ceylon cinnamon. Not only does it add a warm, delicious aroma, but cinnamon also has anti-inflammatory properties and can help regulate blood sugar. Be sure to use Ceylon cinnamon, as the more common Cassia variety contains higher levels of coumarin, which can be harmful to dogs in large quantities. A little sprinkle is all you need!
A Drizzle of Coconut Oil
For an extra boost of healthy fats that are great for your dog’s skin and coat, you can lightly toss the banana slices in a tiny bit of melted coconut oil before arranging them on the baking sheet. This can also help them crisp up a bit more and add a lovely, subtle flavor. Just be mindful of the extra calories and use it sparingly.
Post-Bake Peanut Butter Dip
This one is a guaranteed crowd-pleaser. After the banana chips have been baked and have cooled completely, you can dip one half of each chip into a dog-safe peanut butter. CRITICAL: Make absolutely certain the peanut butter does not contain xylitol, an artificial sweetener that is extremely toxic to dogs. Once dipped, lay them on parchment paper and pop them in the freezer for about 15-20 minutes to let the peanut butter set. These become an extra-special, decadent treat.
Yogurt Swirl
Similar to the peanut butter dip, you can use plain, unsweetened Greek yogurt as a dip. It’s a great source of probiotics for gut health. Follow the same process: dip the cooled chips and freeze them until the yogurt is firm. These are particularly refreshing on a warm day.
How to Store Your Homemade Dog Treats

One of the best things about making your own dog treats is knowing exactly what’s in them. The flip side is that they don’t contain any artificial preservatives, so proper storage is essential to keep them fresh, crispy, and safe for your pup to enjoy.
The Key is ‘Dry’
The most important factor for storage is ensuring your banana chips are completely dehydrated and fully cooled before you put them away. Any residual moisture or warmth can create condensation in the storage container, which will quickly lead to mold and spoilage. So, be patient and let them cool on a wire rack for at least an hour after they come out of the oven.
Storage Options:
- Room Temperature (Short-Term): If you think the treats will be eaten within a week, you can store them at room temperature. Place the cooled chips in an airtight container—a glass jar with a good seal or a zip-top bag works well. Keep the container in a cool, dark place like a pantry. Avoid direct sunlight, which can introduce heat and moisture.
- Refrigerator (Medium-Term): For longer storage, up to 3 weeks, the refrigerator is your best bet. The cool, dry environment helps to keep them crisp and prevents any potential mold growth. Again, use an airtight container to protect them from absorbing other food odors from the fridge.
- Freezer (Long-Term): Did you make a huge batch? No problem! Banana chips freeze beautifully. Place them in a freezer-safe bag or container. They can last for up to 3 months in the freezer. They also make a wonderful, crunchy, cooling treat for your dog straight from the freezer on a hot day.
How to Tell if They’ve Gone Bad
Always inspect homemade treats before giving them to your dog. Discard any chips that show signs of mold (fuzzy spots), have a strange or ‘off’ smell, or have become soft and chewy again, as this indicates they have absorbed moisture.
Buyer’s Guide: What If I Don’t Have Time to Bake?

Life gets busy—we totally get it! While making homemade treats is rewarding, sometimes you just need the convenience of a store-bought option. But not all banana chips are created equal, especially when it comes to our dogs. Many chips made for human consumption are loaded with things our pups don’t need. Here’s what to look for on the label to make sure you’re buying a safe and healthy option.
The Ingredient List is Your Best Friend
This is the most important part of the package. Turn it over and read that list carefully. What you want to see is simple.
- Look For: ‘Bananas’. Ideally, that’s the only ingredient. This is the gold standard. Some high-quality brands might add a natural preservative like Vitamin E (tocopherols), which is perfectly safe.
- Avoid:
- Sugar or Sweeteners: There is absolutely no reason for added sugar, corn syrup, or honey. Bananas are naturally sweet enough.
- Oils: Many human-grade banana chips are fried in oil (like coconut, palm, or sunflower oil) to make them extra crispy. This adds a lot of unnecessary fat and calories to your dog’s diet. Look for ‘baked’ or ‘dehydrated’ on the front of the package.
- Preservatives like Sulfites: Sulfur dioxide is often used to preserve the color of dried fruits, but it can cause allergic reactions in some dogs. It’s best to steer clear.
- Artificial Flavors or Colors: Your dog doesn’t care if the chip is a perfect shade of yellow. These artificial additives are completely unnecessary.
Check the ‘Guaranteed Analysis’
On pet food and treat packaging, this section breaks down the percentages of protein, fat, fiber, and moisture. For a simple dehydrated fruit treat, you should expect to see very low fat and protein content, with higher fiber and carbohydrate levels. If the fat percentage is high, it’s a red flag that the chips were likely fried in oil.
Country of Origin
Always check where the product and its ingredients are sourced from. Many pet owners prefer treats made and sourced in countries with high food safety standards, such as the USA, Canada, or Western Europe, to ensure quality and safety.
Frequently Asked Questions (FAQ)

How many banana chips can my dog have?
This is a great question! It all comes down to the ‘10% rule.’ Treats should not make up more than 10% of your dog’s daily caloric intake. For a small dog (like a Chihuahua or Yorkie), 2-3 small chips a day is plenty. For a medium-sized dog (like a Beagle or Corgi), 4-5 chips is a good number. For large breeds (like a Labrador or German Shepherd), you can offer a small handful, maybe 6-8 chips. Remember, these are treats, not a meal replacement.
Are banana peels safe for dogs?
No, banana peels are not toxic to dogs, but they are not recommended. The peels are very fibrous and difficult for a dog’s digestive system to break down. Eating them can lead to stomach upset, vomiting, or even intestinal blockages, which can be a serious medical emergency. Always peel the banana before making chips or sharing a fresh piece with your pup.
Can I use an air fryer or a dehydrator?
Absolutely! Both are fantastic tools for this recipe.
- For an Air Fryer: Set it to a low temperature, around 180°F (82°C). Place the slices in a single layer in the basket and cook for about 1-2 hours, shaking the basket or flipping the slices every 30 minutes until they are crispy.
- For a Dehydrator: This is what dehydrators were made for! Arrange the slices on the trays, set the temperature to around 135°F (57°C), and let it run for 6-10 hours, or until the chips are dry and crisp.
My banana chips aren’t crispy, what did I do wrong?
This is a common issue with a few likely culprits. First, your slices might have been too thick. Thicker slices retain more moisture and tend to come out chewy. Second, your oven temperature might have been too high, cooking the outside before the inside could dry. Third, you may have pulled them out too soon. And finally, make sure you let them cool completely, as this is when they do their final crisping. Don’t worry, a chewy banana treat is still a delicious treat for your dog!
Conclusion
And there you have it! A ridiculously simple, wonderfully healthy, and dog-approved treat that you can make with just one ingredient you probably already have in your fruit bowl. Making these baked banana chips is more than just providing a snack; it’s a way to show your love, control the quality of their food, and have a little fun in the kitchen. The delightful smell of bananas baking will have your pup’s nose twitching and tail wagging in anticipation.
So next time you have a couple of bananas that are just past their prime for your own breakfast, don’t toss them! Turn them into a crunchy, delicious treat that your best friend will thank you for. Happy baking!