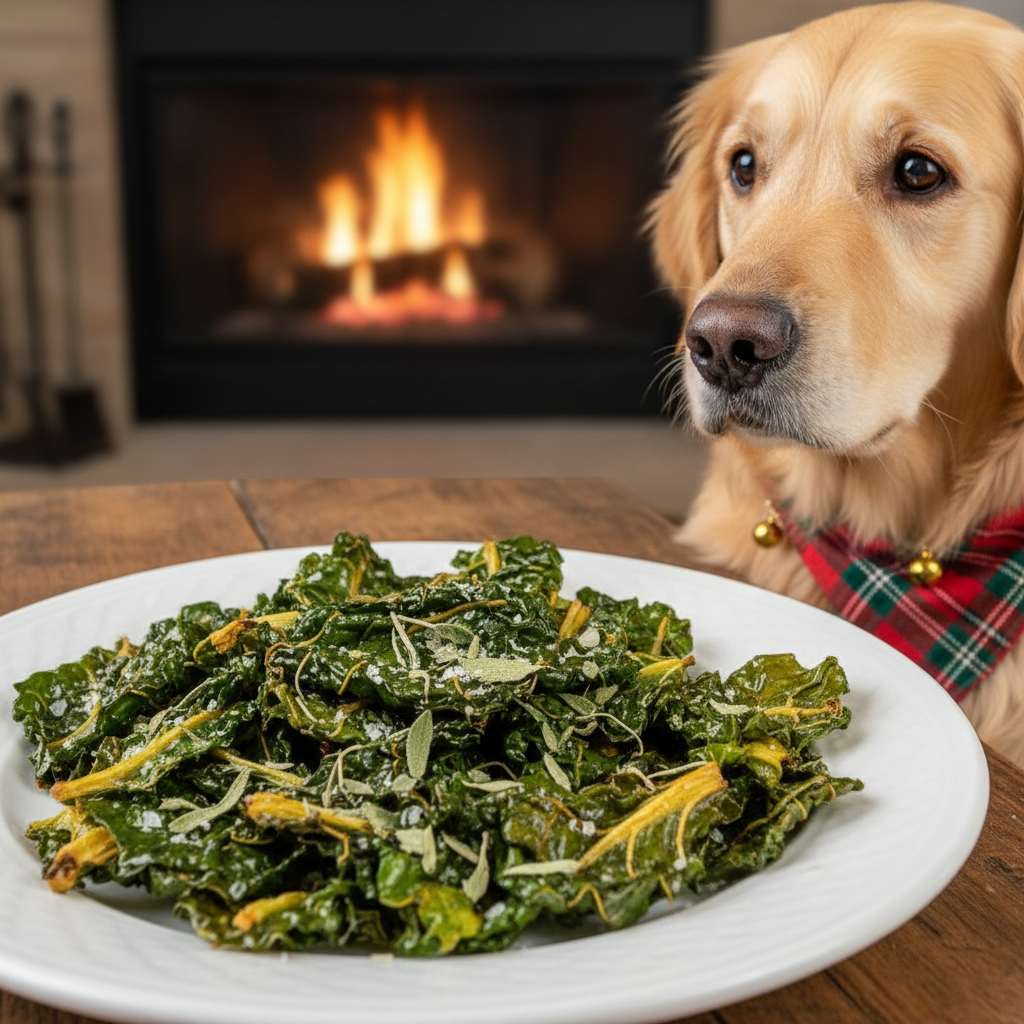
21 Crunchy Baked Swiss Chard Chips for Dogs (Kale Alternative)
Hey there, fellow dog lovers! Are you constantly on the hunt for healthy, wholesome snacks for your four-legged family member? If you’ve ever made kale chips for yourself, you might have wondered if your pup could get in on the crunchy, green goodness. While kale is fine in moderation, let’s talk about its lesser-known, but equally amazing cousin: Swiss chard! This leafy green is packed with vitamins A, K, and C, plus minerals and fiber, making it a superfood for your super-pup.
Forget boring biscuits! We’ve whipped up 21 creative and drool-worthy Swiss chard chip recipes that are easy to make and tail-waggingly delicious. They’re the perfect low-calorie, high-nutrient treat for training, rewards, or just because you love them. Ready to turn your kitchen into your dog’s favorite gourmet snack bar? Let’s get baking!
Quick Comparison of Our Favorite Recipes
| Recipe Name | Key Flavor | Prep Time | Best For |
|---|---|---|---|
| The Classic Pup Chip | Natural & Earthy | 10 mins | First-timers & sensitive tummies |
| Peanut Butter Power Crunch | Nutty & Rich | 15 mins | Picky eaters & active dogs |
| Golden Turmeric Chips | Warm & Spicy | 10 mins | Senior dogs needing joint support |
| Cheesy Delight Chips | Savory & Cheesy | 12 mins | A high-value training reward |
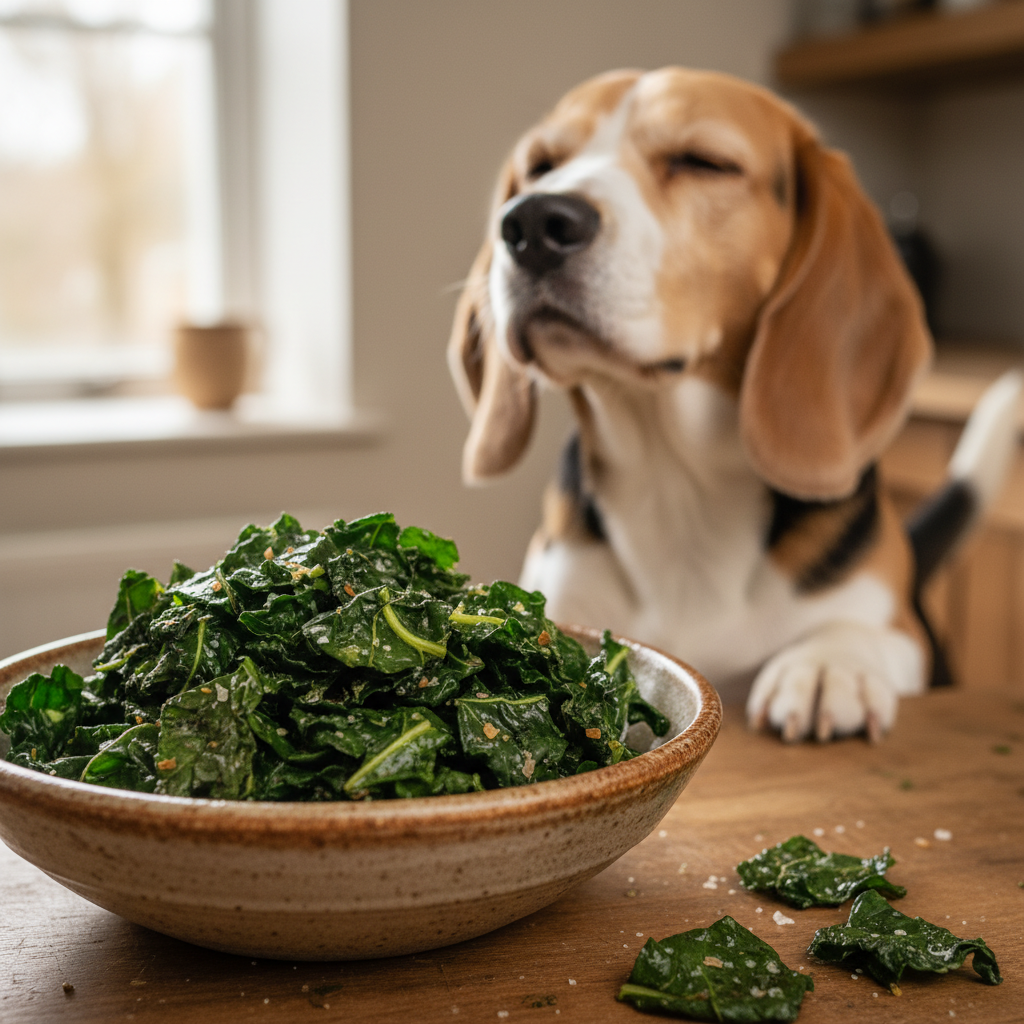
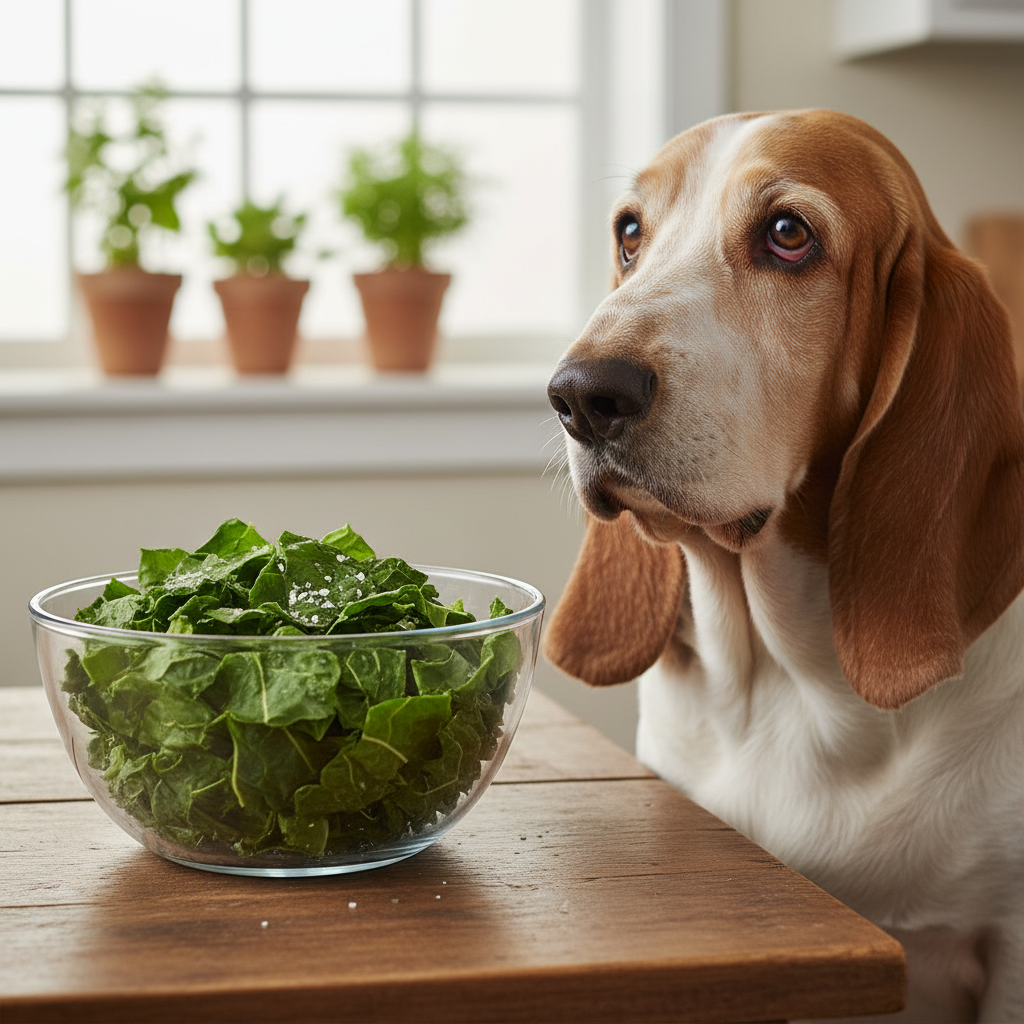
1. The Classic Pup Chip (Olive Oil & Sea Salt)
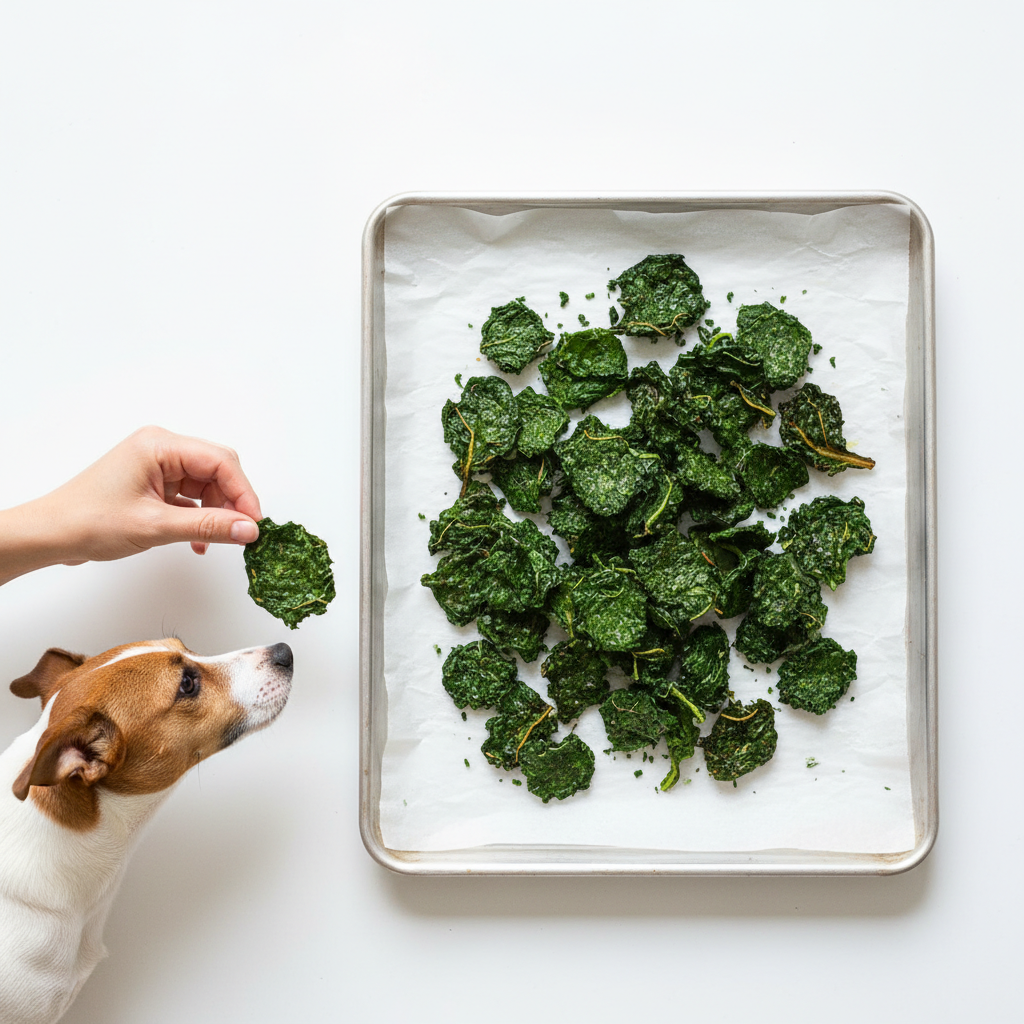
Let’s start with the original! This super simple, two-ingredient recipe is the foundation for all the others. It lets the natural, earthy flavor of the Swiss chard shine through and is a perfect introduction for dogs new to veggie chips.
Ingredients:
- 1 large bunch of Swiss chard
- 1 tablespoon of olive oil
- Pinch of sea salt (optional, and only a tiny amount)
Instructions:
- Preheat your oven to 275°F (135°C).
- Wash and thoroughly dry the chard leaves. This is key for crispiness!
- Remove the thick stems (you can save them to chop up and steam with your dog’s food later). Tear the leaves into bite-sized pieces.
- In a large bowl, toss the leaves with olive oil until they are lightly coated.
- Spread the leaves in a single layer on a baking sheet lined with parchment paper. Don’t overcrowd the pan!
- Sprinkle with a tiny pinch of sea salt, if using.
- Bake for 15-20 minutes, or until the edges are crispy but not burnt. Let them cool completely before serving.
Pros & Cons
Pros:
|
Cons:
|
Verdict:
This is the perfect starter recipe. It’s ideal for pet parents who want to test the waters and see if their pup enjoys veggie chips without committing to complex flavors.
2. Golden Turmeric Chips
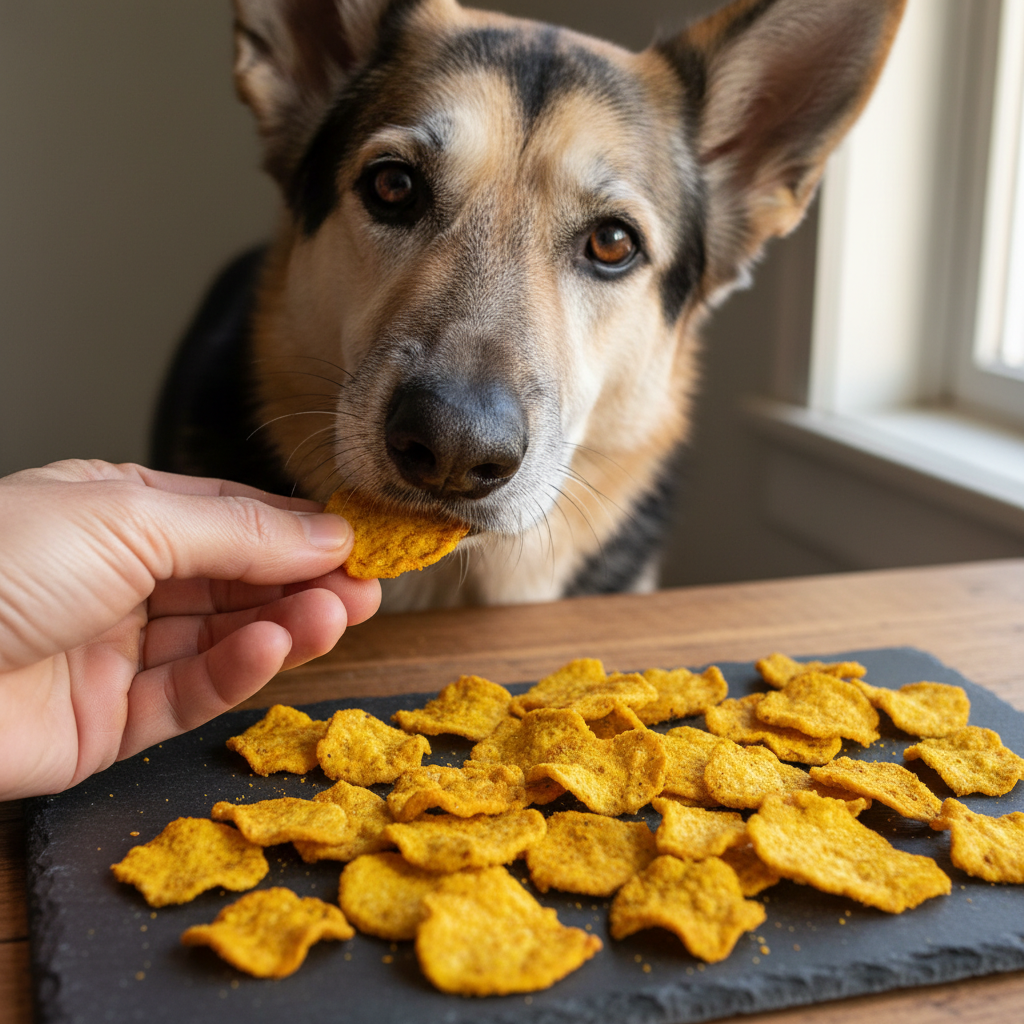
Give your dog’s snack time an anti-inflammatory boost! Turmeric is celebrated for its health benefits, particularly for joint health, making this a fantastic choice for senior dogs or active breeds.
Ingredients:
- 1 bunch Swiss chard
- 1 tablespoon coconut oil, melted
- 1/4 teaspoon turmeric powder
Instructions:
- Preheat oven to 275°F (135°C).
- Prep the chard leaves as described in the classic recipe (wash, dry, de-stem, tear).
- In a bowl, whisk together the melted coconut oil and turmeric powder.
- Toss the chard leaves in the golden mixture until evenly coated.
- Spread on a parchment-lined baking sheet in a single layer.
- Bake for 15-20 minutes until crispy. Cool completely.
Pros & Cons
Pros:
|
Cons:
|
Verdict:
An excellent choice for older dogs, dogs with arthritis, or any pup who could benefit from a little extra joint support. Just be mindful of the potential for yellow stains!
3. Cheesy Delight Chips (with Parmesan)
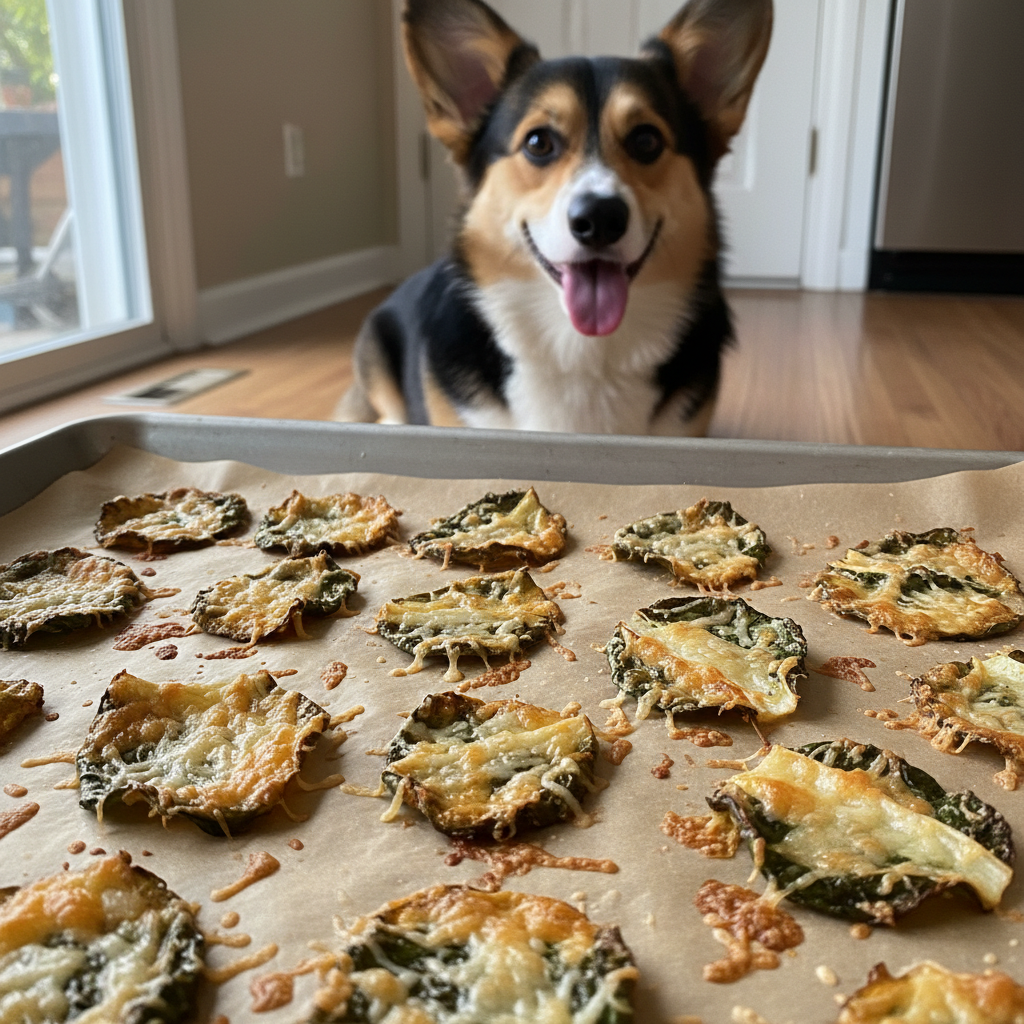
Who can resist cheese? A little bit of Parmesan goes a long way in making these chips an irresistible, high-value treat. The salty, nutty flavor is a guaranteed crowd-pleaser.
Ingredients:
- 1 bunch Swiss chard
- 1 tablespoon olive oil
- 1 tablespoon grated Parmesan cheese
Instructions:
- Preheat oven to 275°F (135°C).
- Prep the chard leaves.
- In a bowl, toss the leaves with olive oil first.
- Sprinkle the grated Parmesan over the leaves and toss again to coat.
- Spread in a single layer on your baking sheet.
- Bake for 15-20 minutes. The cheese will get wonderfully crispy!
Pros & Cons
Pros:
|
Cons:
|
Verdict:
When you need to get your dog’s undivided attention, these are the chips to reach for. They’re perfect for training sessions or as a special occasion snack.
4. Peanut Butter Power Crunch
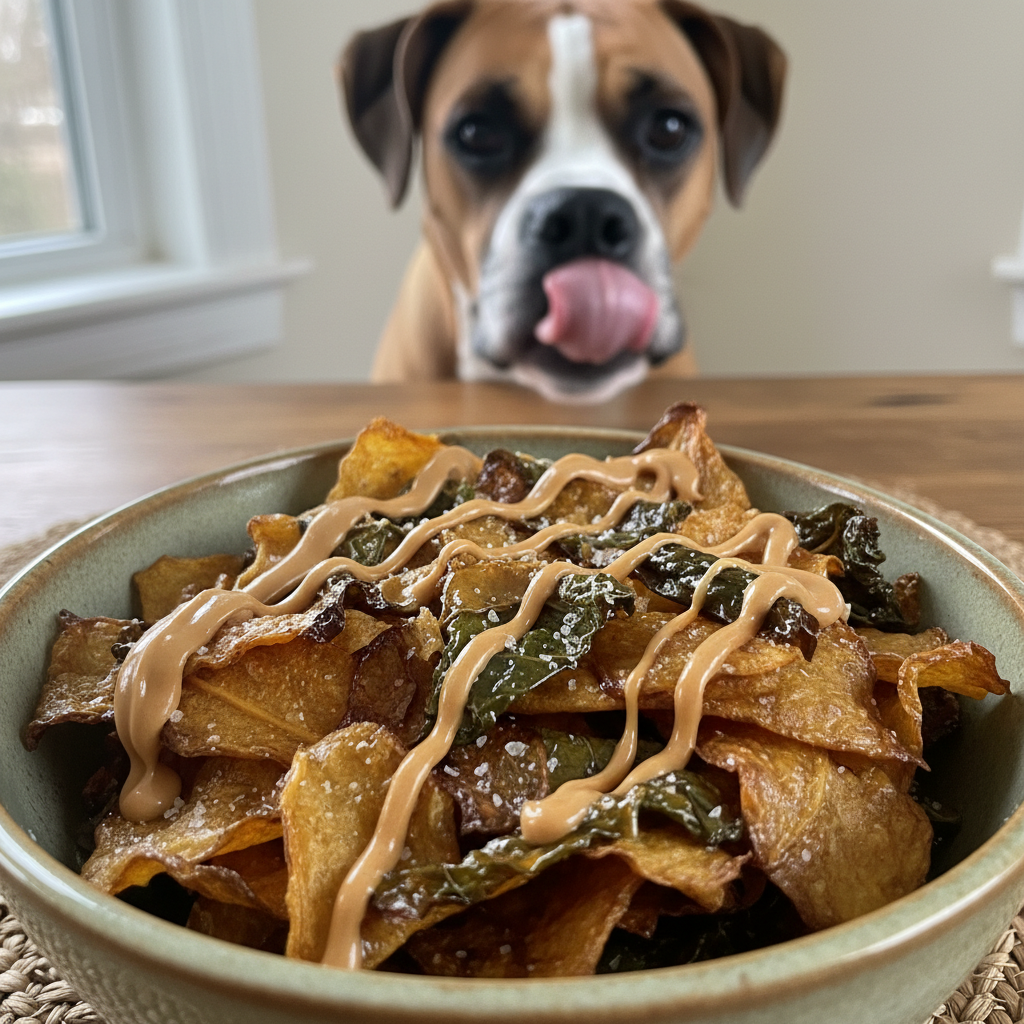
Combine two doggy favorites: a crunchy chip and the beloved flavor of peanut butter. This version adds a bit of protein and healthy fats, making it a more substantial snack.
Ingredients:
- 1 bunch Swiss chard
- 1 tablespoon olive oil
- 1 tablespoon natural, xylitol-free peanut butter, melted slightly
Instructions:
- Bake the chard chips using the Classic Pup Chip recipe first. Let them cool.
- Warm the peanut butter in the microwave for 10-15 seconds to make it runny.
- Using a spoon or a piping bag, drizzle the thinned peanut butter over the cooled, crispy chips.
- Let the drizzle set before serving. You can pop them in the fridge for a few minutes to speed this up.
Pros & Cons
Pros:
|
Cons:
|
Verdict:
This is the ultimate treat for the peanut butter fanatic in your house. It’s great for picky eaters who might turn their nose up at plain greens.
5. Bacon-Flavored Bliss
Capture the savory, smoky flavor of bacon without the guilt. A tiny bit of bacon fat or a dash of broth infuses these chips with a scent and taste that will drive your dog wild.
Ingredients:
- 1 bunch Swiss chard
- 1 teaspoon bacon fat, melted (or 1 tbsp low-sodium beef broth)
Instructions:
- Preheat oven to 275°F (135°C).
- Prep the chard leaves.
- Instead of oil, toss the leaves in the melted bacon fat or broth until lightly coated. A little goes a very long way with the fat!
- Spread on a parchment-lined baking sheet.
- Bake for 15-20 minutes until crisp. The smell will be incredible!
Pros & Cons
Pros:
|
Cons:
|
Verdict:
This is a ‘sometimes’ treat. It’s the perfect way to make a rainy day special or to reward exceptionally good behavior. Use the tiniest amount of fat for maximum flavor and minimum guilt.
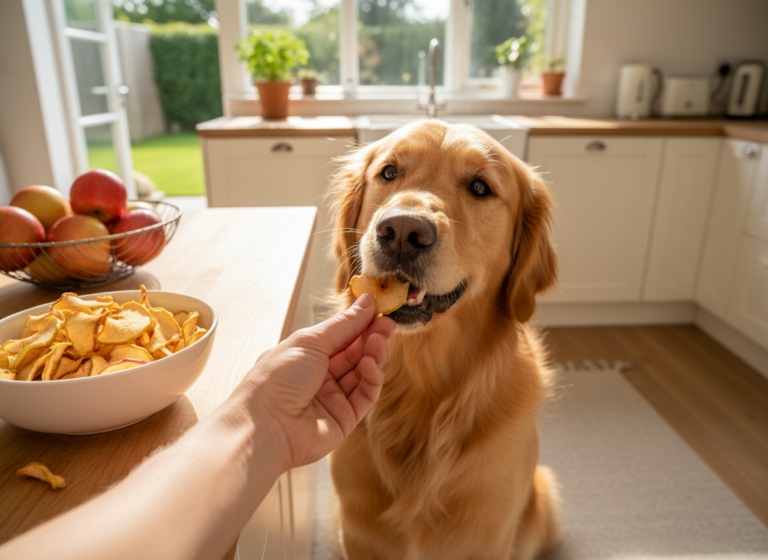
6. Apple & Cinnamon Sweet Chips
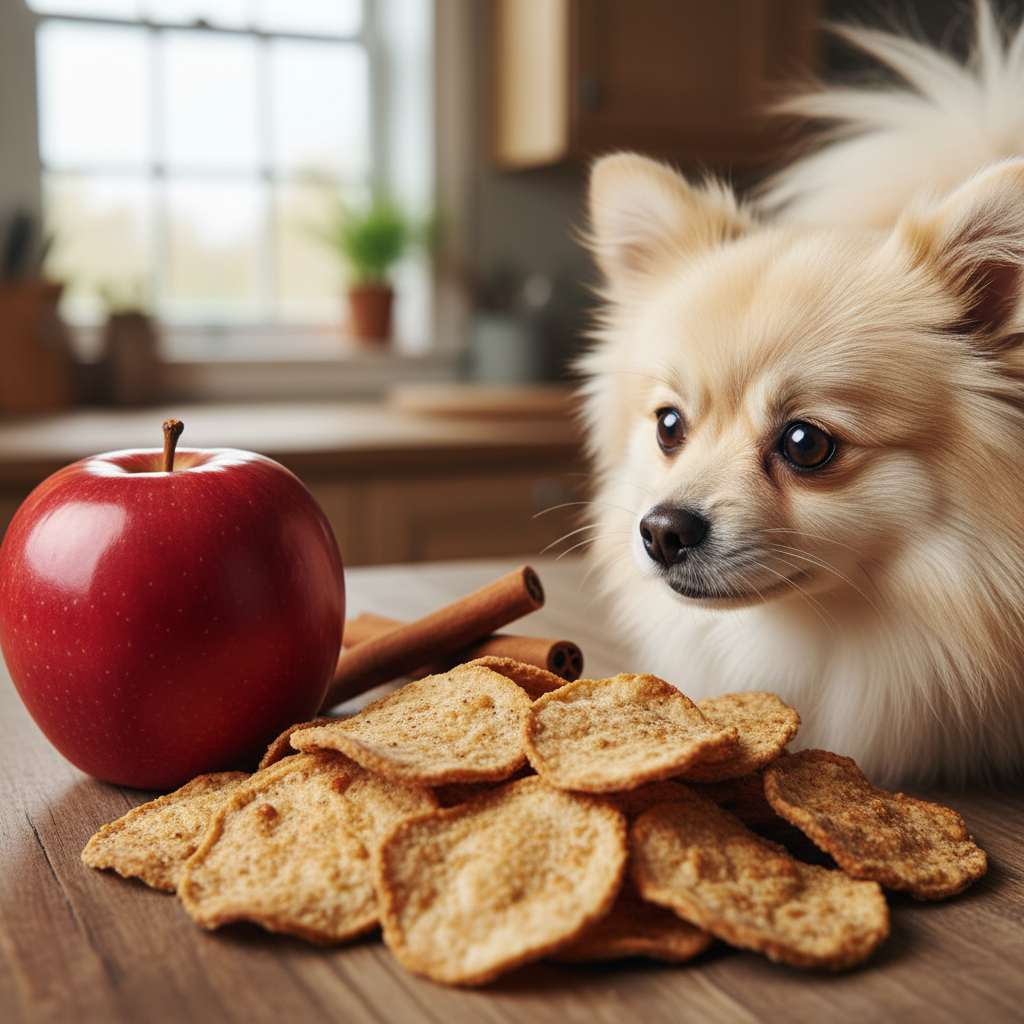
For pups with a sweet tooth, this combination is a winner. The natural sweetness of apple pairs beautifully with the warmth of cinnamon for a dessert-like treat that’s still healthy.
Ingredients:
- 1 bunch Swiss chard
- 1 tablespoon unsweetened applesauce
- 1/4 teaspoon ground cinnamon
Instructions:
- Preheat oven to 275°F (135°C).
- Prep the chard leaves.
- In a bowl, whisk together the applesauce and cinnamon.
- Gently toss the chard leaves in the mixture. It will be a thicker coating than oil, which is okay.
- Spread on the baking sheet, giving them plenty of space.
- Bake for 20-25 minutes. They may take slightly longer to crisp up due to the moisture in the applesauce.
Pros & Cons
Pros:
|
Cons:
|
Verdict:
A fantastic choice for dogs who love fruit. This recipe feels like a special dessert and is a great way to add some variety to their snack rotation.
7. Pumpkin Spice Pup-fection
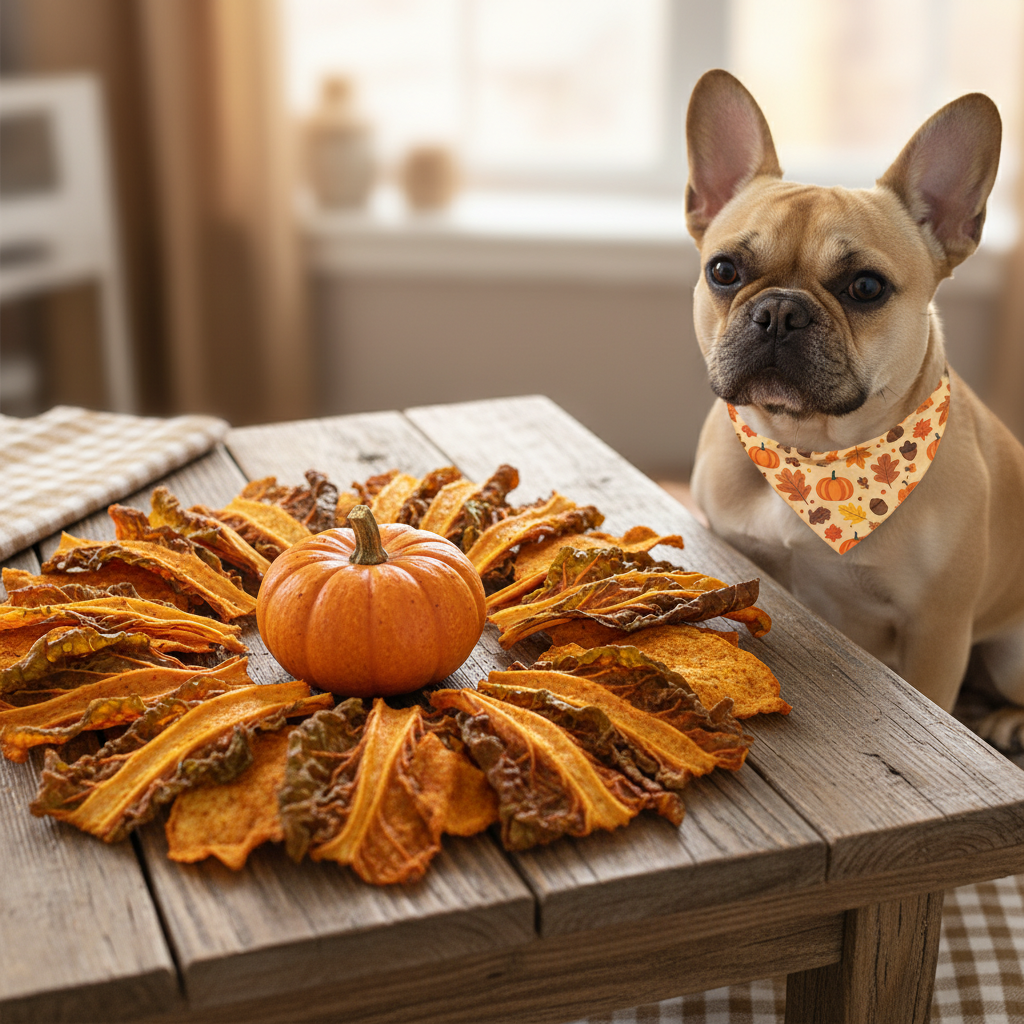
Bring the cozy flavors of fall to your dog’s treat jar! Pumpkin is excellent for digestive health, making this a tasty and functional snack.
Ingredients:
- 1 bunch Swiss chard
- 1 tablespoon pumpkin puree (100% pure pumpkin, not pie filling)
- 1/4 teaspoon pumpkin pie spice (ensure it contains no nutmeg or xylitol) or just cinnamon
Instructions:
- Preheat oven to 275°F (135°C).
- Prep the chard leaves.
- Mix the pumpkin puree and spice together.
- Gently coat the leaves with the pumpkin mixture.
- Spread on a baking sheet and bake for 20-25 minutes, until dry and crispy.
Pros & Cons
Pros:
|
Cons:
|
Verdict:
Perfect for the fall season or for any dog that needs a little extra fiber in their diet. The comforting aroma alone will have your pup waiting by the oven.
8. Carrot & Ginger Zingers
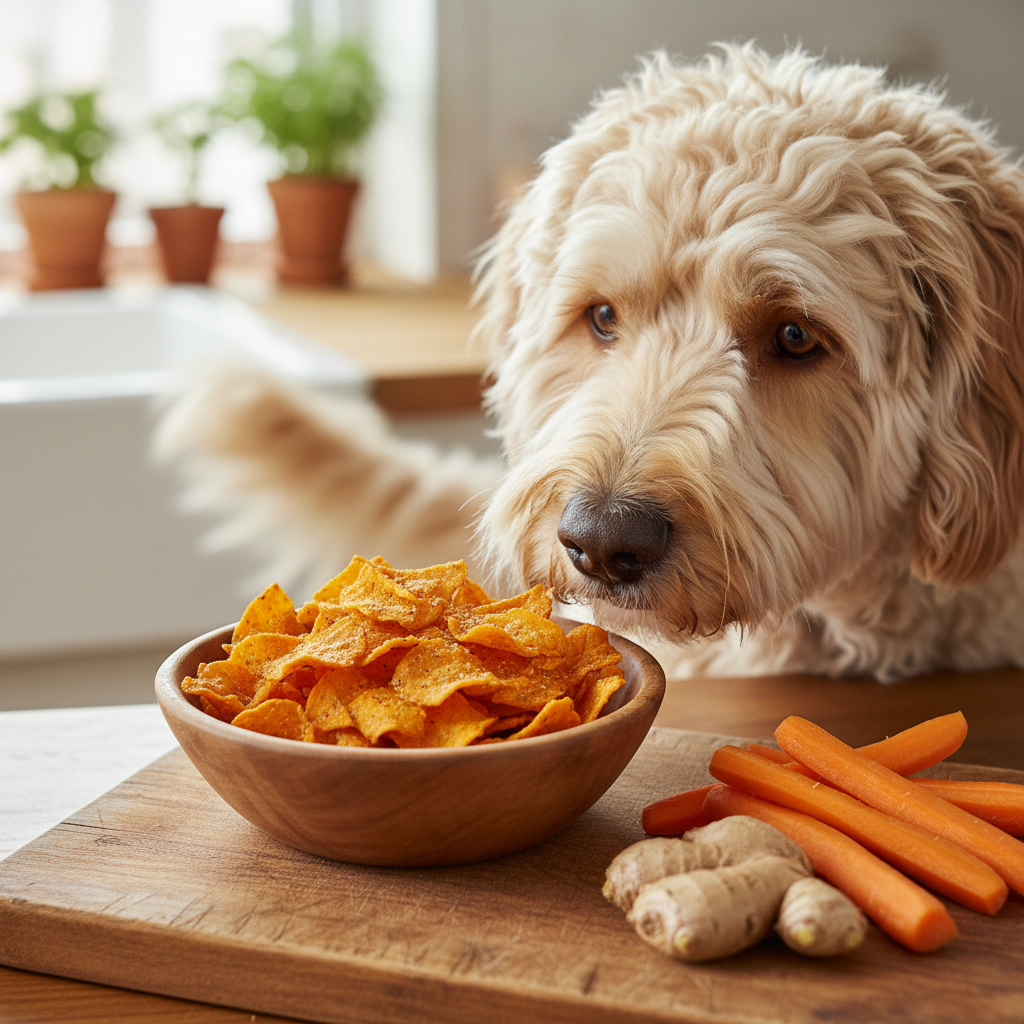
This vibrant recipe is packed with beta-carotene from the carrots and soothing properties from the ginger. Ginger is known to help with nausea and an upset stomach, so this is a great chip for sensitive pups.
Ingredients:
- 1 bunch Swiss chard
- 1 tablespoon carrot puree (or baby food)
- 1/8 teaspoon ground ginger
Instructions:
- Preheat oven to 275°F (135°C).
- Prep the chard leaves.
- Combine the carrot puree and ginger, then toss with the leaves.
- Bake for 20-25 minutes until crisp.
Pros & Cons
Pros:
|
Cons:
|
Verdict:
An excellent choice for dogs with sensitive stomachs or those who travel, as the ginger can help with car sickness. The bright orange color is also fun!
9. Blueberry Antioxidant Boost
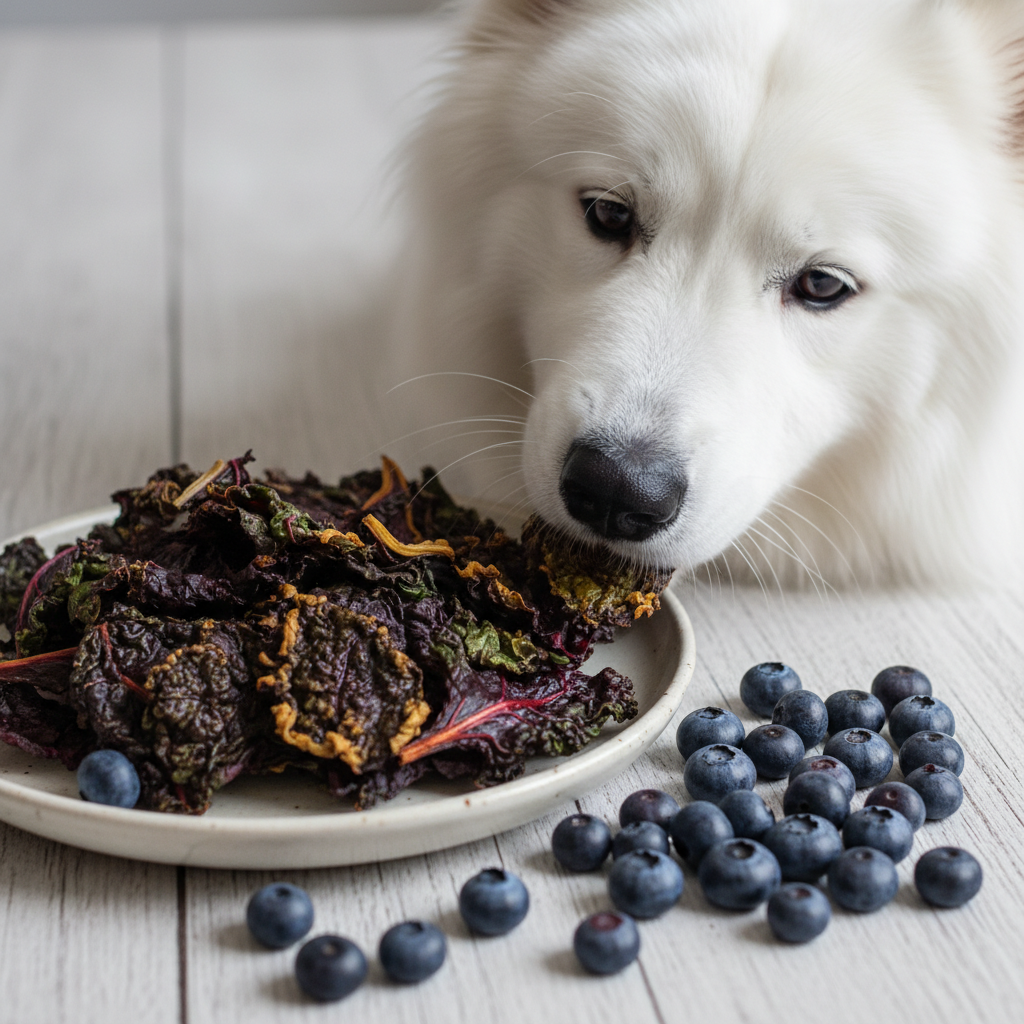
Blueberries are a well-known superfood, loaded with antioxidants that support the immune system. This recipe adds a touch of fruity flavor and a powerhouse of health benefits.
Ingredients:
- 1 bunch Swiss chard
- 1 tablespoon blueberry puree (blend a handful of fresh/frozen blueberries with a tiny bit of water)
- 1 teaspoon coconut oil, melted
Instructions:
- Preheat oven to 275°F (135°C).
- Prep the chard leaves.
- Whisk the blueberry puree and coconut oil together. The mixture will be a beautiful purple color.
- Gently coat the leaves.
- Bake for 20-25 minutes. The chips will turn a very dark color.
Pros & Cons
Pros:
|
Cons:
|
Verdict:
For the health-conscious pet parent, this recipe is a top pick. It’s a fantastic way to incorporate the benefits of blueberries into a crunchy, satisfying snack.
10. Salmon Oil Omega-3 Rich Chips
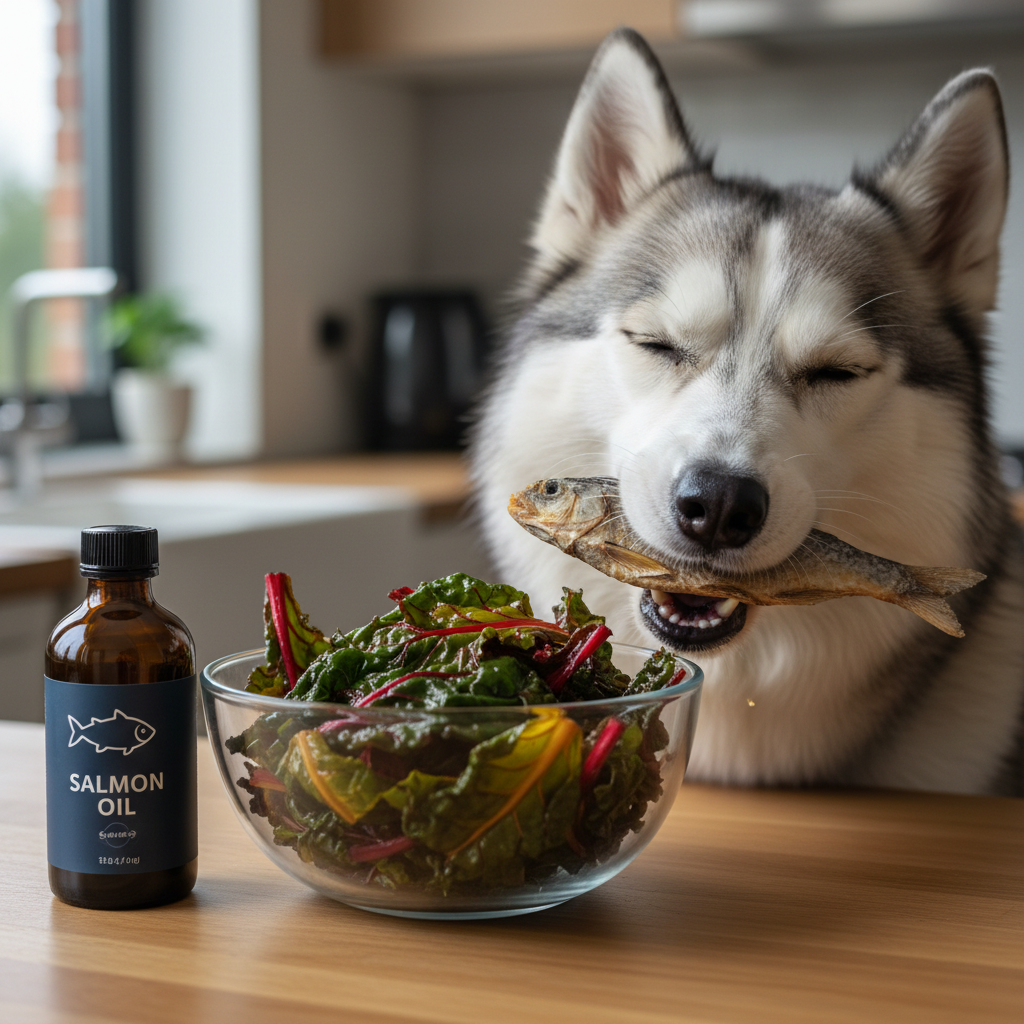
Support your dog’s skin, coat, and brain health with a dose of Omega-3s! Salmon oil gives these chips a fishy flavor that many dogs find irresistible.
Ingredients:
- 1 bunch Swiss chard
- 1 teaspoon of high-quality salmon oil
Instructions:
- Preheat oven to 275°F (135°C).
- Prep the chard leaves.
- In a large bowl, drizzle the salmon oil over the leaves and toss very gently to coat. You don’t need much.
- Spread on the baking sheet and bake for 15-20 minutes.
Pros & Cons
Pros:
|
Cons:
|
Verdict:
This is a functional treat, perfect for dogs with dry skin or dull coats. If your pup loves fish, they will go absolutely bonkers for these savory chips.
11. Mint & Parsley Breath Freshener Chips
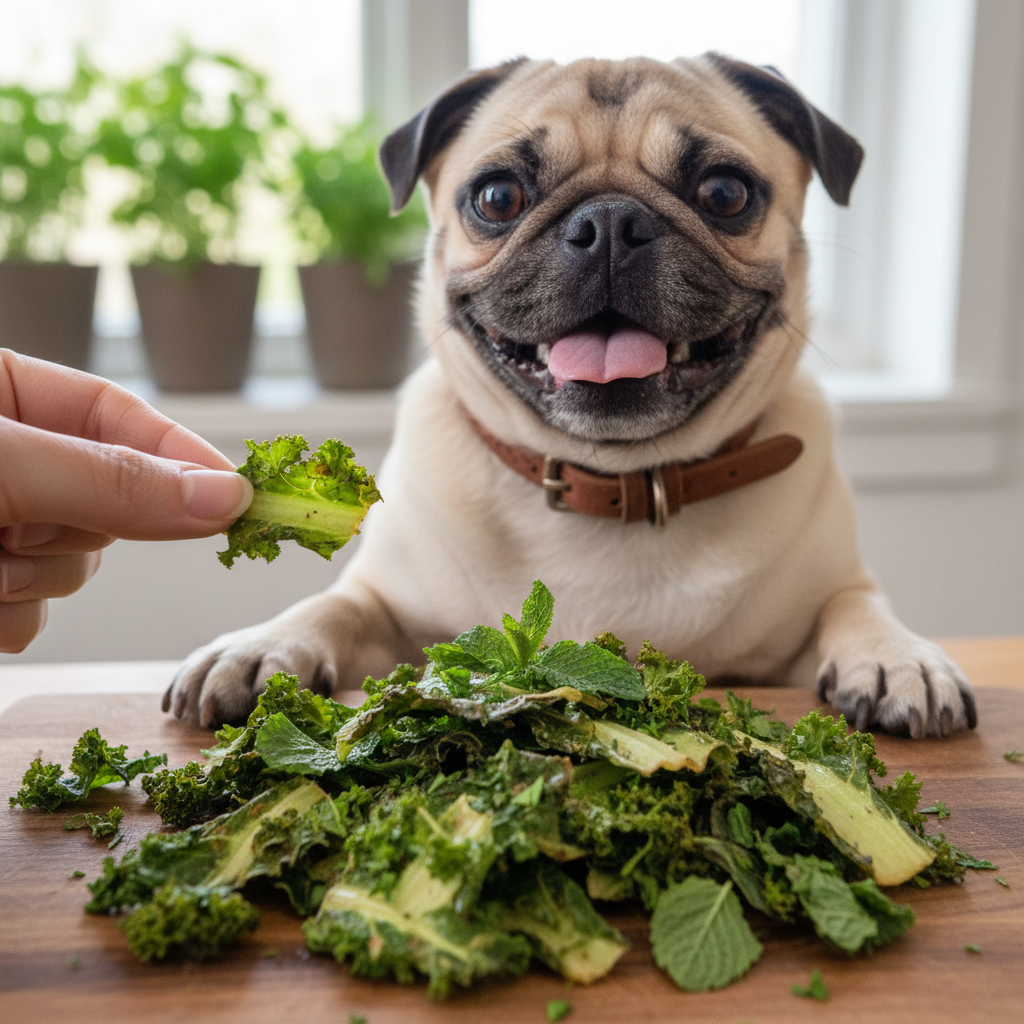
Tackle doggy breath from the inside out! Parsley and mint are natural breath fresheners, making these chips a treat for both your dog and your nose.
Ingredients:
- 1 bunch Swiss chard
- 1 tablespoon olive oil
- 1 tablespoon finely chopped fresh parsley
- 1 teaspoon finely chopped fresh mint
Instructions:
- Preheat oven to 275°F (135°C).
- Prep the chard leaves.
- In a bowl, toss the leaves with olive oil.
- Sprinkle the chopped parsley and mint over the leaves and toss to distribute the herbs evenly.
- Bake for 15-20 minutes.
Pros & Cons
Pros:
|
Cons:
|
Verdict:
A brilliant multi-tasking treat! It’s a healthy snack that also helps freshen up those sometimes-stinky puppy kisses. A must-try for any dog owner.
12. Sweet Potato Infused Chips
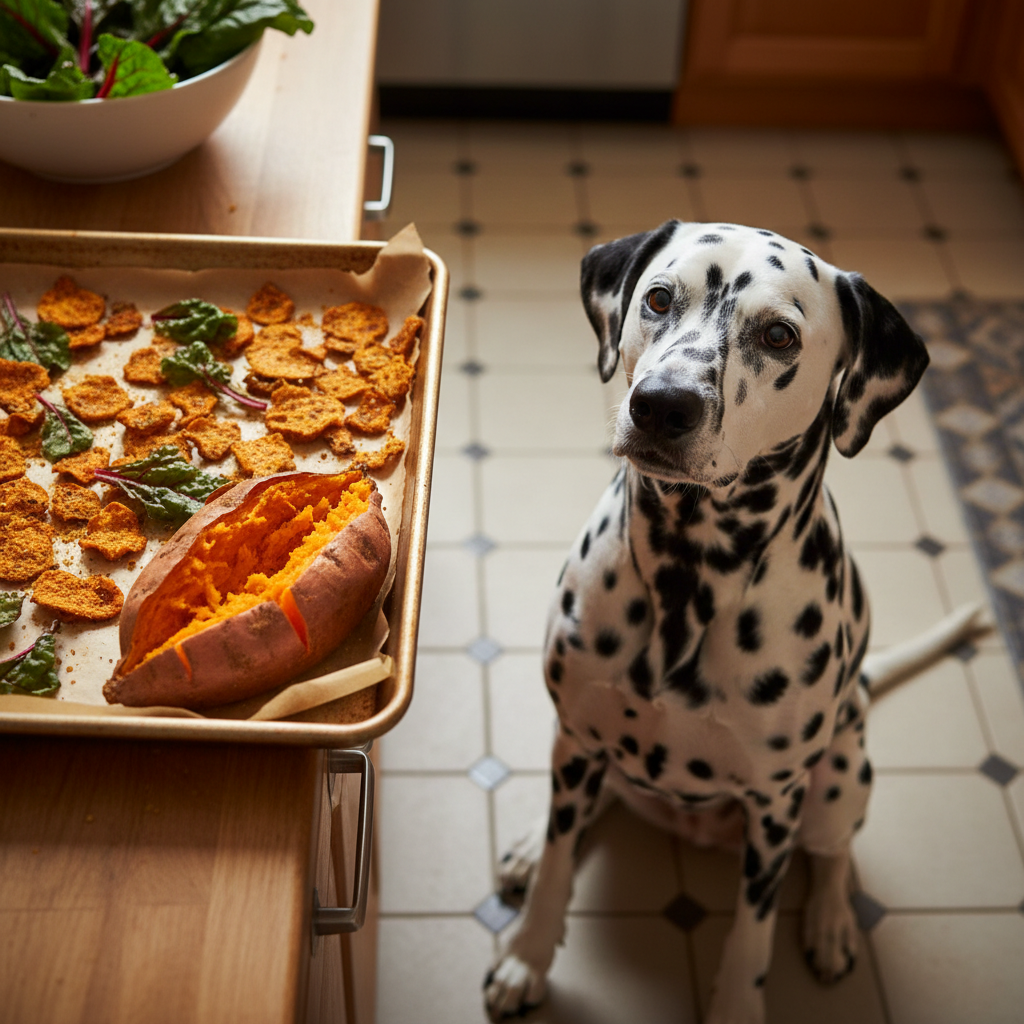
Another veggie powerhouse, sweet potato, lends its natural sweetness and vibrant color to these chips. It’s a great source of dietary fiber and vitamins.
Ingredients:
- 1 bunch Swiss chard
- 1 tablespoon sweet potato puree (canned or homemade)
- 1 teaspoon olive oil
Instructions:
- Preheat oven to 275°F (135°C).
- Prep the chard leaves.
- Whisk the sweet potato puree and olive oil together to create a smooth paste.
- Gently coat the leaves.
- Bake for 20-25 minutes until crispy.
Pros & Cons
Pros:
|
Cons:
|
Verdict:
This is a hearty, nutrient-dense chip that’s great for active dogs. The combination of two superfood veggies makes it a wonderfully healthy choice.
13. Rosemary & Thyme Savory Herb Chips

For the sophisticated palate! These herbs add a lovely, aromatic, and savory flavor that feels very gourmet. Rosemary is also known for its antioxidant properties.
Ingredients:
- 1 bunch Swiss chard
- 1 tablespoon olive oil
- 1/2 teaspoon dried rosemary, crushed
- 1/2 teaspoon dried thyme
Instructions:
- Preheat oven to 275°F (135°C).
- Prep the chard leaves.
- Toss the leaves with olive oil.
- Sprinkle the crushed rosemary and thyme over the leaves and toss to coat.
- Bake for 15-20 minutes. Your kitchen will smell like an herb garden!
Pros & Cons
Pros:
|
Cons:
|
Verdict:
A great choice for dogs who enjoy more savory, complex flavors over sweet ones. It’s a simple way to make their snack time feel a little fancy.
14. The ‘No-Salt’ Naked Chip
For dogs on special diets, particularly those with heart or kidney issues, a no-salt option is essential. This recipe uses only a touch of oil to help the chard crisp up, keeping it as pure and simple as possible.
Ingredients:
- 1 bunch Swiss chard
- 1 tablespoon olive oil (or other dog-safe oil)
Instructions:
- Preheat oven to 275°F (135°C).
- Prep the chard leaves (wash, dry, de-stem, tear).
- Toss with olive oil until lightly coated.
- Spread in a single layer on a parchment-lined baking sheet.
- Bake for 15-20 minutes until crispy.
Pros & Cons
Pros:
|
Cons:
|
Verdict:
This is the go-to recipe for any pup on a sodium-restricted diet. It provides a safe, crunchy, and healthy treat without any worries.
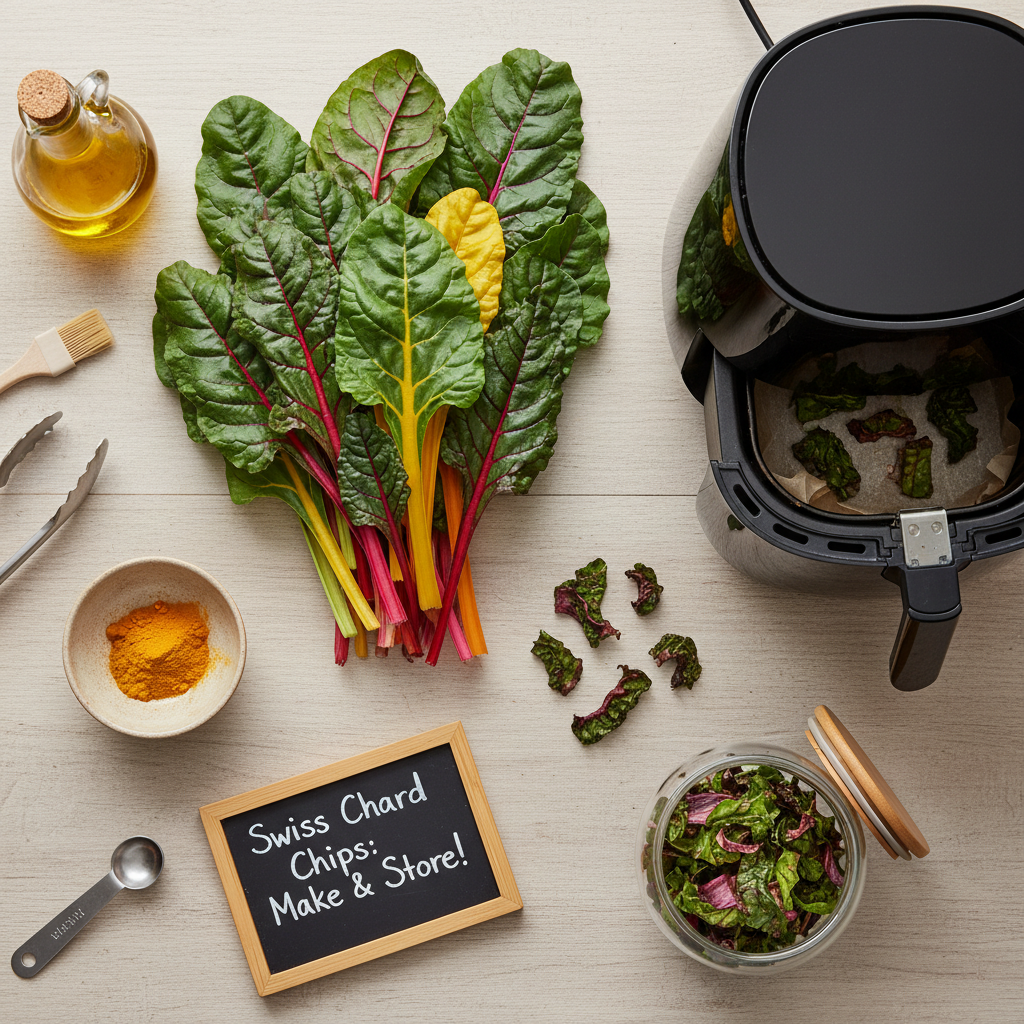
15. Extra Crispy Air Fryer Chips
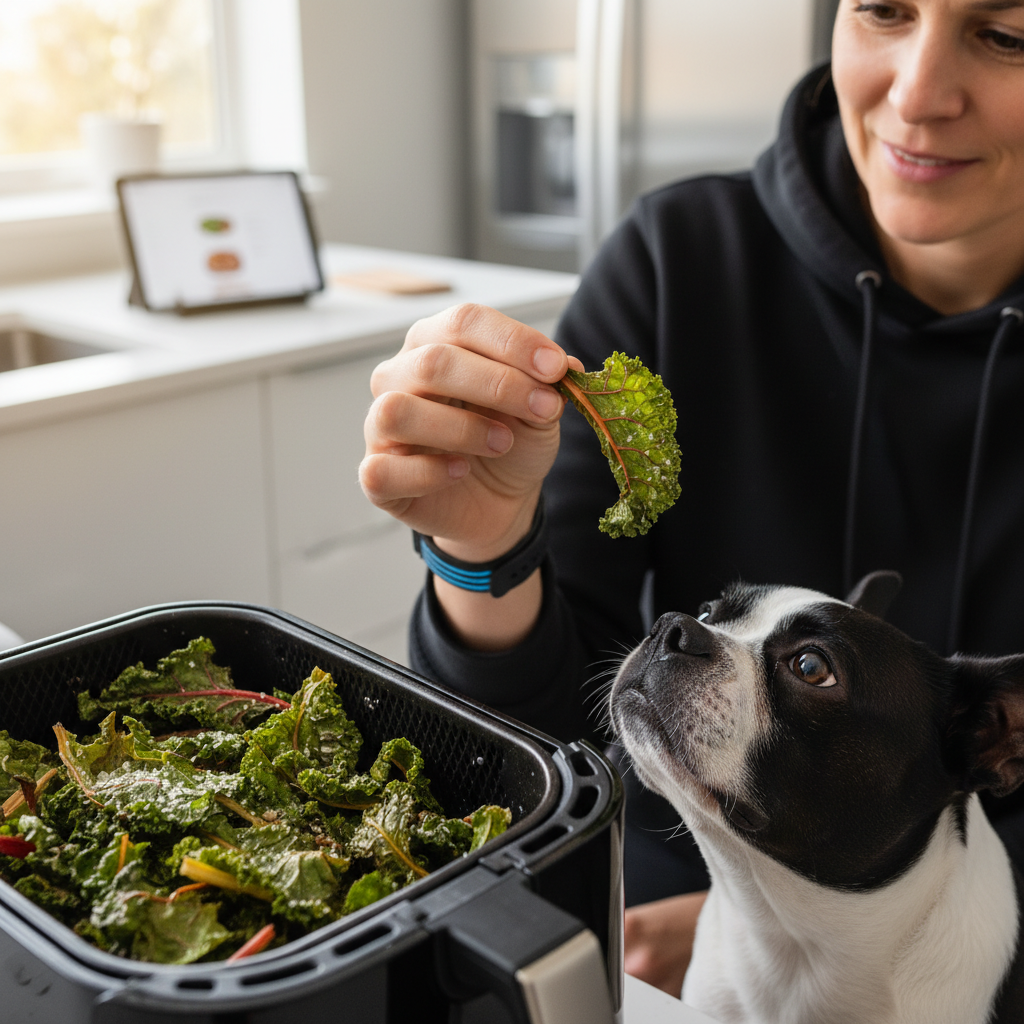
If you have an air fryer, you can achieve maximum crispiness in record time! This method circulates hot air to create a perfectly crunchy, less oily chip.
Ingredients:
- 1 bunch Swiss chard
- 1 teaspoon olive oil
- Your choice of dog-safe seasoning (optional)
Instructions:
- Prep the chard leaves, ensuring they are BONE DRY.
- Toss with a minimal amount of oil and any seasonings.
- Preheat your air fryer to 300°F (150°C).
- Place the leaves in the air fryer basket in a single layer (work in batches).
- Air fry for 3-5 minutes, shaking the basket halfway through. Watch them like a hawk as they can burn in seconds!
Pros & Cons
Pros:
|
Cons:
|
Verdict:
For the impatient pet parent (and pup!), the air fryer method is a game-changer. It delivers perfectly crunchy chips in a fraction of the time.
16. Dehydrator ‘Slow & Low’ Chips

For a chip that’s less baked and more ‘raw,’ a dehydrator is the perfect tool. This method preserves more nutrients and creates a chip with a unique, chewy-crisp texture that lasts for weeks.
Ingredients:
- 1 bunch Swiss chard
- Optional: a light coating of any of the previous flavor combinations
Instructions:
- Prep the chard leaves. If you’re adding a coating, do it now.
- Arrange the leaves in a single layer on your dehydrator trays.
- Set the dehydrator to 125°F (52°C).
- Dehydrate for 4-6 hours, or until completely dry and brittle.
Pros & Cons
Pros:
|
Cons:
|
Verdict:
This is the best method for making large batches of chips that will stay fresh for a long time. It’s perfect for pet parents who like to meal prep for their pups.
17. Chips with a Greek Yogurt Dip
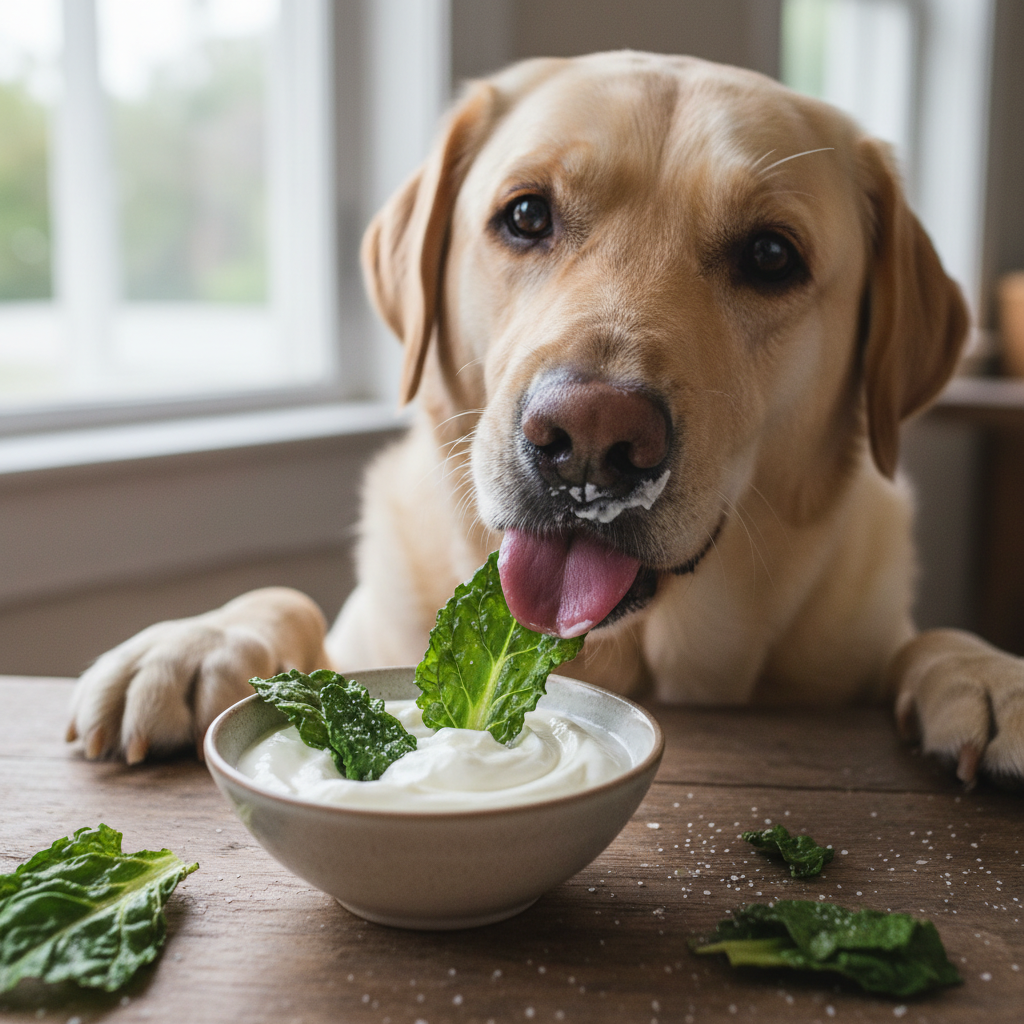
Sometimes it’s all about the dip! Plain, baked chard chips served with a side of probiotic-rich Greek yogurt make for a fun, interactive, and gut-healthy snack.
Ingredients:
- 1 batch of Classic Pup Chips
- 2 tablespoons plain, unsweetened Greek yogurt
Instructions:
- Make a batch of the Classic Pup Chips (or any salt-free version) and let them cool.
- Serve the chips with a small bowl of plain Greek yogurt for dipping. Supervise to ensure your pup doesn’t eat the whole bowl of yogurt at once!
Pros & Cons
Pros:
|
Cons:
|
Verdict:
A great way to add some excitement and gut-health benefits to snack time. This is best served on a lick mat or on a surface that’s easy to clean.
18. Nutritional Yeast ‘Cheesy’ Chips (Vegan)
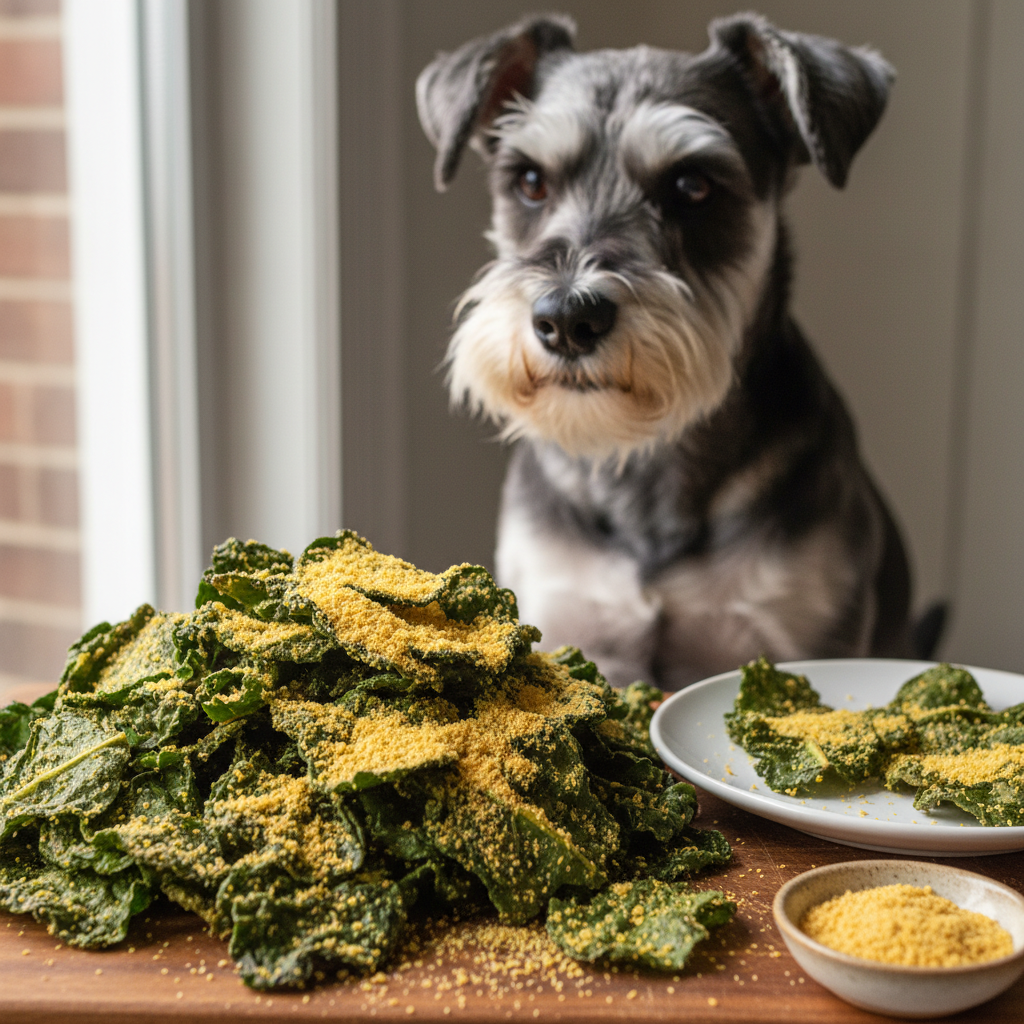
For a cheesy flavor without the dairy, nutritional yeast is your secret weapon! It has a savory, nutty, cheesy taste and is packed with B vitamins. It’s the perfect vegan alternative to the Parmesan recipe.
Ingredients:
- 1 bunch Swiss chard
- 1 tablespoon olive oil
- 1 tablespoon nutritional yeast
Instructions:
- Preheat oven to 275°F (135°C).
- Prep the chard leaves.
- Toss with olive oil first, then sprinkle with nutritional yeast and toss again.
- Bake for 15-20 minutes until the coating is golden and the leaves are crisp.
Pros & Cons
Pros:
|
Cons:
|
Verdict:
This is the perfect solution for dogs who love a cheesy taste but can’t handle dairy. It’s a healthy, flavorful, and tummy-friendly option.
19. Beef Broth Basted Chips
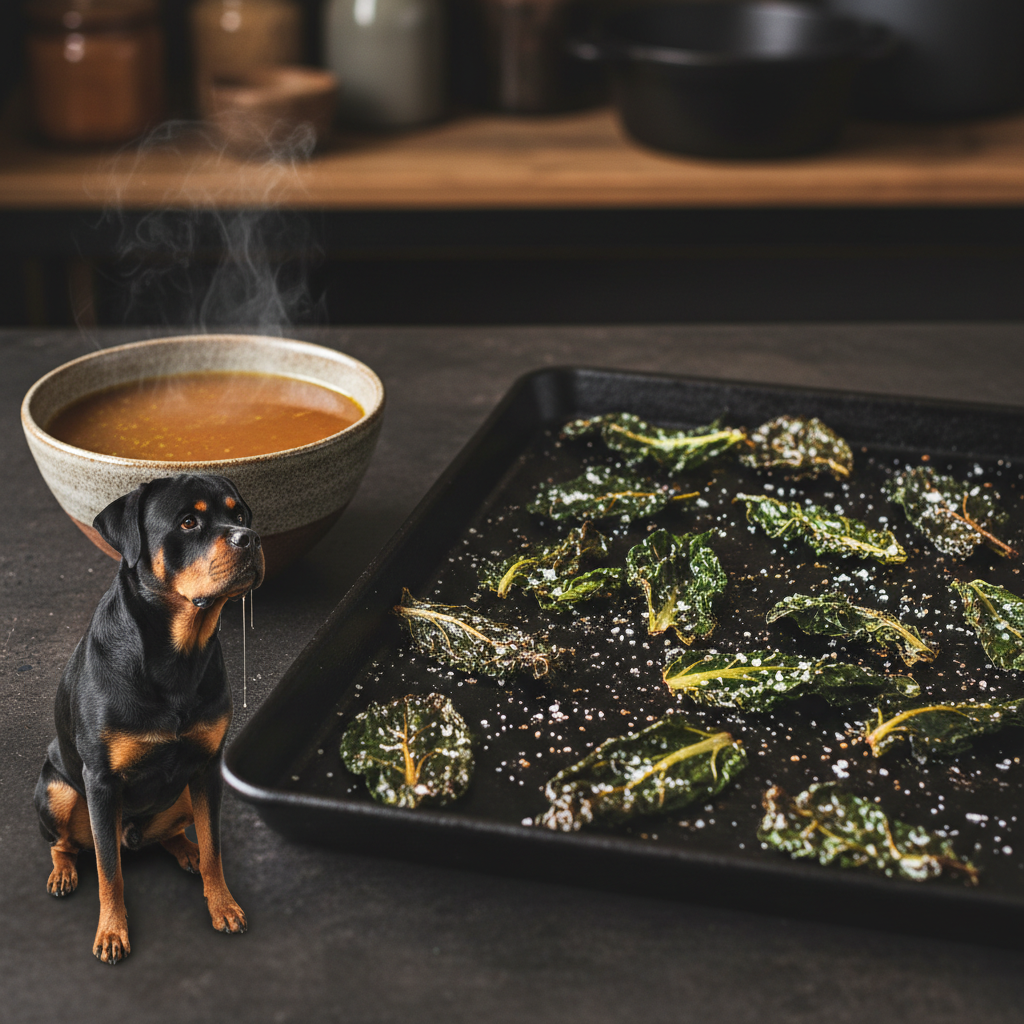
Infuse your chips with a deep, meaty flavor that dogs crave. Basting the leaves with a bit of beef broth makes for a savory, umami-packed treat.
Ingredients:
- 1 bunch Swiss chard
- 2 tablespoons low-sodium, onion-free beef broth
Instructions:
- Preheat oven to 275°F (135°C).
- Prep the chard leaves.
- Toss the leaves in the beef broth. They will be wet, not oily.
- Spread on a parchment-lined baking sheet.
- Bake for 20-25 minutes. They will steam first and then crisp up as the moisture evaporates.
Pros & Cons
Pros:
|
Cons:
|
Verdict:
For the dog who is motivated by all things meat, this is the ultimate veggie chip. The savory flavor makes them think they’re getting a meaty treat.
20. Chicken & Sage Thanksgiving Chips
Evoke the flavors of a holiday dinner with this comforting combination. A touch of chicken broth and a sprinkle of sage make for a festive and delicious chip.
Ingredients:
- 1 bunch Swiss chard
- 2 tablespoons low-sodium, onion-free chicken broth
- 1/4 teaspoon dried sage
Instructions:
- Preheat oven to 275°F (135°C).
- Prep the chard leaves.
- In a bowl, mix the chicken broth and sage.
- Toss the leaves in the mixture.
- Bake for 20-25 minutes until all moisture is gone and the chips are crisp.
Pros & Cons
Pros:
|
Cons:
|
Verdict:
A perfect treat to make during the holidays so your pup can safely join in on the festive flavors. The aroma alone is pure comfort.
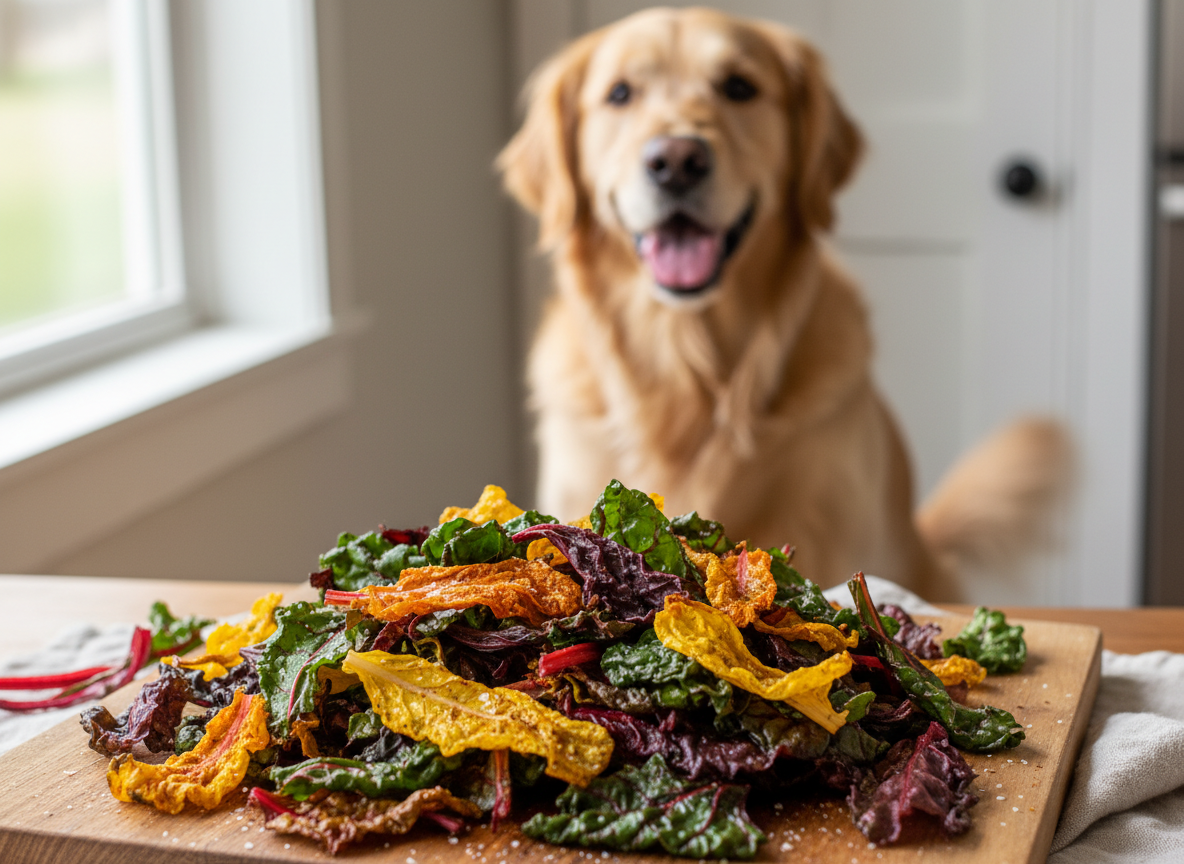
21. Rainbow Chard ‘Confetti’ Chips
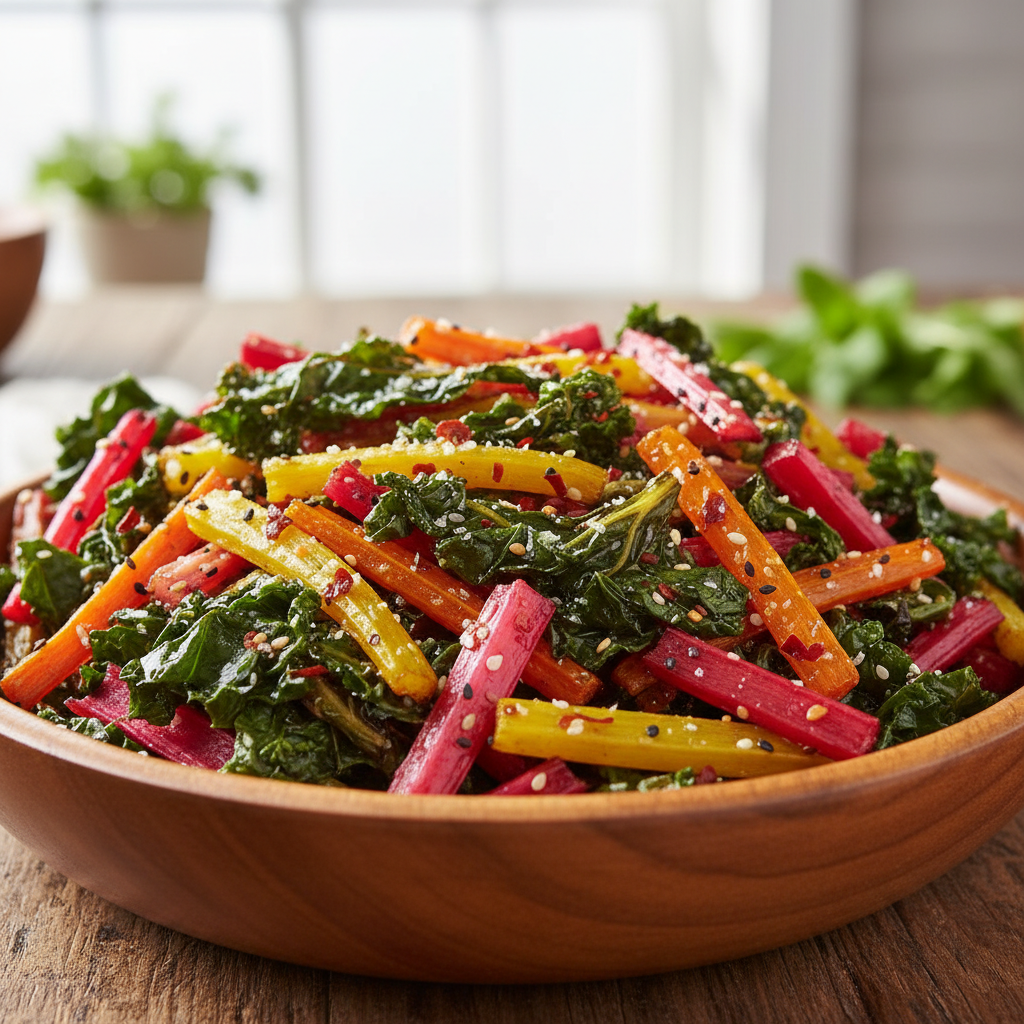
This one is all about the visuals! Using rainbow chard with its vibrant pink, yellow, and red stems creates a beautiful, multi-colored batch of chips. For extra fun, we’ll use the stems too.
Ingredients:
- 1 bunch of rainbow Swiss chard
- 1 tablespoon olive oil
Instructions:
- Preheat oven to 350°F (175°C).
- Wash and dry the chard. Separate the leaves from the stems.
- Tear the leaves into pieces and toss with 1/2 tbsp of oil. Spread on one baking sheet.
- Thinly slice the colorful stems. Toss with the remaining 1/2 tbsp of oil and spread on a second baking sheet.
- Bake the leaves for 10-15 minutes until crispy.
- Bake the stems for 15-20 minutes until they are slightly softened and browned at the edges.
- Mix them together to create ‘confetti’ and serve once cooled.
Pros & Cons
Pros:
|
Cons:
|
Verdict:
For the pet parent who loves to make Instagram-worthy treats! This recipe is not only beautiful but also a great way to use the entire chard plant, offering varied textures for your dog to enjoy.
A Pup-Parent’s Guide to Perfect Chard Chips
Ready to become a chard chip connoisseur? Making the perfect batch is easy when you know a few simple tricks. Here’s what you need to know to ensure your homemade treats are safe, delicious, and perfectly crunchy every time.
Choosing the Best Chard
Look for bunches with crisp, vibrant leaves and firm stems. Avoid any leaves that are wilted, yellowing, or have brown spots. Rainbow chard is the most visually fun, but green or red chard works just as well. The fresher the chard, the better your chips will be!
Safe Seasonings & What to Avoid
While we’ve listed lots of fun flavors, the golden rule is to keep it simple and safe.
Great choices include: Turmeric, ginger, cinnamon, parsley, mint, rosemary, and dog-safe broths.
Absolute no-gos include: Onion powder, garlic powder, xylitol (an artificial sweetener), cocoa powder, and excessive salt. Always double-check ingredient lists, especially for things like peanut butter and broths.
Baking vs. Air Frying vs. Dehydrating
- Baking: The classic method. It’s reliable and doesn’t require special equipment. The key is a low temperature (around 275°F) and a single layer to ensure they dry out rather than steam.
- Air Frying: The speedy method. Perfect for a quick, small batch. It yields super crispy results but requires constant supervision to prevent burning.
- Dehydrating: The ‘set it and forget it’ method. It takes hours, but it’s foolproof and preserves the most nutrients. This is the best choice for making treats in bulk that will last a long time.
Proper Storage for Maximum Crunch
Moisture is the enemy of a crispy chip! Before storing, make sure your chard chips are 100% cool and completely dry. Store them in an airtight container at room temperature. A glass jar with a tight-fitting lid is perfect. They should stay crispy for up to a week. If they lose some of their crunch, you can often revive them by popping them back in a low oven or air fryer for a minute or two.
Frequently Asked Questions About Swiss Chard for Dogs
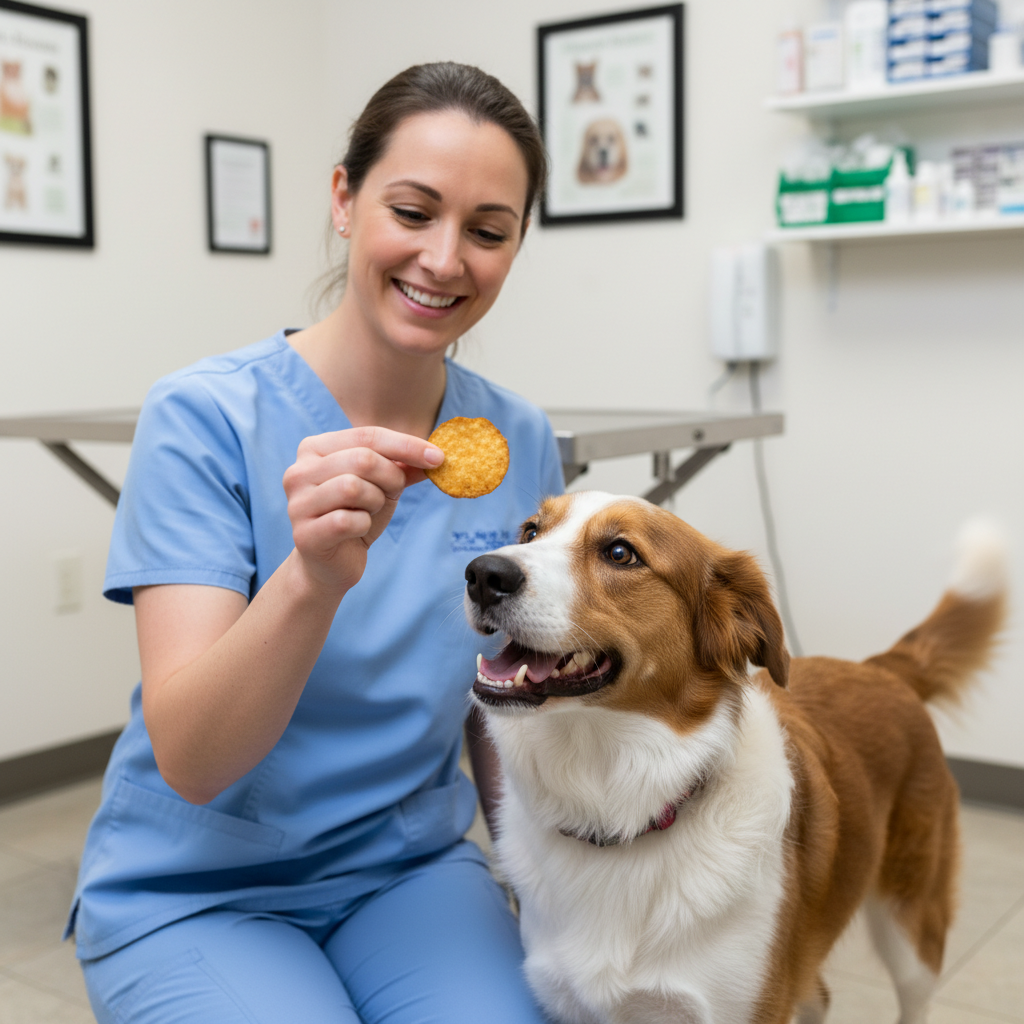
Is Swiss chard actually safe for dogs?
Yes, in moderation, Swiss chard is safe for most dogs. It’s packed with beneficial vitamins and fiber. However, it is high in oxalic acid, which can be an issue for dogs prone to forming calcium oxalate bladder stones. If your dog has a history of kidney or bladder problems, it’s always best to consult your vet before adding new foods to their diet. For healthy dogs, the amount used to make a few chips is perfectly fine.
How much Swiss chard can my dog eat?
Treats, even healthy ones like chard chips, should follow the 10% rule. This means they should make up no more than 10% of your dog’s daily caloric intake. A few chips per day is a great amount for a healthy snack. Don’t let them eat the entire batch in one sitting, no matter how much they beg!
Can dogs eat the stems of Swiss chard?
Absolutely! The stems are perfectly edible and contain lots of fiber. They won’t get as crispy as the leaves, but they can be roasted until tender-crisp (like in our ‘Confetti’ recipe) or finely chopped and steamed as a topper for your dog’s regular food. They are a great way to use the whole vegetable and reduce waste.
My chips came out soggy, not crispy. What did I do wrong?
Soggy chips are usually caused by one of three things: 1) The leaves weren’t completely dry after washing. 2) The oven temperature was too high, causing them to burn on the outside before drying out. 3) The baking sheet was overcrowded, which causes the leaves to steam instead of bake. For best results: pat the leaves bone dry, use a low oven temperature, and always bake in a single, even layer.
Conclusion
And there you have it – 21 fun and flavorful ways to turn a humble bunch of Swiss chard into a crunchy, healthy snack that your dog will adore! From savory and cheesy to sweet and fruity, there’s a recipe on this list for every pup’s palate. Making homemade treats is such a rewarding way to show our dogs we love them, and with these simple recipes, you can be sure you’re giving them something that’s not only delicious but also packed with goodness.
So next time you’re at the grocery store, don’t just walk past that vibrant bunch of Swiss chard. Grab it, get creative in the kitchen, and get ready for some serious tail wags. Happy baking!