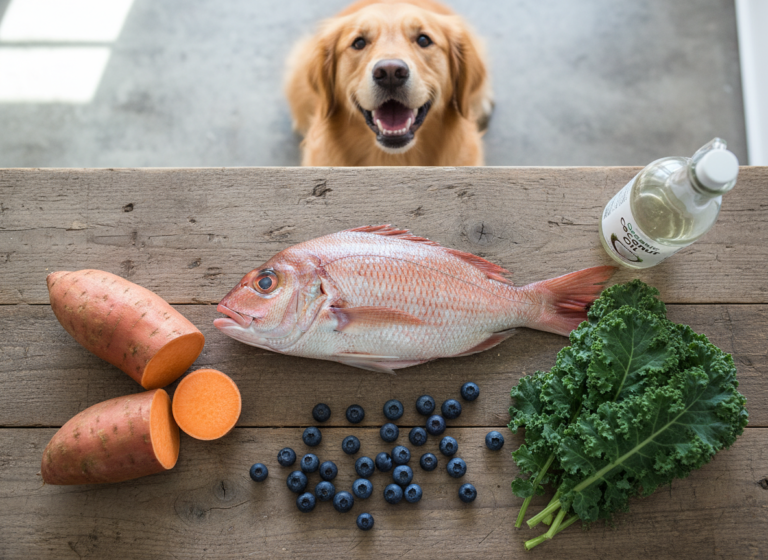
7 Baked Tuna Fudge for Dogs: The Ultimate High-Value Training Reward
Hey there, fellow dog lovers! Are you on the endless quest for the ‘holy grail’ of training treats? You know the one—something so irresistible it can make your pup ignore a squirrel, master a ‘stay’ in a busy park, or finally nail that tricky new command. It’s a common struggle. The treats from the store are often full of fillers, and let’s be honest, sometimes they just don’t cut it for those high-stakes training moments.
Well, get ready to transform your training sessions, because we’re about to share a secret weapon that trainers and savvy pet parents swear by: Baked Tuna Fudge. Don’t let the name fool you; this isn’t a sugary dessert. It’s a savory, protein-packed, and utterly delectable treat that most dogs find absolutely intoxicating. It’s easy to make, cost-effective, and you control every single ingredient. Ready to become your dog’s favorite chef? Let’s dive into seven different recipes to suit every pup’s palate and dietary need!
Quick Comparison of Our Favorite Tuna Fudge Recipes
| Recipe Name | Best For | Key Ingredients | Difficulty |
|---|---|---|---|
| Classic & Simple Tuna Fudge | Beginners & most dogs | Tuna, whole wheat flour, eggs | Easy |
| Gluten-Free Oat Fudge | Dogs with wheat sensitivities | Tuna, oat flour, eggs | Easy |
| Superfood Veggie-Packed Fudge | Adding extra nutrients | Tuna, spinach, carrots, flour | Medium |
| Grain-Free Coconut Fudge | Dogs on grain-free diets | Tuna, coconut flour, eggs | Medium |
| Cheesy Tuna Melts | Extra picky eaters | Tuna, cheese, flour, eggs | Easy |
| Sweet Potato & Tuna Bites | Sensitive stomachs & fiber | Tuna, sweet potato, oat flour | Medium |
| Herby Breath-Freshening Fudge | Pups with stinky breath | Tuna, parsley, mint, flour | Easy |
1. Classic & Simple Tuna Fudge
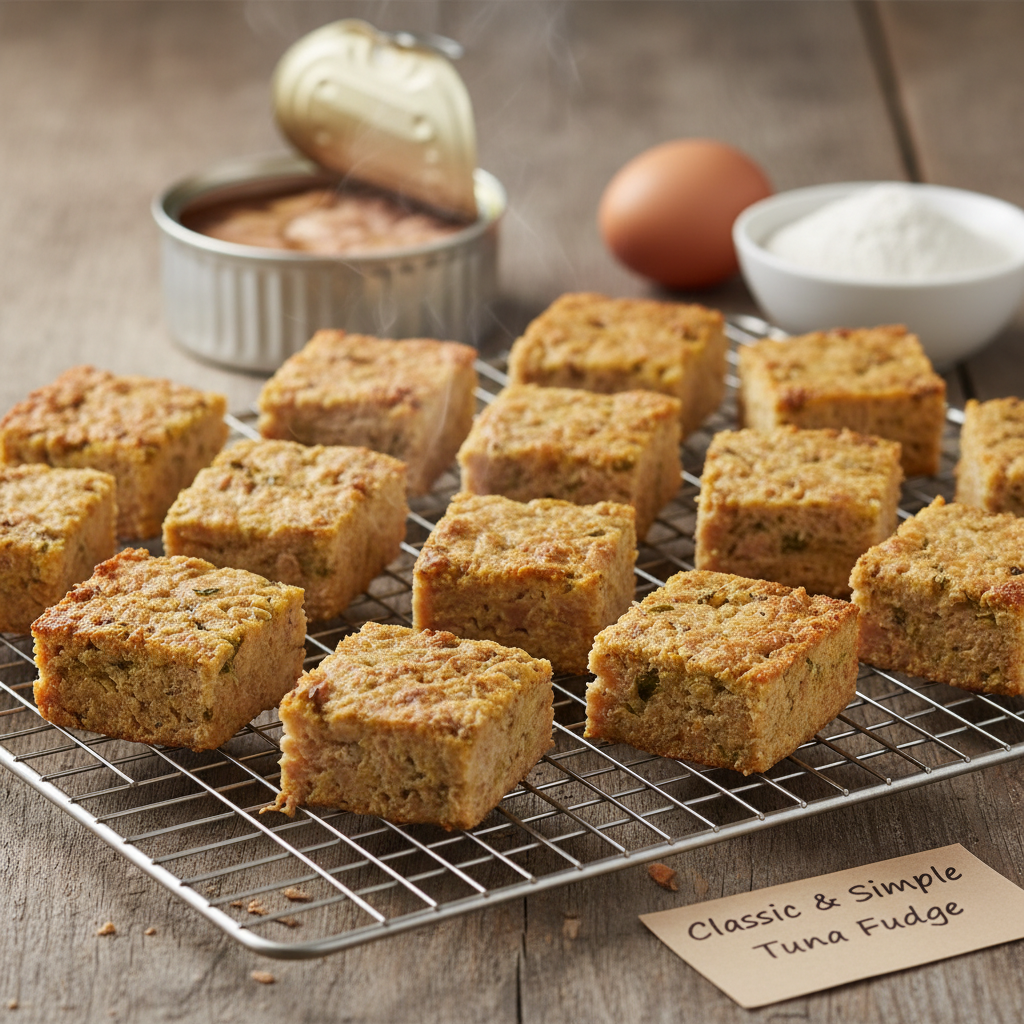
Let’s start with the original, the one that started it all! This classic recipe is incredibly easy, requires minimal ingredients, and is a guaranteed crowd-pleaser. If you’re new to making homemade dog treats, this is the perfect place to begin. The texture is firm but chewy, making it easy to break into tiny pieces for training without crumbling all over the place.
Ingredients:
- 2 (5-ounce) cans of chunk light tuna in water, undrained
- 2 large eggs
- 1 ½ cups whole wheat flour
- Optional: 1 tablespoon of nutritional yeast for a ‘cheesy’ flavor boost
Instructions:
- Preheat your oven to 350°F (175°C). Lightly grease a 9×9 inch baking pan or line it with parchment paper for easy removal.
- In a medium-sized bowl, add the two cans of tuna, including the water. Use a fork to break up any large chunks.
- Crack in the two eggs and mix thoroughly until well combined.
- Gradually add the whole wheat flour, mixing until you have a thick, dough-like consistency. If using, stir in the nutritional yeast.
- Spread the mixture evenly into your prepared baking pan. It should be about half an inch thick.
- Bake for 20-25 minutes, or until the top is firm to the touch and the edges are lightly browned.
- Let it cool completely in the pan before cutting it into small, training-sized squares.
Pros & Cons
Pros:
|
Cons:
|
Verdict:
This recipe is the go-to for any dog owner looking for a reliable, no-fuss, high-value treat. It’s perfect for everyday training, puppy classes, or just spoiling a very good boy or girl. Unless your dog has a known grain allergy, this classic version is a fantastic starting point.
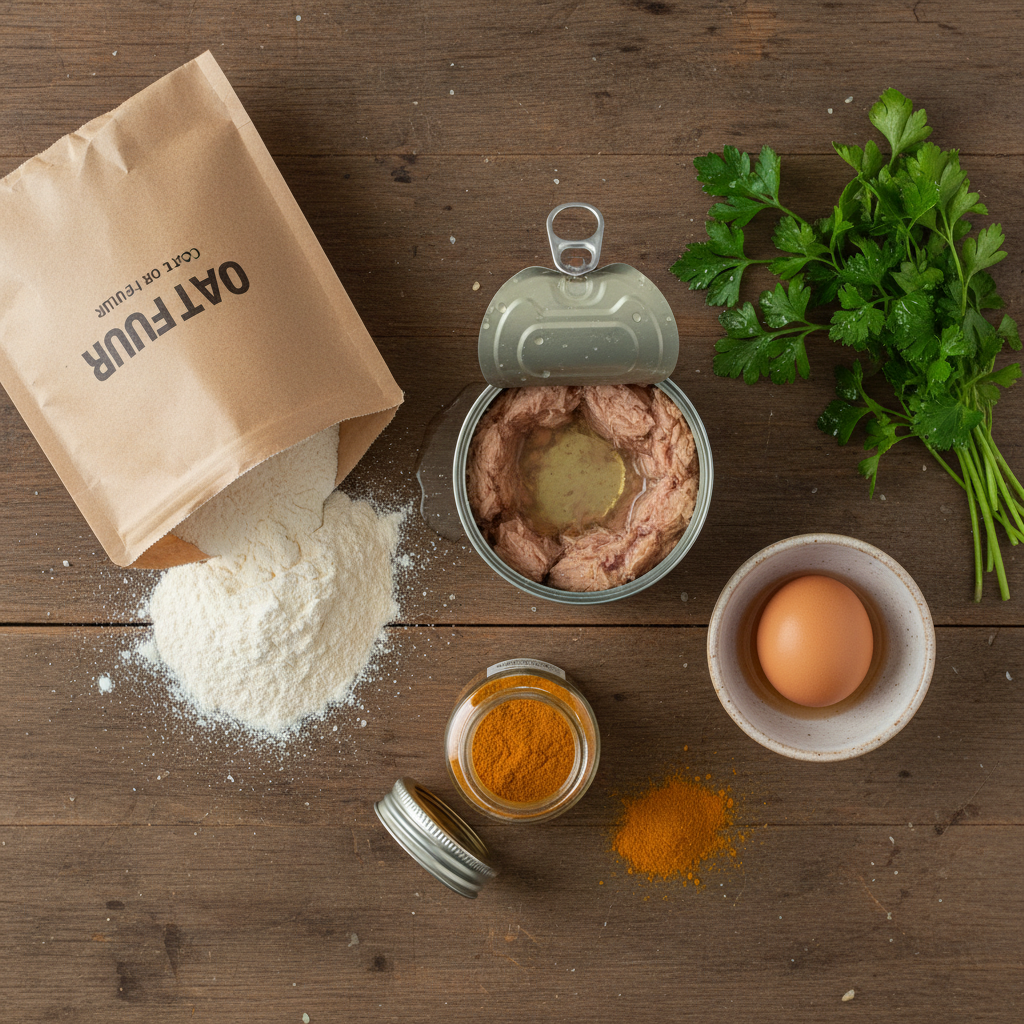
2. Gluten-Free Oat Fudge

Does your furry friend have a sensitive tummy or a wheat allergy? No problem! This gluten-free version swaps out the whole wheat flour for oat flour, which is gentle on the digestive system and packed with beneficial fiber. You can buy oat flour or easily make your own by blending rolled oats in a blender until fine.
Ingredients:
- 2 (5-ounce) cans of chunk light tuna in water, undrained
- 2 large eggs
- 1 ¾ cups oat flour (gluten-free certified if necessary)
- 1 tablespoon of coconut oil, melted
Instructions:
- Preheat oven to 350°F (175°C). Line an 8×8 inch pan with parchment paper.
- In a food processor or bowl, combine the undrained tuna and eggs. Blend or mix until smooth.
- Add the melted coconut oil and oat flour, mixing until a thick batter forms. Coconut oil adds healthy fats and helps bind the mixture.
- Spread the batter evenly in the prepared pan.
- Bake for 25-30 minutes. The fudge will be slightly springy to the touch and golden at the edges. It might be a bit moister than the wheat version due to the oat flour.
- Cool completely before slicing into small squares.
Pros & Cons
Pros:
|
Cons:
|
Verdict:
An excellent choice for dogs with sensitive stomachs or known gluten/wheat intolerances. The added benefits of fiber and healthy fats from the coconut oil make this a wonderfully nutritious reward for your deserving pup.
3. Superfood Veggie-Packed Fudge
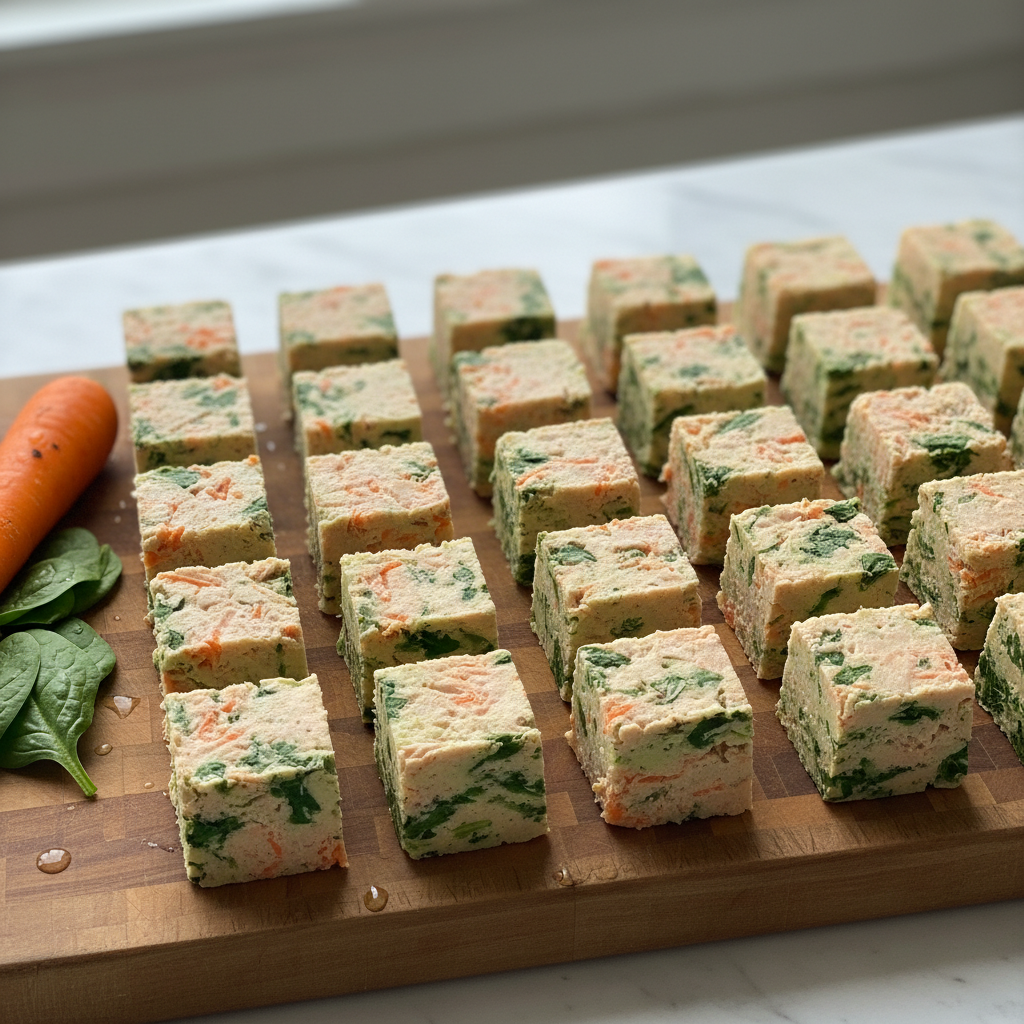
Want to sneak some extra vitamins and minerals into your dog’s diet? This recipe is for you! We’re adding finely shredded carrots and spinach to the mix. These veggies not only add a nutritional punch but also a bit of extra moisture and flavor complexity that dogs love. It’s a great way to make treat time even healthier.
Ingredients:
- 2 (5-ounce) cans of chunk light tuna in water, undrained
- 2 large eggs
- 1 ¼ cups whole wheat or oat flour
- ½ cup finely grated carrot
- ¼ cup finely chopped fresh spinach (packed)
Instructions:
- Preheat your oven to 350°F (175°C) and prepare a 9×9 inch baking pan with grease or parchment paper.
- In a bowl, mix the undrained tuna and eggs.
- Squeeze any excess moisture out of the grated carrot and chopped spinach before adding them to the tuna mixture. This is a key step to prevent the fudge from being too wet.
- Stir in the flour until everything is well combined into a thick, chunky batter.
- Press the mixture firmly and evenly into the pan.
- Bake for 25-30 minutes, until the center is set and the edges are golden.
- Let it cool completely before cutting. The veggies will make it a bit more delicate, so handle with care.
Pros & Cons
Pros:
|
Cons:
|
Verdict:
This is the ultimate treat for the health-conscious pet parent. If you’re looking for a training reward that does more than just motivate, the Superfood Veggie-Packed Fudge delivers a dose of wholesome goodness in every bite.
4. Grain-Free Coconut Fudge
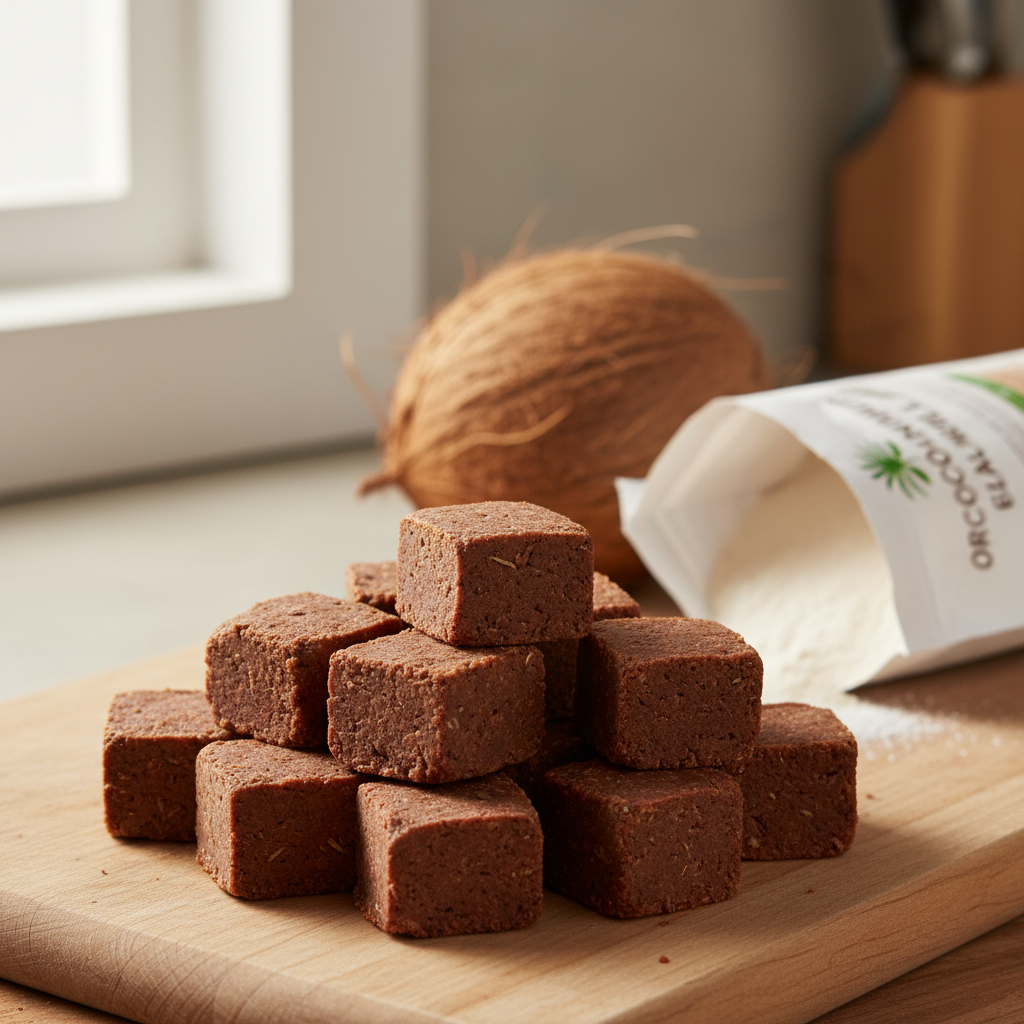
For dogs on a strict grain-free diet, coconut flour is a fantastic alternative. It’s high in fiber and protein, but it behaves very differently from other flours. Coconut flour is extremely absorbent, so this recipe uses less flour and a bit of extra liquid to get the right consistency. The result is a dense, slightly sweet, and totally grain-free treat.
Ingredients:
- 2 (5-ounce) cans of chunk light tuna in water, undrained
- 3 large eggs (one extra for moisture)
- ½ cup coconut flour
- 2 tablespoons of water or bone broth
Instructions:
- Preheat oven to 350°F (175°C). Grease an 8×8 inch pan or line with parchment paper.
- In a bowl, thoroughly mix the undrained tuna and the 3 eggs. The extra egg helps with binding and moisture.
- Sift in the coconut flour. Mix well. The batter will get very thick, very quickly.
- Stir in the 2 tablespoons of water or bone broth to make the mixture a bit more spreadable.
- Press the dough into the prepared pan. It will be dense, so use a spatula to get it even.
- Bake for 20-22 minutes. Be careful not to overbake, as coconut flour can dry out. The fudge should be firm and lightly browned.
- Cool completely. This fudge is very dense and holds together exceptionally well.
Pros & Cons
Pros:
|
Cons:
|
Verdict:
This is the definitive recipe for dogs with grain allergies or those on a specific grain-free diet. Its sturdy structure makes it the absolute best choice for carrying in your pocket or treat pouch on walks or to training classes.
5. Cheesy Tuna Melts
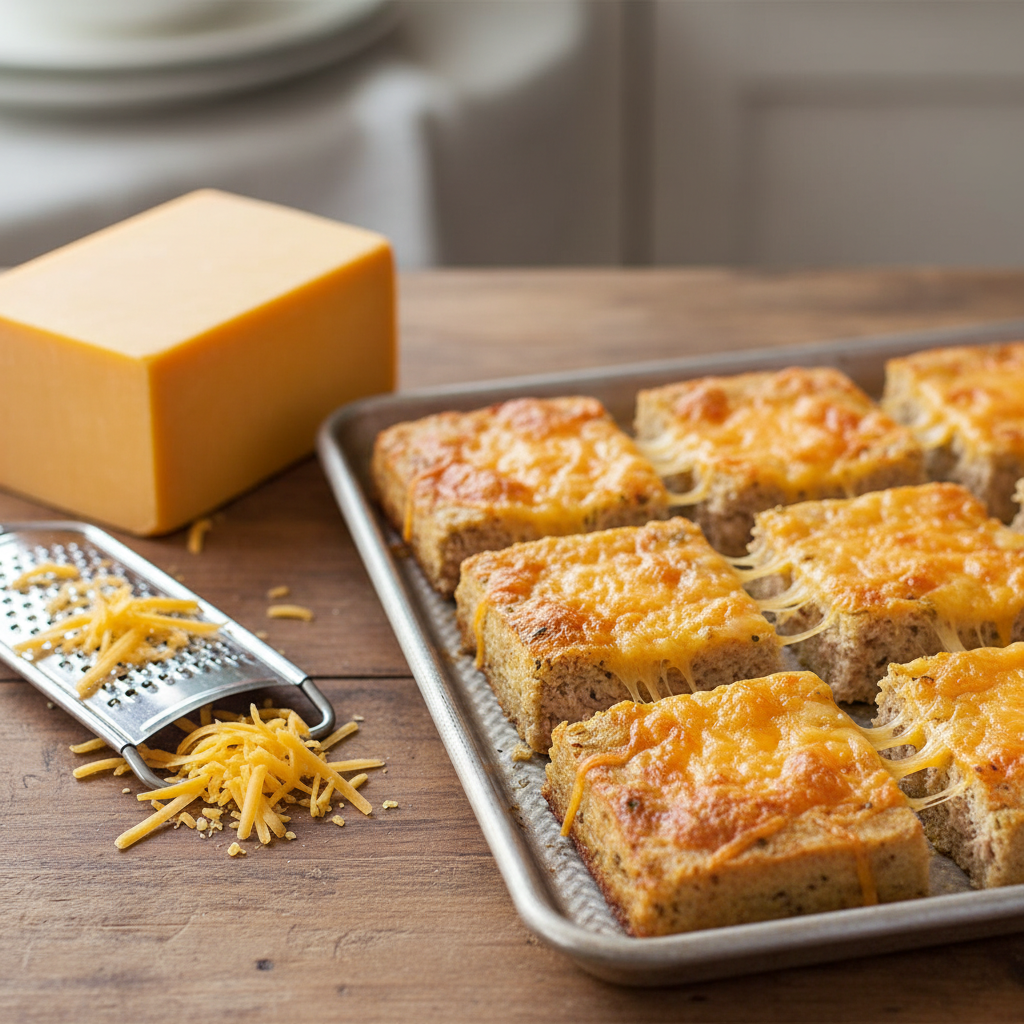
Tuna and cheese—it’s a classic combination for a reason! If your dog needs a little extra persuasion, the savory punch of real cheese is sure to do the trick. We’re talking next-level deliciousness here. Just be sure to use a low-lactose cheese like cheddar or swiss, and as with any rich ingredient, moderation is key.
Ingredients:
- 2 (5-ounce) cans of chunk light tuna in water, undrained
- 2 large eggs
- 1 ½ cups whole wheat flour
- ½ cup shredded low-fat cheddar cheese
Instructions:
- Preheat your oven to 350°F (175°C). Prepare a 9×9 inch baking pan.
- In a bowl, combine the undrained tuna, eggs, and shredded cheese. Mix well.
- Gradually stir in the flour until a thick dough forms.
- Spread the cheesy mixture evenly into your pan.
- Bake for 20-25 minutes, or until golden brown and a toothpick inserted into the center comes out clean. The cheese will make the top extra crispy and delicious.
- Let it cool completely before attempting to slice, as the melted cheese needs time to set.
Pros & Cons
Pros:
|
Cons:
|
Verdict:
For the dog that turns its nose up at everything, the Cheesy Tuna Melt is your secret weapon. The rich flavor makes it an exceptionally high-value reward, perfect for breakthrough moments in training or for agility competitions.
6. Sweet Potato & Tuna Bites

This recipe combines the savory flavor of tuna with the natural sweetness and digestive benefits of sweet potato. It’s a fantastic source of dietary fiber, vitamins, and minerals. The sweet potato creates a softer, more cake-like texture that older dogs or those with dental issues might appreciate.
Ingredients:
- 1 (5-ounce) can of chunk light tuna in water, undrained
- 1 cup cooked and mashed sweet potato
- 1 large egg
- 1 ½ cups oat flour
Instructions:
- Preheat oven to 350°F (175°C). Line a baking sheet with parchment paper.
- In a large bowl, mix the undrained tuna, mashed sweet potato, and egg until well combined.
- Stir in the oat flour. The dough will be soft and a bit sticky.
- You can either spread this in an 8×8 pan and bake for 25-30 minutes, or for a different texture, drop small spoonfuls onto the prepared baking sheet.
- If making individual bites, bake for 15-20 minutes, until firm and lightly browned.
- Let cool completely. The individual bites will be slightly crispier on the outside.
Pros & Cons
Pros:
|
Cons:
|
Verdict:
This is a wonderful, nutrient-dense option for dogs with sensitive stomachs or for senior pups who need a softer chew. The combination of fish and sweet potato is both healthy and delicious, making it a treat you can feel great about giving.
7. Herby Breath-Freshening Fudge
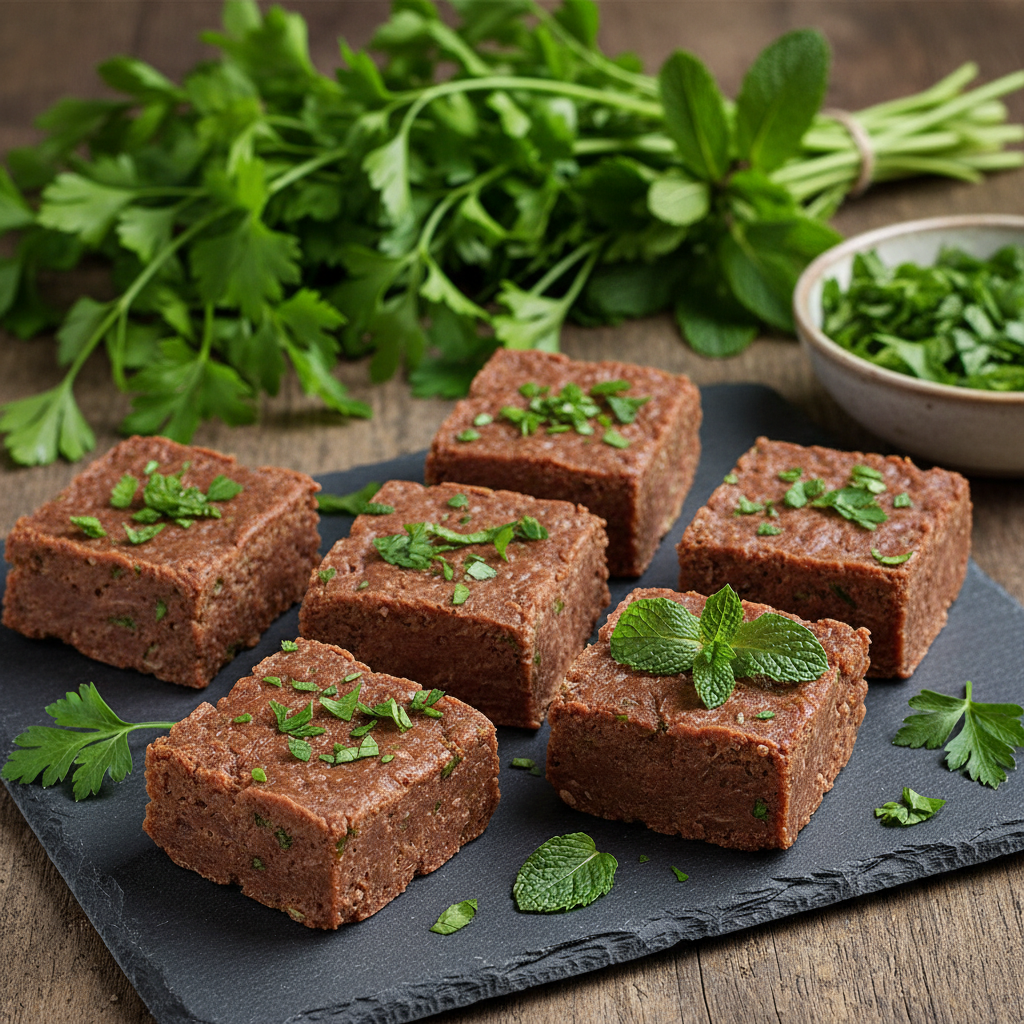
Does your dog’s breath leave something to be desired, especially after a fishy treat? This recipe is the clever solution! We’re adding fresh parsley and a hint of mint, two natural breath fresheners that can help combat that post-tuna funk. It’s a treat and a breath mint all in one.
Ingredients:
- 2 (5-ounce) cans of chunk light tuna in water, undrained
- 2 large eggs
- 1 ½ cups whole wheat flour
- ¼ cup finely chopped fresh parsley
- 1 tablespoon finely chopped fresh mint
Instructions:
- Preheat your oven to 350°F (175°C) and prepare a 9×9 inch baking pan.
- In a bowl, mix the undrained tuna and eggs.
- Stir in the finely chopped parsley and mint. Ensure they are distributed evenly throughout the mixture.
- Gradually add the flour, mixing until a thick, green-flecked dough forms.
- Spread the mixture into your pan and bake for 20-25 minutes until firm.
- Cool completely before slicing. The fudge will have a lovely, fresh, herby scent to counteract the fishiness.
Pros & Cons
Pros:
|
Cons:
|
Verdict:
A brilliant two-in-one treat for any dog owner who loves giving fishy rewards but dislikes the fishy breath that follows. It’s a simple, effective, and healthy way to make training sessions a little more pleasant for everyone’s nose!
Your Guide to Crafting the Perfect Tuna Fudge
Making tuna fudge is more of an art than a science, and you can easily customize recipes to fit your dog’s needs. Here’s a quick guide to the key components and some potential swaps.
Choosing Your Tuna
Always, always, always choose tuna packed in water, not oil. The extra oil is an unnecessary source of fat and can cause digestive upset. Look for labels that say ‘no salt added’ or ‘low sodium’ to keep the sodium content in check for your pup.
Flour Power
The flour acts as the primary binder. While whole wheat is a common choice, you have many options:
- Oat Flour: A great gluten-free option that’s high in fiber.
- Coconut Flour: A grain-free, low-carb choice, but it’s very absorbent, so you’ll need to adjust the recipe (use less flour, more liquid).
- Chickpea or Rice Flour: Other excellent gluten-free alternatives that can typically be swapped 1:1 for whole wheat flour.
Binders and Liquids
Eggs are the main binder, holding everything together. The water from the tuna can is usually enough liquid, but if your batter seems too dry (especially with coconut flour), you can add a tablespoon or two of water, low-sodium bone broth, or even goat’s milk for extra flavor and nutrients.
Healthy Add-Ins
Feel free to get creative! Just be sure any additions are dog-safe. Some great options include:
- Turmeric: A pinch of turmeric has anti-inflammatory properties.
- Flaxseed: A tablespoon of ground flaxseed adds Omega-3 fatty acids for a healthy coat.
- Blueberries: A handful of mashed blueberries adds antioxidants (and a fun purple color!).
- Pumpkin Purée: A few tablespoons can aid in digestion (just reduce other liquids slightly).
Storage is Key
Because these treats are homemade with no preservatives, they are perishable. Store them in an airtight container in the refrigerator for up to 5-7 days. For longer storage, freeze them! They’ll last for up to 3 months in the freezer. You can thaw them in the fridge overnight or give them to your dog as a cool, crunchy treat on a hot day.
Frequently Asked Questions

How long does homemade tuna fudge last?
In an airtight container in the refrigerator, it will stay fresh for about 5 to 7 days. For long-term storage, you can freeze it in a freezer-safe bag or container for up to 3 months. It’s a great idea to make a big batch and freeze it in portions.
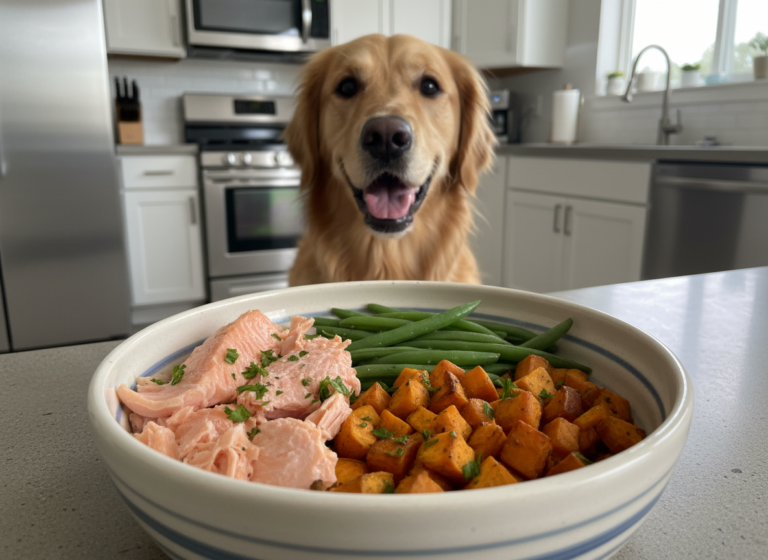
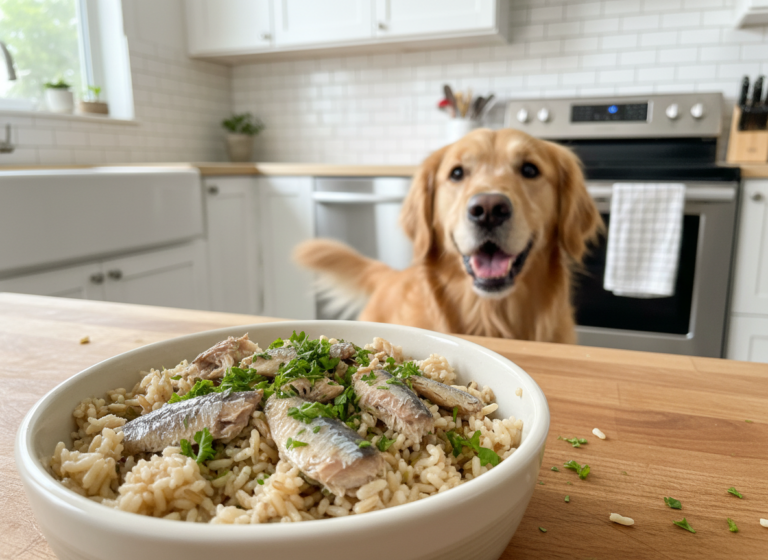
Can I use other types of fish?
Absolutely! Canned salmon (in water, no salt added) is a fantastic substitute and is also rich in Omega-3s. Canned sardines in water are another smelly, high-value option that dogs go crazy for. Just be sure to check that any canned fish is boneless, skinless, and packed in water without added salt.
Is tuna fudge safe for puppies?
Yes, it is generally safe for puppies in moderation. It’s a fantastic tool for puppy training classes because it’s so motivating. However, treats should only make up about 10% of your puppy’s daily caloric intake. Because it’s a rich treat, introduce it slowly and watch for any signs of digestive upset. Always consult your vet if you have concerns about your puppy’s diet.
My fudge came out too crumbly/too wet. What did I do wrong?
Don’t worry, this is usually an easy fix! If it’s too crumbly, it’s likely a bit dry. Next time, try adding an extra tablespoon of water, bone broth, or even a little pumpkin purée. If it’s too wet, it might be underbaked or have too much moisture from an ingredient like veggies. Try baking it for an extra 5-10 minutes or squeezing excess water from any vegetables you add.
Conclusion
There you have it—seven incredible ways to whip up the ultimate high-value training reward right in your own kitchen. From the classic and simple to grain-free and veggie-packed options, there’s a perfect tuna fudge recipe waiting for your pup. Making your own treats is not only rewarding for you but also provides your dog with a delicious, healthy, and highly motivating tool to make learning fun and effective.
So, preheat that oven, grab a can of tuna, and get ready to see your dog’s eyes light up. We promise, the focused attention and happy tail wags you’ll get in your next training session will be well worth the fishy smell in your kitchen. Happy baking!